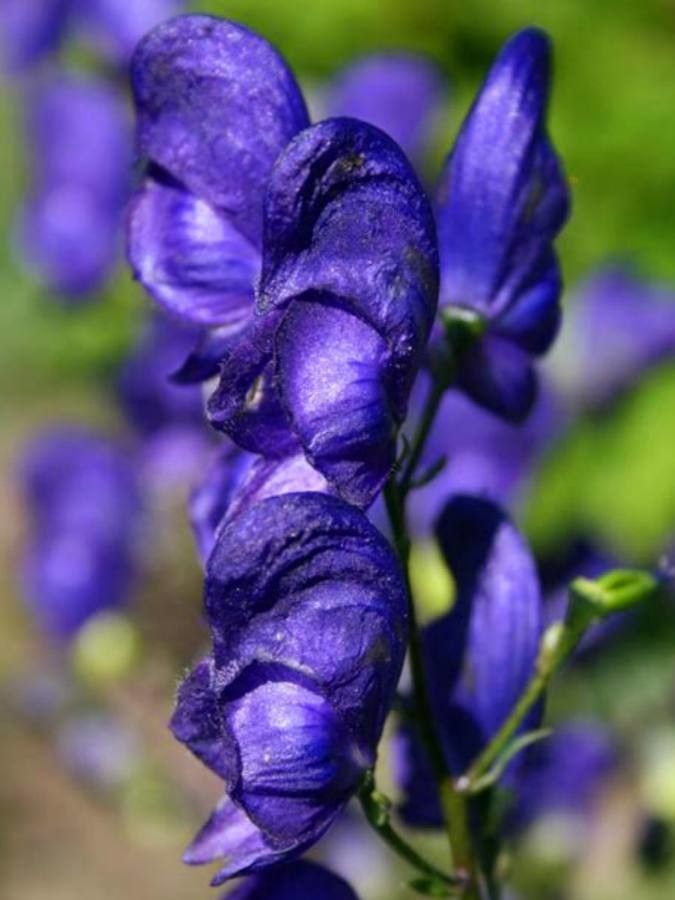
Hello there, fellow garden lovers! It’s so nice to be chatting with you today. I’m here to share a little bit of my green-thumb wisdom, and this time, we’re diving into the elegant world of Aconitum carmichaelii, also known as Monkshood.
These gorgeous plants, with their striking spires of deep blue or purple flowers, are such a joy to have in the garden, particularly in late summer and fall when many other blooms are starting to fade. Propagating them yourself? Well, that’s a really rewarding feeling, like unlocking a little gardening superpower. Now, Aconitum carmichaelii can be a tad on the fussy side when it comes to propagation, so while it’s not the absolute easiest for complete beginners, it’s definitely achievable with a bit of patience and the right approach. Let’s get started!
The Best Time to Start
For Monkshood, timing is everything. The most successful propagation usually happens in early spring, just as new growth is pushing up from the ground. You’re looking for those tender, young shoots that haven’t gotten too woody yet. Alternatively, if you’re planning to divide existing plants, fall, after the flowering is done but before the ground freezes hard, is another excellent window.
Supplies You’ll Need
Gathering your tools beforehand makes the whole process smoother. Here’s what I usually have on hand:
- Sharp Pruning Shears or a Knife: For clean cuts, which are crucial for successful rooting. Sterilize them between uses for good measure!
- Rooting Hormone (Optional, but recommended): This isn’t strictly necessary for all plants, but for Aconitum, it can give your cuttings a helpful boost. Look for a powder or gel.
- Seed Starting Mix or a Well-Draining Potting Mix: Something light and airy is best to prevent waterlogging. A mix of peat moss, perlite, and a bit of sand works wonders.
- Small Pots or Seed Trays: With drainage holes, of course!
- Plastic Bags or a Propagation Dome: To create a humid environment for your cuttings.
- Watering Can with a Fine Rose: For gentle watering.
- Labels: To keep track of what you’ve planted and when!
Propagation Methods
Monkshood is most reliably propagated by division, which is how I usually expand my collection. Stem cuttings can be a bit more hit-or-miss for this particular plant, but I’ll touch on that too.
Method 1: Division (The Most Reliable Way)
This is my go-to for creating more Aconitum. It’s best done in early spring or fall.
- Carefully dig up the clump: Gently excavate the parent plant using a garden fork, trying to disturb the roots as little as possible. If you’re doing this in fall, water the plant well the day before.
- Gently tease apart the roots: Once out of the ground, you’ll see the dense root ball. Grab sections of the plant and gently pull them apart. You want to ensure each division has at least one strong root and a few buds or shoots. If the roots are stubborn, you can use a clean trowel or even your knife to carefully slice through thicker root masses.
- Trim any damaged roots: Snip off any obviously broken or mushy roots.
- Replant immediately: Get your new divisions into their new homes or pots without delay. Plant them at the same depth they were growing before. Water them in well.
Method 2: Stem Cuttings (A Bit More Fussy)
If you’re feeling adventurous and want to try cuttings, here’s how I’d approach it. Early spring is the best time for this.
- Take your cuttings: Look for healthy, non-flowering shoots that are about 4-6 inches long. Make a clean cut just below a leaf node (where a leaf attaches to the stem).
- Prepare the cutting: Remove the lower leaves from the cutting, leaving just a couple of leaves at the top. This helps reduce moisture loss. You can even dip the cut end in rooting hormone, tapping off any excess.
- Pot them up: Fill your small pots with your well-draining mix. Make a small hole in the center of the soil with your finger or a pencil.
- Insert the cutting: Gently place the prepared cutting into the hole and firm the soil around it.
- Create humidity: Water gently and then cover the pot with a plastic bag, propping it up with a stick or two so it doesn’t touch the leaves, or place it under a propagation dome.
- Place in a bright spot, out of direct sun: Find a warm location, but avoid intense, direct sunlight which can scorch your delicate cuttings.
The “Secret Sauce” (Pro Tips)
Here are a couple of things I’ve learned over the years that can really make a difference:
- Fordivisions, don’t be afraid to be firm (but gentle!): Sometimes the roots of Aconitum can be quite tough. It’s okay to use a bit of pressure to separate them, but always aim to keep as many healthy roots intact as possible. Think of it as carefully untangling a knot rather than ripping things apart.
- Keep those cuttings DRY on top: If you find your stem cuttings are starting to look a bit sad, often it’s because of too much moisture sitting on the leaves. Wipe the inside of the plastic bag if it gets too steamy, and ensure good air circulation. You want the soil moist, but not soggy, and the leaves can tolerate a bit of drying out.
Aftercare & Troubleshooting
Once your new plants are settled, whether they came from division or are starting to show signs of rooting from cuttings, a little extra care goes a long way.
- Watering: Keep the soil consistently moist but not waterlogged. For divisions, water thoroughly right after planting and then as needed, checking the soil moisture regularly. For cuttings, if they have rooted (you’ll see new growth or feel slight resistance when gently tugging), you can start to gradually harden them off by opening the covering for longer periods before removing it entirely.
- Light: Continue to keep them in a bright spot with indirect light. As they get stronger, you can slowly introduce them to more sun, but always be mindful of extreme heat.
- Troubleshooting: The most common issue you’ll encounter is rot. This usually happens when the soil stays too wet. If you see stems turning mushy or black, it’s likely rot.Unfortunately, it’s hard to recover from at that stage. Good drainage is your best friend to prevent this. Another sign of trouble is wilting that doesn’t improve after watering; this could also indicate root issues or stress.
A Little Bit of Patience
Propagating plants, especially those with a bit of personality like Monkshood, is always a journey. Sometimes they root quickly, and sometimes they take their sweet time. Don’t get discouraged if your first attempt isn’t a runaway success. Every gardener has had their share of compost bin inhabitants! Enjoy the process of nurturing these new life forms. With a little care and attention, you’ll soon have a beautiful stand of Monkshood to admire. Happy gardening!
Resource:
https://identify.plantnet.org/k-world-flora/species/Aconitum%20carmichaelii%20Debeaux/data