Hello there, fellow garden enthusiasts! It’s so lovely to sit down with you today, cup of coffee in hand, to chat about something truly special: Rosa gigantea. If you’ve ever had the pleasure of seeing this magnificent rose, you know its allure. Its sheer size, the opulent blooms… it’s a showstopper, plain and simple. And the joy of coaxing a brand-new plant into existence from your own beloved specimen? There’s nothing quite like it.
Now, I won’t sugarcoat it. Rosa gigantea isn’t necessarily the easiest plant for an absolute beginner to propagate. It can be a little more discerning than your average annual. But don’t let that deter you! With a bit of patience and the right approach, you absolutely can succeed. It’s a journey that’s incredibly rewarding, and the pride you’ll feel watching your new plant thrive is immense.
The Best Time to Start
For Rosa gigantea, like many woody plants, late spring to early summer is generally your golden ticket. This is when the plant is actively growing, but the stems have started to mature a bit – they’re not still soft and floppy, but they haven’t hardened off completely either. Look for new growth that’s firm to the touch, often called “semi-hardwood.” That “snap” when you bend it, rather than a fold, is a good indicator.
Supplies You’ll Need
Gathering your tools beforehand makes the whole process much smoother. Here’s what I always have on hand:
- Sharp Pruning Shears or a Clean Knife: For making clean cuts. Sterilize them with rubbing alcohol before and after use.
- Rooting Hormone: A powder or gel formulated for woody plants. This really gives your cuttings a much-needed boost.
- Potting Mix: A well-draining blend is crucial. I like a mix of 50% peat moss or coco coir and 50% perlite or coarse sand.
- Small Pots or Propagation Trays: With drainage holes! This is non-negotiable.
- Plastic Bags or a Clear Dome: To create a humid environment.
- Watering Can with a Fine Rose: For gentle watering.
- Labeling Stakes: To keep track of what you’ve planted where!
Propagation Methods
We’ll focus on the most reliable method for woody plants like Rosa gigantea: stem cuttings.
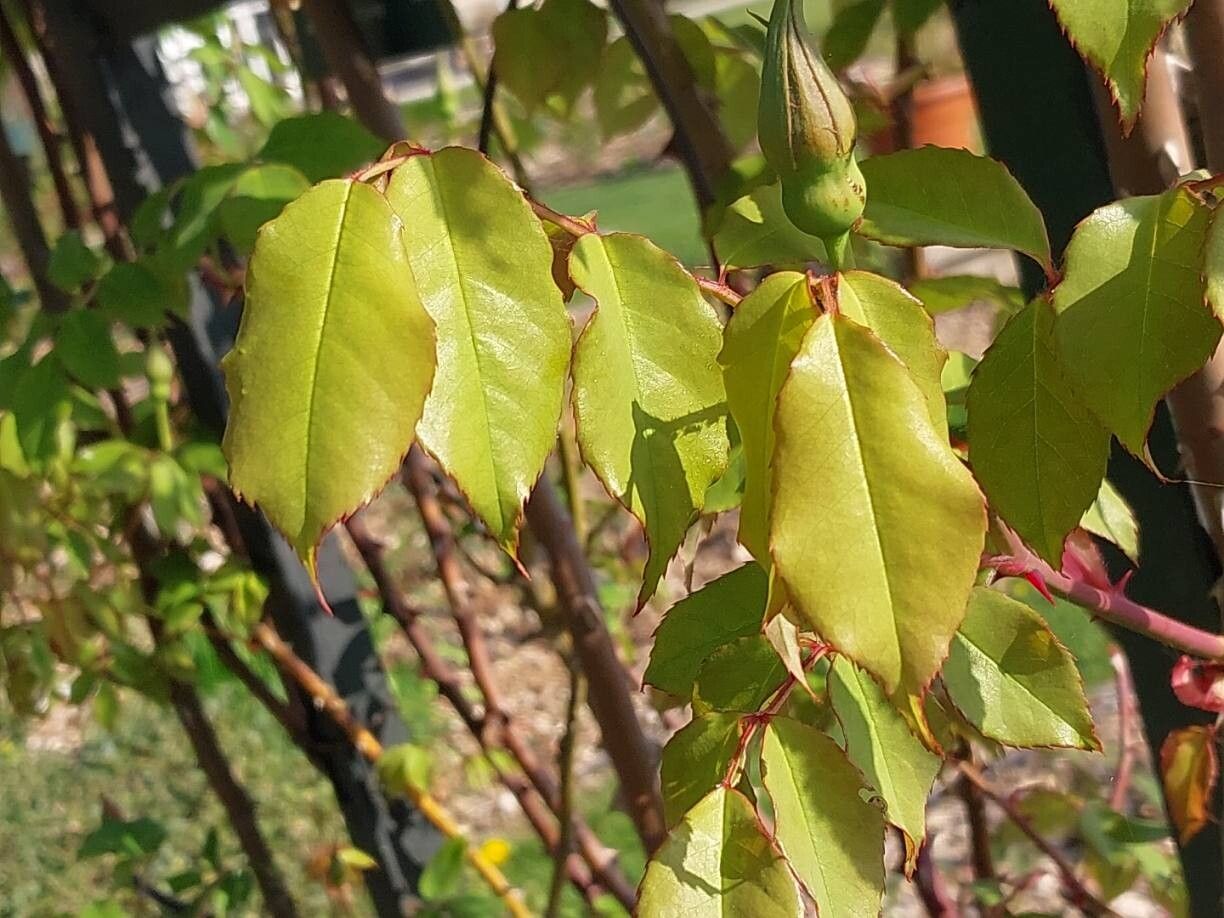
- Taking the Cuttings: On a cool, overcast morning, select healthy, disease-free stems. Look for those semi-hardwood pieces, about 6-8 inches long. Using your clean shears, make a cut just below a leaf node (where a leaf attaches to the stem). Remove any flower buds or blooms; they’ll just drain energy. Strip off the lower leaves, leaving just a pair at the top.
- Preparing the Cuttings: Gently dip the cut end of each stem into your rooting hormone, tapping off any excess.
- Planting the Cuttings: Fill your pots or trays with your prepared potting mix. Make a hole with a pencil or your finger, about the depth of the lower leaves. Carefully insert the cutting, ensuring the leaf nodes are buried. Firm the soil gently around the stem.
- Creating Humidity: Water the soil thoroughly but gently. Then, cover the pots with a clear plastic bag, propped up with stakes so it doesn’t touch the leaves. Alternatively, use a clear propagation dome. Place the pots in a bright spot, but out of direct sunlight.
The “Secret Sauce” (Pro Tips)
Here are a couple of tricks I’ve learned over the years that can make a real difference:
- Bottom Heat is Your Friend: Rosa gigantea cuttings really love warmth coming from beneath. If you have a heat mat designed for plants, place your pots on it. This encourages root development and significantly increases your success rate. Just make sure the mat isn’t too hot – aim for around 70-75°F.
- Never Let Leaves Touch Water: When you water your cuttings, ensure none of the remaining leaves are sitting in pooled water. This is a fast track to rot. If using a tray, lift the pots out once they’ve soaked up water from the bottom.
- Don’t Disturb Those Roots! It’s tempting to peek, but resist the urge to tug on your cuttings to see if roots have formed. You can gently try to rock the pot, or look for new leaf growth. Patience here is truly a virtue. Disturbing the delicate new roots can set them back considerably.
Aftercare & Troubleshooting
Once you start seeing signs of new growth – tiny leaves unfurling – it’s a good sign that roots are forming! Gradually introduce your new plants to slightly less humid conditions by opening the plastic bag or dome a little each day over a week or so. Continue to keep them in bright, indirect light. Water when the top inch of soil feels dry.
The most common sign of failure is rot. If a cutting turns black and mushy, it’s likely succumbed to fungal issues, often due to too much moisture and poor air circulation. If you see this, remove the offending cutting immediately to prevent it from affecting others. Sometimes, cuttings just don’t root. It happens, even to the best of us! Don’t get discouraged; simply try again, perhaps at a slightly different time or with a different batch of cuttings.
A Little Encouragement
Propagating plants is a dance with nature, and sometimes she likes to keep us on our toes! Be patient with your Rosa gigantea cuttings. Rooting can take anywhere from a few weeks to a couple of months. Celebrate even the smallest signs of progress. Every successful propagation is a testament to your care and dedication. Enjoy the process, learn from it, and soon you’ll have new, beautiful roses to share or to fill your own garden with. Happy growing!
Resource:
https://identify.plantnet.org/k-world-flora/species/Rosa%20gigantea%20Collett%20ex%20Crép./data