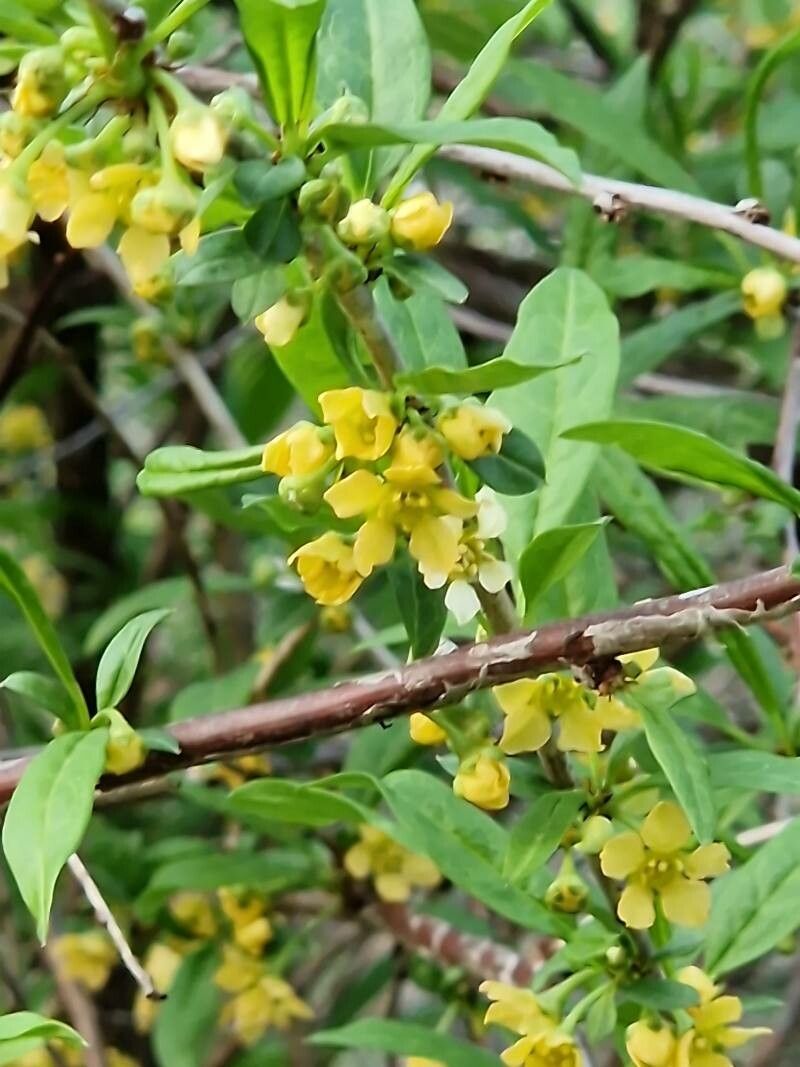
Hello, fellow garden enthusiasts! It’s me, your resident plant whisperer, back with another growing adventure. Today, we’re diving into the charming world of Prinsepia uniflora, also known as the Cherry Prinsepia. If you’re looking for a delightful shrub with lovely white flowers in spring and attractive berries later on, you’re in for a treat. And the best part? You can easily share this beauty by propagating it yourself!
Why Propagate Prinsepia Uniflora?
There’s something incredibly satisfying about creating new life from an existing plant. It’s economical, it’s rewarding, and it allows you to fill your own garden or gift your friends with these delightful shrubs. Now, for the good news: Prinsepia uniflora is generally quite amenable to propagation, making it a fantastic choice even if you’re still finding your green-thumb footing. You’ll likely have success with a little patience and the right approach.
The Best Time to Start
For the highest success rate, I find that late spring or early summer is your golden window. This is when the plant is actively growing, and the new shoots are typically semi-hardwood. This means they’ve started to firm up but still have a bit of flexibility, making them ideal for taking cuttings.
Supplies You’ll Need
Gathering your tools beforehand makes the whole process smoother. Here’s what I recommend:
- Sharp pruning shears or a sharp knife: Cleanliness is key to prevent disease.
- Rooting hormone: While not always strictly necessary for Prinsepia, it can give your cuttings a significant boost. Opt for a powder or gel.
- Small pots or seed trays: Clean ones, please!
- Well-draining potting mix: A good blend of perlite, peat moss, and sand works wonders. You can also use a dedicated propagation mix.
- Plastic bags or a clear propagation dome: To create a humid environment.
- Watering can with a fine rose: For gentle watering.
- Labels and a permanent marker: To keep track of your cuttings.
Propagation Methods
There are a couple of reliable ways to multiply your Prinsepia uniflora. I’ll walk you through my favorite, stem cuttings.
Stem Cuttings
This is my go-to method for Prinsepia.
- Take your cuttings: On a bright morning, after the dew has dried, select healthy shoots that are about 4-6 inches long. Make a clean cut just below a leaf node. A leaf node is where a leaf joins the stem – this is where roots tend to emerge.
- Prepare the cuttings: Gently strip off any lower leaves from the bottom half of the cutting. This prevents them from rotting when buried in the soil. If the remaining leaves are very large, you can cut them in half horizontally to reduce water loss through transpiration.
- Apply rooting hormone: Dip the cut end of each stem into your rooting hormone, tapping off any excess.
- Pot them up: Fill your pots with the prepared potting mix. Make a small hole in the center of each pot with your finger or a pencil. Carefully insert the cuttings into the holes, ensuring the bottom nodes are covered by soil. Gently firm the soil around the base of each cutting.
- Water gently: Water the pots thoroughly until water drains from the bottom.
Water Propagation (A Simpler Option)
While I prefer soil for Prinsepia, some cuttings can root in water, though it’s often a bit trickier to transition them to soil later.
- Prepare cuttings: Take cuttings as described above, remove lower leaves.
- Place in water: Nestle the cuttings in a jar or vase of clean water, ensuring the leaf nodes are submerged but the leaves themselves are not.
- Change water regularly: Change the water every few days to keep it fresh and prevent bacterial growth.
- Be patient: Roots can take several weeks to appear.
The “Secret Sauce” (Pro Tips)
Here are a few little tricks I’ve learned over the years that can make a big difference:
- Cleanliness is paramount! I can’t stress this enough. Use sterilized tools and clean pots. A bit of bleach solution or alcohol can sanitize your shears between cuts if you’re worried about passing any diseases.
- Mist, don’t soak: Once your cuttings are in their pots and covered with a bag or dome, mist them lightly every day or two. You want the environment to be humid, but not waterlogged. Soggy conditions are a recipe for rot.
- Bottom heat is your friend: If you have a propagation mat or a warm windowsill, placing your pots on it can significantly speed up root development. Prinsepia cuttings love a bit of warmth from below.
Aftercare & Troubleshooting
Once roots have formed (you can usually tell by gentle tugging – if there’s resistance, you have roots!), it’s time to ease them into their new life.
- Gradual acclimatization: If you used a plastic bag or dome, gradually remove it over a few days to let your new plants get used to normal humidity.
- Gentle watering: Continue to keep the soil consistently moist, but not soggy. Water when the top inch of soil feels dry.
- Bright, indirect light: Place your developing plants in a spot with bright, but filtered sunlight. Direct sun can scorch delicate new growth.
- Signs of trouble: The most common issue is rot. If a cutting turns black and mushy, it’s likely rotted. This usually means too much moisture and not enough air circulation. Sadly, there’s usually no saving a rotted cutting. Another sign of failure is wilting that doesn’t perk up after watering, which could mean the cuttings didn’t form roots or the environment is too dry.
Keep Going and Enjoy the Process!
Propagating plants is a journey, not a race. There will be times when some cuttings don’t make it, and that’s perfectly okay. Don’t get discouraged! Every gardener experiences failures. Celebrate the successes, learn from the setbacks, and most importantly, enjoy the rewarding process of bringing more beautiful Prinsepia uniflora into the world. Happy gardening!
Resource:
https://identify.plantnet.org/k-world-flora/species/Prinsepia%20uniflora%20Batalin/data