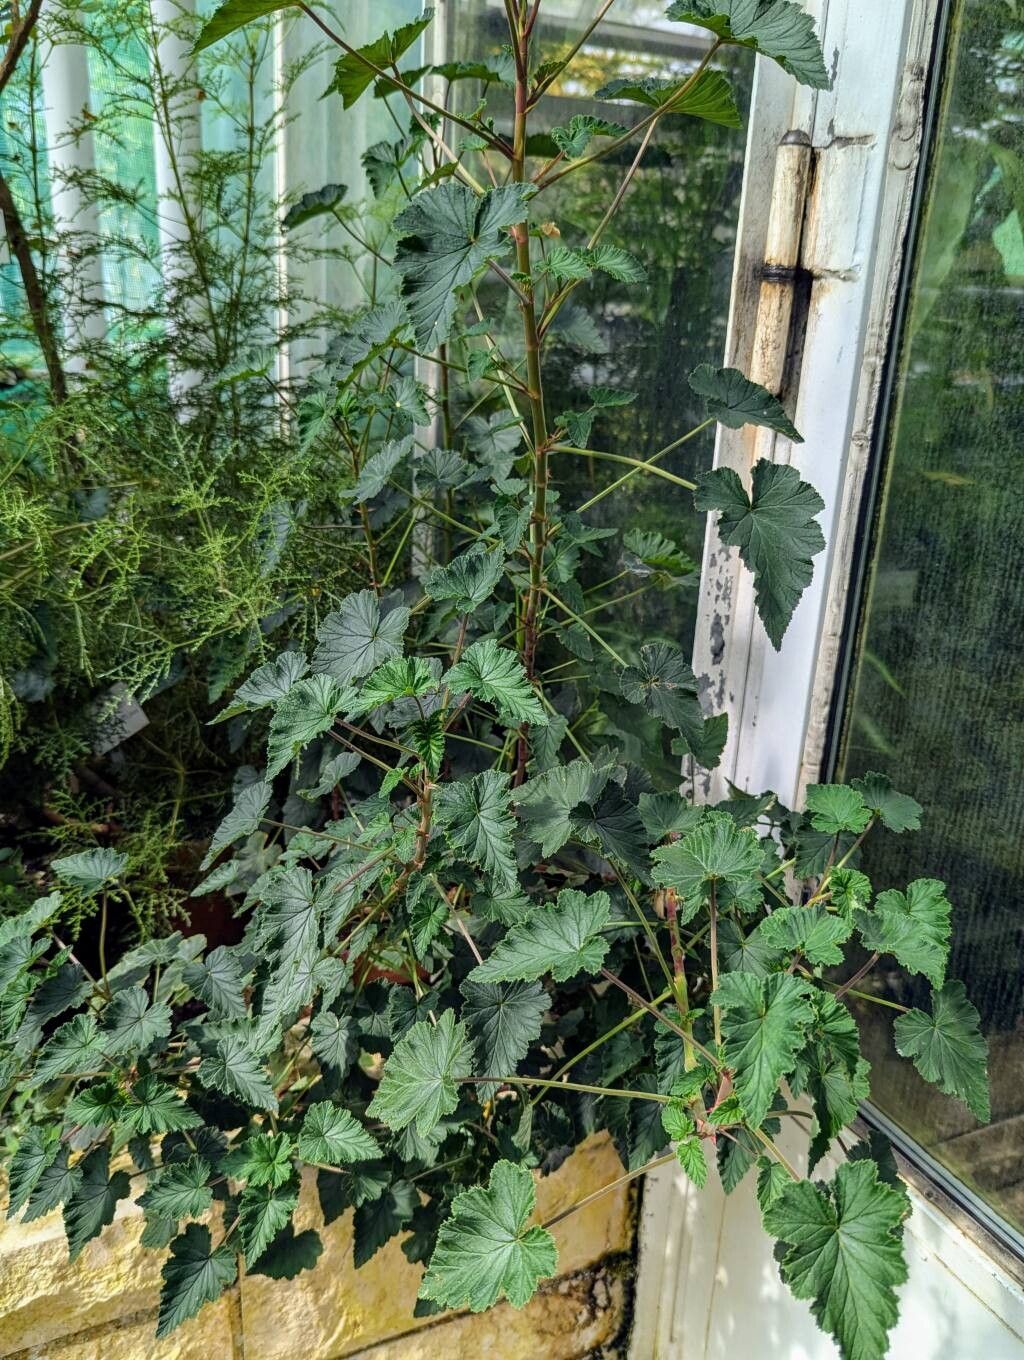
Oh, Pelargonium cordifolium! Isn’t that one of the loveliest of the geranium family? Those heart-shaped leaves are just darling, and the delicate, often fragrant flowers are such a cheerful sight. If you’ve ever admired a particularly robust specimen, you’ll know the joy of being able to create more of them. Propagating them is a wonderful way to fill your garden, share with friends, or just expand your own collection.
Now, for the big question: is it easy? I’d say Pelargonium cordifolium is moderately easy to propagate. It’s not a plant that will throw a tantrum if you get one little thing wrong, but it does appreciate a bit of know-how, especially for beginners. With these tips, though, I think you’ll find great success!
The Best Time to Start
Honestly, the sweetest spot for propagating Pelargonium cordifolium is when the plant is in its active growth phase. For most of us, this means late spring through early summer. The plant is energized, pushing out new growth, and has all the oomph it needs to put those energy into developing roots. Avoid propagating when the plant is stressed from extreme heat or dormancy.
Supplies You’ll Need
Here’s a handy list to get you started:
- Sharp Pruning Shears or Knife: Clean, sharp tools are your best friends for making clean cuts.
- Sterile Potting Mix: A mix specifically for seedlings or cuttings works best. I like to use a blend of peat moss and perlite, or you can buy a good quality commercial mix. Avoid heavy garden soil.
- Small Pots or Propagation Trays: Clean pots are essential to prevent disease.
- Rooting Hormone (Optional but Recommended): This can give your cuttings a significant boost. Look for products containing IBA.
- Plastic Bags or a Propagation Dome: To create a humid environment.
- Watering Can with a Fine Rose: For gentle watering.
- Labels: To keep track of what you’ve planted and when!
Propagation Methods: Stem Cuttings
This is truly the star method for Pelargonium cordifolium. It’s straightforward and yields excellent results.
- Select Your Cuttings: Look for healthy, non-flowering stems. You want stems that are firm but not woody. About 3-4 inches long is ideal. You can often find these on the new growth of the plant.
- Make the Cut: Using your clean pruners, make a clean cut just below a leaf node. A leaf node is where a leaf attaches to the stem; this is where the root will actually emerge.
- Prepare the Cutting: Gently remove the bottom leaves, leaving just two or three at the top. If the leaves are very large, you can even cut them in half to reduce water loss.
- Apply Rooting Hormone (Optional): Dip the cut end of the stem into your rooting hormone powder or gel. Tap off any excess. If you’re not using hormone, that’s okay, it just might take a little longer to root.
- Plant Your Cuttings: Fill your pots or trays with your pre-moistened potting mix. Make a small hole with your finger or a pencil. Gently insert the cutting into the hole, ensuring the leaf nodes are below the surface of the soil.
- Water Gently: Water delicately until the soil is evenly moist but not soggy.
- Create Humidity: Cover the pots with a clear plastic bag, using stakes to keep the bag from touching the leaves, or place them under a propagation dome. This traps moisture, which is crucial for cuttings to root.
- Find a Cozy Spot: Place your pots in a bright location, but out of direct, intense sunlight. A consistent temperature of around 65-75°F (18-24°C) is perfect.
The “Secret Sauce” (Pro Tips)
Here are a few little tricks I’ve picked up over the years:
- Let Them Callus: After you make your cuttings, I sometimes let the cut end dry out for a few hours, or even overnight, before dipping in rooting hormone and planting. This “callusing” can help prevent rot, especially if your environment is a bit more humid.
- Bottom Heat is Your Friend: If you have the means, placing your pots on a heat mat can truly speed up root development. It mimics the warmth of spring soil and encourages those roots to get going.
- Don’t Over Water! This is probably the biggest mistake new propagators make. Think of it as giving them a good drink, not a bath. Constantly wet soil will lead to rot very quickly. Let the top inch of soil dry slightly between waterings.
Aftercare & Troubleshooting
Once your cuttings have a good root system, you’ll see new growth emerging. You’ll know they’re rooted when they resist a gentle tug – don’t pull them out too much, though!
- Gradual Acclimatization: Once roots are established, slowly remove the plastic bag or dome, increasing the ventilation over a few days so the new plants adjust to normal humidity.
- First Potting Up: When the new plants are starting to look robust and have a decent root ball (you might see roots peeking out the bottom of the pot), it’s time to pot them into slightly larger containers with a good quality potting mix.
- Common Pests & Diseases: The most common issue you’ll encounter is rot, usually caused by overwatering or poor air circulation. If you see a cutting turning black and mushy, it’s best to discard it and check your watering habits. Fungal issues can also occur in overly damp conditions. Ensure good airflow.
A Little Patience Goes a Long Way
Propagating plants is a journey, and each cutting is a little experiment. Don’t be discouraged if not every single one makes it – that’s part of the learning curve! The satisfaction of seeing those tiny roots form and a new plant emerge is truly one of gardening’s greatest pleasures. Enjoy the process, and soon you’ll have a whole garden of lovely Pelargonium cordifolium to admire. Happy propagating!
Resource:
https://identify.plantnet.org/k-world-flora/species/Pelargonium%20cordifolium%20(Cav.)%20Curtis/data