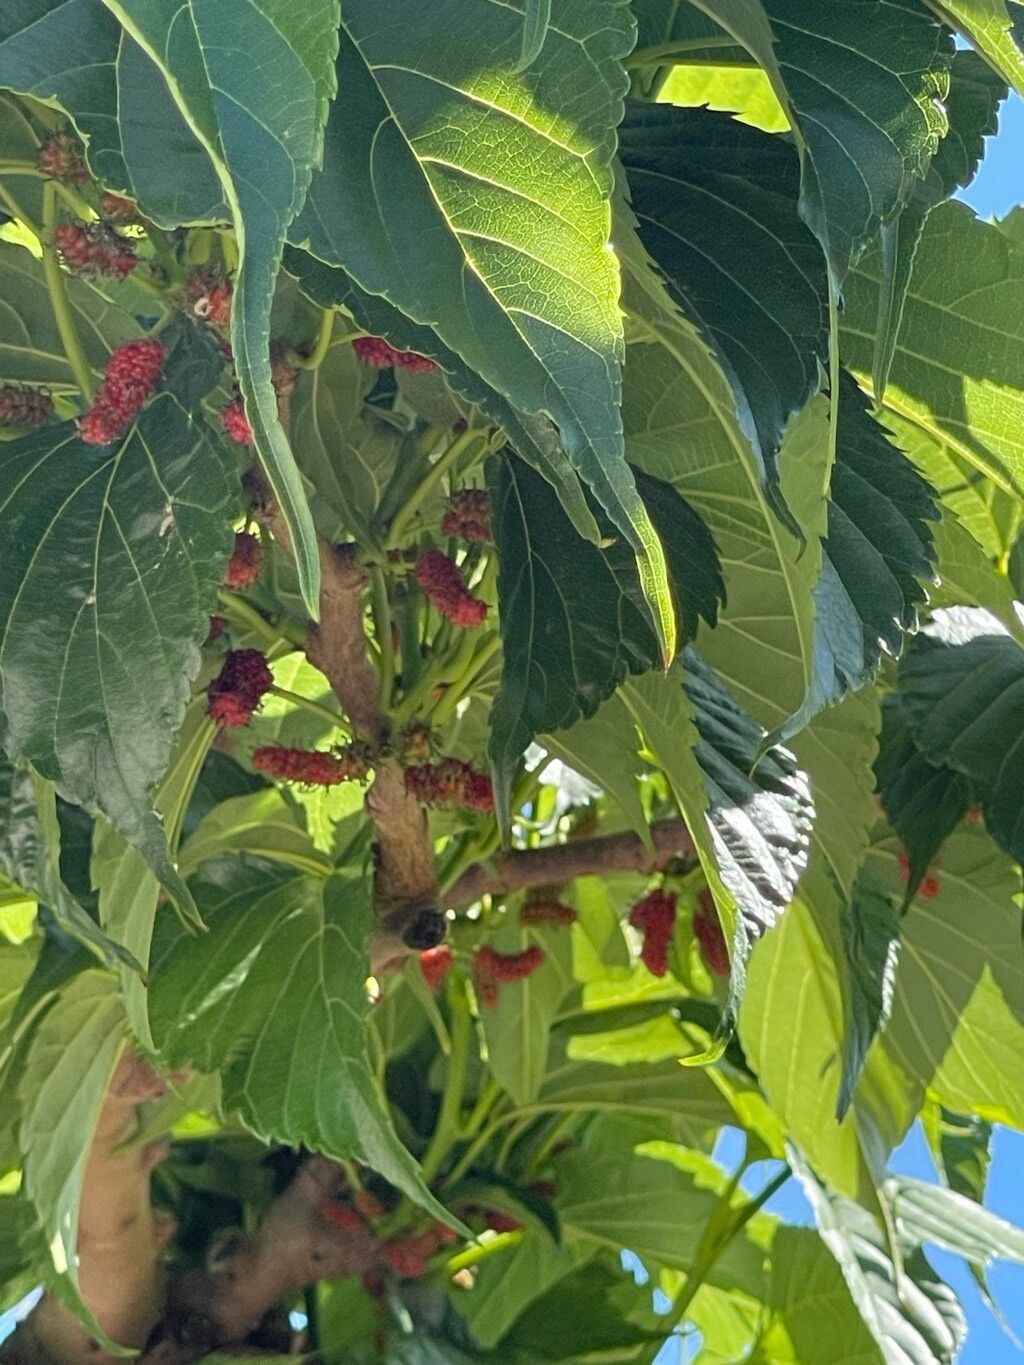
Oh, hello there! I’m so glad you’re curious about propagating Morus indica, or as many of us know it, the Indian Mulberry or the humble Vayna tree. It’s a plant I’ve had the pleasure of working with for years, and honestly, there’s something incredibly satisfying about coaxing a brand new plant into life from a bit of a parent. With its edible fruits and its often unassuming grace, it makes for a wonderful addition to any garden. And the best part? For the most part, it’s quite welcoming to beginners! Don’t let the word “propagation” intimidate you; it’s just a fancy way of saying “making more plants.”
The Best Time to Start
When it comes to Morus indica, I find my best results come from taking softwood cuttings just as the plant is entering its active growth phase in spring. Think of it as taking a cutting from a stem that’s still a little bit pliable, not completely woody and hard. This is usually after the last frost has passed and the days are starting to lengthen and warm up. You can also have success with semi-hardwood cuttings later in the summer, as the new growth begins to mature a bit.
Supplies You’ll Need
Before we dive in, let’s make sure you have your tools ready. It’s like preparing for a baking project – having everything at hand makes the process so much smoother!
- Sharp Pruning Shears or a Craft Knife: For clean cuts. Make sure they’re sterilized!
- Rooting Hormone (Optional but Recommended): A powder, gel, or liquid to encourage faster root development.
- Propagation Pots or Trays: Small pots or seed trays with good drainage.
- Well-Draining Potting Mix: I like a blend of equal parts peat moss, perlite, and coarse sand. You can also buy a good quality seed-starting mix.
- Plastic Bags or a Propagator: To create a humid environment.
- Small Labels: For keeping track of what you’ve potted.
- A Watering Can with a Fine Rose: For gentle watering.
Propagation Methods
There are a couple of ways you can go about it, but here’s my tried-and-true method that usually yields great results.
Stem Cuttings (The Most Common Way!)
This is where the magic happens, in my experience.
- Select Your Cuttings: Look for healthy, disease-free stems on your Morus indica plant. You want pieces about 4-6 inches long. These should have several sets of leaves.
- Make the Cut: Using your clean shears or knife, make a clean, angled cut just below a leaf node (where a leaf grows from the stem). This is where root development is most likely to occur.
- Prepare the Cutting: Gently remove the lower leaves, leaving only the top two or three. This prevents them from rotting when the cutting is in the soil. If the remaining leaves are very large, you can even cut them in half crosswise to reduce water loss.
- Apply Rooting Hormone: Dip the cut end of the stem into your rooting hormone, ensuring it’s evenly coated. Tap off any excess.
- Plant Your Cuttings: Fill your small pots or trays with your well-draining potting mix. Make a small hole with a pencil or your finger, and gently insert the cutting. Firm the soil around it.
- Water Gently: Water thoroughly but gently, ensuring the soil is moist but not waterlogged.
- Create Humidity: Cover the pot or tray with a clear plastic bag, a propagator lid, or a plastic dome. This will create a mini-greenhouse effect. Make sure the leaves don’t touch the plastic if possible!
Water Propagation (A Visual Treat!)
If you’re more of a visual learner, you can try rooting cuttings in water.
- Prepare Cuttings: Follow steps 1-3 from the stem cuttings method.
- Place in Water: Put the prepared cuttings into a clean glass or jar filled with fresh water. Make sure that the leaf nodes where you removed the leaves are submerged.
- Location: Place the jar in a bright spot, but out of direct sunlight.
- Change Water Regularly: Change the water every few days to keep it fresh and prevent bacteria buildup. You’ll start to see little white roots emerging in a few weeks.
The “Secret Sauce” (Pro Tips)
Here are a few things I’ve learned over the years that can really give you an edge.
- Don’t Let Leaves Touch the Water: If you’re water propagating, it’s crucial that the submerged leaf nodes are the only part in the water. Any leaves above the water level that dip in can quickly rot, and you don’t want that inviting disease into your cutting before it even roots.
- Bottom Heat is Your Friend: For stem cuttings, placing your pots on a gentle heat mat can dramatically speed up root formation. This mimics the warmth of spring soil and encourages those roots to get going. Aim for a consistent temperature of around 70-75°F (21-24°C).
- Cleanliness is Paramount: I can’t stress this enough! Before you make any cuts or prepare your pots, sterilize your tools and pots. A quick wipe with rubbing alcohol or a dip in soapy water followed by a rinse is usually sufficient. This prevents the transmission of any fungal or bacterial diseases that could kill your new plant before it even starts.
Aftercare & Troubleshooting
Once you see those glorious new roots appearing – congratulations! It’s time for a little TLC.
- Transplanting: If you used water propagation, wait until your roots are about an inch long before carefully transplanting them into your well-draining potting mix. For cuttings already in soil, you can gently tug on one to feel for resistance, indicating roots. If you’re unsure, look for signs of new leaf growth!
- Gradual Acclimation: Once roots are established, gradually remove the plastic cover over a few days to let the new plant acclimate to normal humidity. Start with an hour or two a day, then increase exposure.
- Watering: Continue to keep the soil consistently moist but not soggy. Overwatering is a common culprit for failure.
- Troubleshooting: The most common issue you’ll face is rot. If a cutting turns black and mushy, it’s likely rotted. This is usually due to overwatering, poor drainage, or a lack of air circulation. If you see the leaves wilting but the stem still looks firm, it might be that the cutting hasn’t rooted yet and is struggling to get water. Sometimes, a little patience is all it needs. If a cutting persistently fails, don’t be discouraged! Try again with fresh material.
Happy Propagating!
See? It’s really not that daunting, is it? The joy of watching a tiny cutting transform into a thriving plant is a reward in itself. Be patient with the process, trust your instincts, and don’t be afraid to experiment. Each attempt is a learning opportunity. Before you know it, you’ll be sharing your beautiful Morus indica plants with friends and family. Happy gardening!
Resource:
https://identify.plantnet.org/k-world-flora/species/Morus%20indica%20L./data