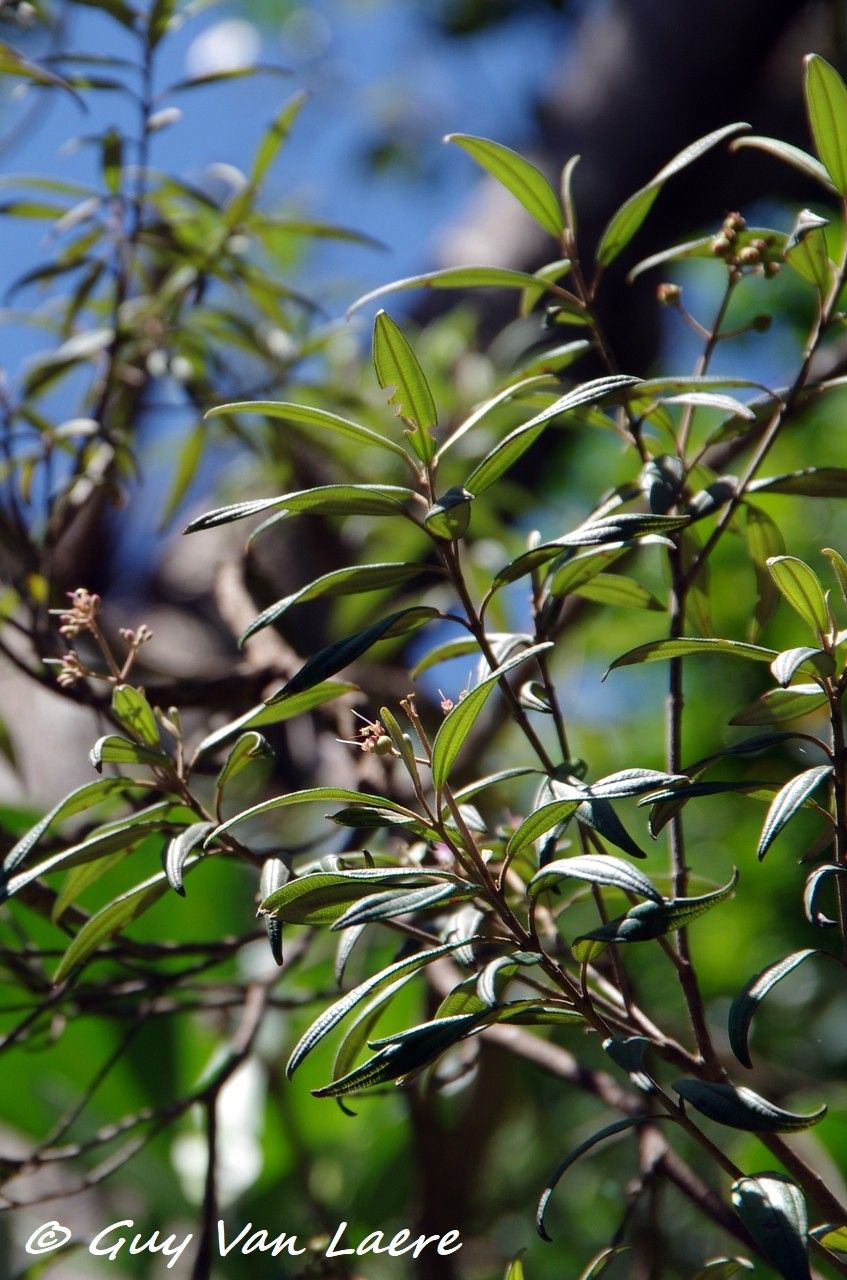
Oh, hello there! Come on in, grab a cup of something warm. Today, we’re going to talk about a really special plant – Miconia angustifolia. If you’ve ever seen one of these beauties, all glossy leaves and a shape that just works in so many garden styles, you know why they’re so captivating. They bring a touch of the tropics, a hint of exotic elegance, and the best part? You can make more of them!
Propagating Miconia angustifolia is a wonderfully rewarding way to expand your collection. It’s a fantastic feeling to nurture a tiny cutting into a full-fledged plant. Now, for beginners, I wouldn’t say it’s the absolute easiest plant to propagate right out of the gate, but with a little attention and the right approach, you’ll find it’s quite manageable and incredibly satisfying.
The Best Time to Start
For Miconia angustifolia, you’ll get the highest success rates when you propagate from actively growing, healthy stems. This usually means the late spring through summer months when the plant is putting on its best growth. Avoid trying to take cuttings when the plant is stressed, perhaps from extreme heat or cold, or if it’s just finished flowering.
Supplies You’ll Need
Gathering your supplies beforehand makes the whole process smooth sailing. Here’s what I usually have on hand:
- Sharp, clean pruning shears or a good knife: Essential for making clean cuts to prevent disease. I sterilize mine with rubbing alcohol between uses.
- Well-draining potting mix: A good blend of potting soil with perlite or coarse sand is perfect. You want to avoid anything that stays too soggy.
- Rooting hormone (optional, but recommended): This can give your cuttings a helpful boost in developing roots. I prefer a powder form, but a gel works too.
- Small pots or trays: Clean pots with drainage holes are a must.
- Plastic bags or a propagation dome: To create a humid environment for your cuttings.
- Water: For watering your cuttings.
- Labels and a marker: So you don’t forget what you’ve planted and when!
Propagation Methods
Let’s get our hands dirty! The most reliable way to propagate Miconia angustifolia is through stem cuttings.
Stem Cuttings (for Best Results):
- Select your cutting: Look for a healthy stem that’s about 4-6 inches long. It should be semi-hardwood – meaning it’s not brand new and soft, but not old and woody either. Usually, the current season’s growth is ideal.
- Make the cut: Using your sterilized pruning shears or knife, make a clean cut just below a leaf node (where a leaf attaches to the stem). This is where roots tend to form most readily.
- Prepare the cutting: Gently remove the lower leaves from the bottom 2-3 inches of the stem. You can leave 2-4 leaves at the top to help with photosynthesis, but if they are very large, you might want to nip them in half to reduce water loss.
- Apply rooting hormone (if using): Dip the cut end of the stem into your rooting hormone, tapping off any excess.
- Potting up: Fill your clean pots with your well-draining potting mix. Make a small hole in the center of the soil with a pencil or your finger. Insert the cut end of the stem into this hole, ensuring it’s deep enough to be stable. Gently firm the soil around the base of the cutting.
- Water gently: Water the potting mix thoroughly until you see water draining from the bottom.
- Create humidity: Cover the pot loosely with a plastic bag or place it under a propagation dome. You want to trap humidity around the leaves. Make sure the leaves don’t touch the plastic if possible, as this can encourage rot. You can use stakes to prop the bag up.
- Placement: Place the potted cuttings in a bright location, but out of direct sunlight. They also appreciate consistent warmth.
The “Secret Sauce” (Pro Tips)
Now for a couple of things I’ve learned over the years that can really give you an edge:
- Bottom Heat is Your Best Friend: Miconia angustifolia loves a bit of warmth from below. Placing your pots on a heated propagation mat can significantly speed up root development and drastically increase your success rate. It mimics the warmth of the soil in their natural habitat.
- Don’t Drown Your Cuttings: While humidity is crucial, waterlogged soil is the enemy. Check the soil moisture regularly by gently poking your finger in. Water only when the top inch or so feels dry. It’s better to err on the side of a little dry than too wet.
- Patience with the Leaves: If you see those lower leaves starting to droop a bit, don’t panic immediately. It’s often normal as the cutting expends energy on root formation. However, if the entire cutting looks shriveled and forlorn, it might be too dry or not getting enough humidity.
Aftercare & Troubleshooting
Once you start to see new leaf growth or feel a gentle tug when you lightly try to pull on the cutting (sign of roots!), congratulations! You’ve got a happy new plant.
- Gradual Acclimation: Begin to gradually increase ventilation by opening the plastic bag or increasing the vents on your dome over a week or two. This helps the new plant adjust to lower humidity.
- Continued Watering: Keep the soil moist but not soggy. As it grows, you’ll be able to water it more like a mature plant.
- Light Adjustment: Continue to provide bright, indirect light. As it matures, you can slowly introduce it to more direct sun if its parent plant enjoys it.
- Signs of Trouble: The biggest issue is usually rot. If your cutting turns black and mushy, it’s likely rotted. This is often due to overwatering or poor drainage. You might also see leaves yellowing and dropping if the environment is too dry or the light levels are too low. Don’t be discouraged if a few cuttings don’t make it; it’s all part of the learning process.
So, there you have it! Propagating Miconia angustifolia is a journey that’s well worth the effort. Be patient with the process, pay attention to those little cues your plants give you, and celebrate every bit of new growth. Happy propagating, and enjoy your ever-growing garden!
Resource:
https://identify.plantnet.org/k-world-flora/species/Miconia%20angustifolia%20(Sw.)%20Griseb./data