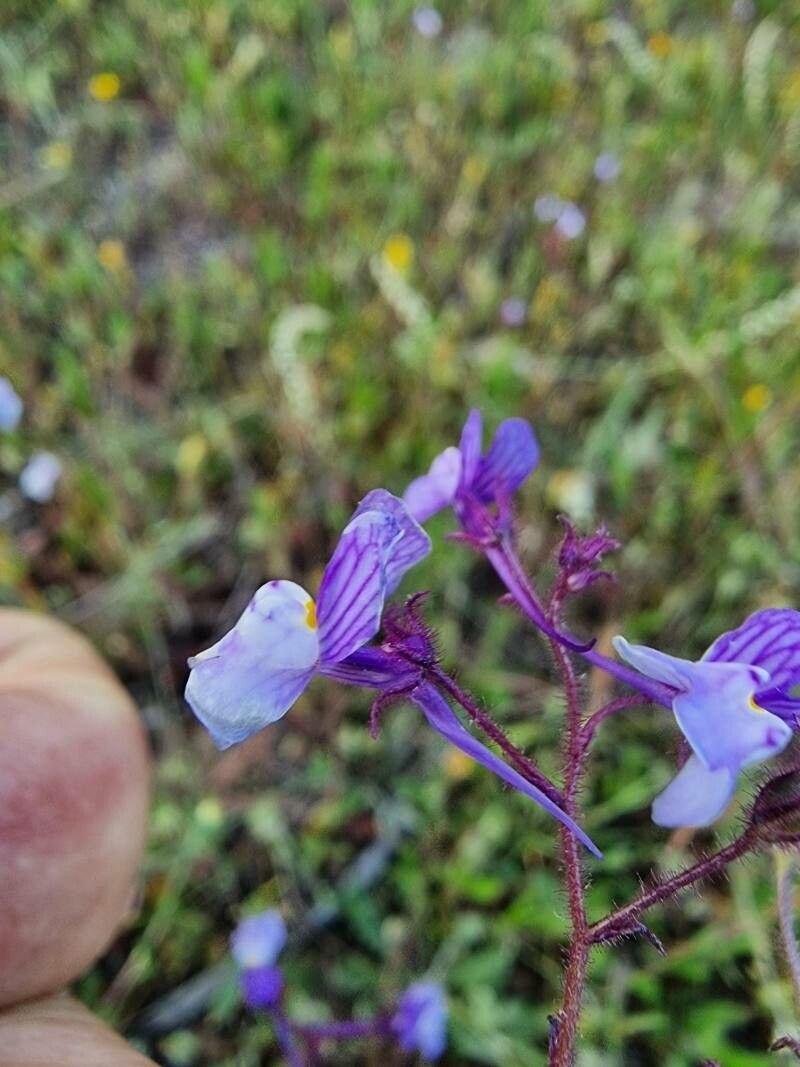
Oh, hello there! Pull up a chair and let’s chat about one of my absolute favorites: Linaria incarnata, or the delightful Mexican Toadflax. If you’re anything like me, you’ve probably fallen for its charming, snapdragon-like blooms that dance in the breeze in shades of rose, pink, and white. It’s a plant that just radiates joy and is surprisingly easy to find yourself surrounded by, especially if you take a little initiative to propagate it. And you know what? That’s precisely what we’re going to dive into today! If you’re new to the gardening scene, don’t you worry. Linaria incarnata is a wonderfully welcoming plant for beginners looking to expand their collection without too many headaches.
The Best Time to Start
For the highest success rate, I find the late spring to early summer is your golden ticket. The plant is usually in its active growing phase then, producing plenty of fresh, pliable stems that are perfect for taking cuttings. You can also propagate it from seed sown in early spring, but cuttings usually give you a head start and a more robust plant sooner.
Supplies You’ll Need
Here’s what I like to have on hand:
- Sharp, clean pruning shears or a sharp knife. Think of them as your plant scalpels!
- A small pot or tray with drainage holes. Nothing fancy needed here, just good drainage.
- A well-draining potting mix. I often use a 50/50 blend of seed-starting mix and perlite or coarse sand. This is key to preventing soggy roots.
- Rooting hormone (optional, but recommended). A little powder or gel can really give your cuttings a nudge in the right direction.
- A clear plastic bag or a propagation dome. This helps create a humid environment, which is crucial for cuttings.
- A watering can with a fine spray nozzle. Gentle watering is best.
Propagation Methods
Let’s get our hands dirty! For Linaria incarnata, stem cuttings are my go-to method. They’re straightforward and incredibly effective.
- Take Your Cuttings: On a healthy, non-flowering shoot, select a stem that’s about 4-6 inches long. Using your clean shears or knife, make a clean cut just below a leaf node (that little bump where leaves emerge). You’re looking for new, but slightly firm, growth.
- Prepare the Cuttings: Gently remove the lower leaves from the cutting, leaving just two or three at the top. This prevents them from rotting in the soil and encourages the plant to focus energy on root development.
- Apply Rooting Hormone (if using): Dip the cut end of the stem into your rooting hormone, tapping off any excess.
- Plant Your Cuttings: Fill your pot or tray with your prepared potting mix. Make a small hole with your finger or a pencil, and gently insert the cut end of the stem into the hole. Firm the soil lightly around it. I like to plant several cuttings in one pot, giving them a little space.
- Water and Cover: Water the soil gently until it’s evenly moist, but not waterlogged. Then, cover the pot with your plastic bag or propagation dome. This is your mini-greenhouse.
The “Secret Sauce” (Pro Tips)
Now, for a few little tricks that have made all the difference for me:
- “Don’t let the leaves touch the water” isn’t really applicable here since we’re using soil. But my equivalent is: “Don’t let the leaves touch the soil either!” Make sure all the leaves are above the soil line to prevent rot. Anything submerged is a potential problem.
- Bottom Heat is Your Friend: If you have the means, placing your pots on a gentle heat mat can significantly speed up root formation. It mimics the warmth of a greenhouse floor and gives those roots a cozy environment to grow. Just set it to a low temperature.
- Be Patient with Pollen: If you notice a tiny bit of pollen on your cutting, don’t panic! It’s natural. Just try to avoid disturbing it too much as you prepare the cutting.
Aftercare & Troubleshooting
Once your cuttings are planted and covered, place them in a location that receives bright, indirect light. Avoid direct sun, which can scorch the delicate cuttings.
Keep the soil consistently moist but never soggy. Check it every few days. You should start to see signs of rooting within 2-4 weeks, sometimes a bit longer. You can gently tug on a cutting; if it offers resistance, you’ve got roots!
The first sign of trouble is usually wilting and yellowing leaves, often followed by mushy stems. This is usually a sign of overwatering. If you see this, remove the affected cutting, ensure the soil isn’t too wet, and improve air circulation by briefly opening your propagation dome or bag. Sometimes, a bit of fungal growth may appear on the surface of the soil; that’s often a sign that it’s too damp.
Once your cuttings have developed a good root system, you can carefully transplant them into individual pots with their regular potting mix. Continue to water them when the top inch of soil feels dry.
A Encouraging Closing
Propagating Linaria incarnata is a truly rewarding experience. It’s a chance to multiply the beauty you already enjoy and share it with fellow garden lovers, or simply to fill your own garden with more of these delightful blooms. So, gather your supplies, take a deep breath, and give it a go. Be patient, observe your little plants, and enjoy the magic of creating new life. Happy propagating!
Resource:
https://identify.plantnet.org/k-world-flora/species/Linaria%20incarnata%20(Vent.)%20Spreng./data