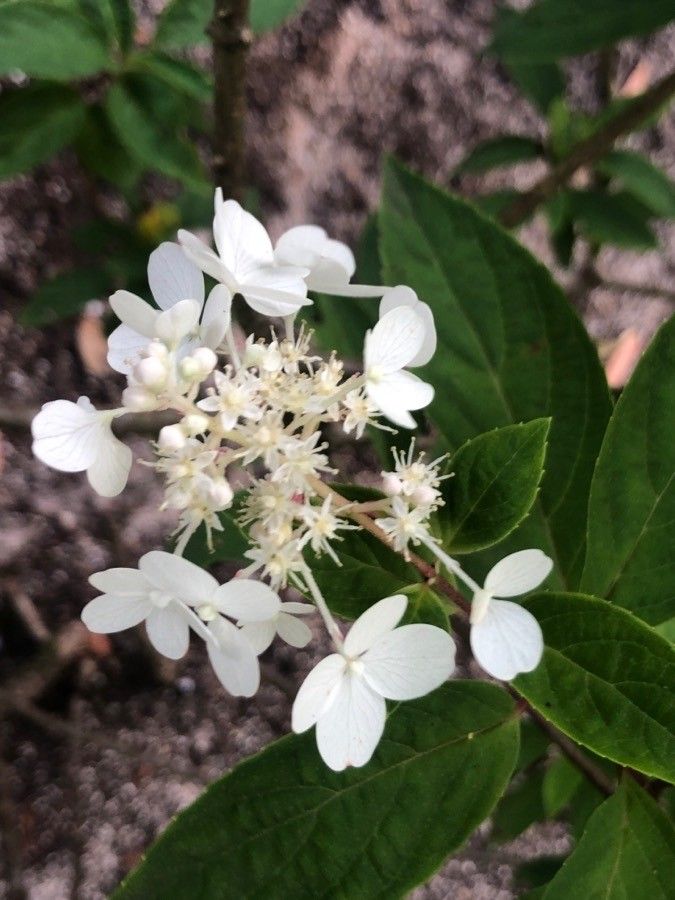
Oh, Hydrangea sikokiana! You know, the one with those beautiful, often white or pale pink lacecap blooms that just seem to glow in the shade? It’s a real stunner in any garden, and I’m so glad you’re thinking about propagating it. There’s a special kind of magic in taking a piece of a beloved plant and coaxing it into a whole new life. It’s a wonderfully rewarding feeling, and I can tell you, it’s absolutely doable for beginners. Don’t let the idea of propagation intimidate you at all!
The Best Time to Start
For Hydrangea sikokiana, the sweet spot for taking cuttings is usually late spring to early summer. This is when the plant is actively growing, and you’ll be taking what we call “semi-hardwood” cuttings. These are stems that are starting to lose their bright green flexibility and are becoming a bit more firm, but they’re not fully woody yet. Think of it like this: they’re mature enough to have the energy to root, but still pliable enough to respond well to the process.
Supplies You’ll Need
Let’s get our little propagation station ready! Here’s what I always have on hand:
- Sharp Pruning Shears or a Knife: Cleanliness is key here!
- Rooting Hormone: A powder or gel will work. It really gives your cuttings a boost.
- Potting Mix: I like a well-draining mix, often a blend of peat moss, perlite, and a little bit of coarse sand. You can also buy specific succulent or cutting mixes.
- Small Pots or Seed Trays: With drainage holes, of course!
- Watering Can or Mister: For gentle watering.
- Clear Plastic Bags or a Propagator with a Lid: To create a humid environment.
- Optional: Heating Mat: If your home is on the cool side.
Propagation Methods
The most reliable way to get more Hydrangea sikokiana plants is through stem cuttings. It’s straightforward and gives you a great success rate.
- Take Your Cuttings: On a mild morning, after the dew has dried, select a healthy, non-flowering stem. Look for a stem that’s about pencil-thick and has grown this season. Using your sharp shears, cut a piece about 4-6 inches long. Make the cut just below a leaf node – that’s the point where a leaf grows from the stem.
- Prepare the Cuttings: Gently strip off the lower leaves, leaving just a couple of leaves at the very tip. This reduces water loss. If your cutting has any flower buds, pinch them off. We want all the plant’s energy to go into rooting, not flowering.
- Apply Rooting Hormone: Dip the cut end of the stem into your rooting hormone, tapping off any excess.
- Plant Your Cuttings: Fill your pots with your prepared potting mix. Use a pencil or your finger to make a hole in the soil. Then, insert the cutting, making sure the nodes where you removed the leaves are buried in the soil. Gently firm the soil around the stem.
- Water Gently: Water the pot thoroughly but gently. You don’t want to blast the soil away.
The “Secret Sauce” (Pro Tips)
Now, for a couple of little tricks that have made a big difference for me over the years:
- Don’t Let the Leaves Touch the Water: When you’re misting or watering, make sure the remaining leaves aren’t sitting in puddles of water. This can encourage rot. If you’re using a clear plastic bag to create humidity, try to prop it up so it doesn’t collapse onto the leaves, or snip off any leaves that are touching the plastic.
- Bottom Heat is Your Friend: If you can, place your pots on a gentle heating mat. This is especially helpful in cooler homes. Warmed soil encourages root development much faster than cool soil. You want the soil temperature to be around 70-75°F (21-24°C).
Aftercare & Troubleshooting
Once your cuttings are planted and you’ve created that humid little microclimate (by covering them with a bag or propagator lid), the waiting game begins. Keep the soil consistently moist but not soggy. You can check by gently poking your finger into the soil.
You’ll know your cutting has rooted when you see new leaf growth or feel a slight resistance when you gently tug on the stem. This usually takes anywhere from 4 to 12 weeks.
If you see your cutting turning yellow and wilting, or if there’s a mushy appearance at the base, that’s a sign of rot. This usually happens if the soil is too wet or there’s not enough air circulation. Don’t be discouraged if you lose a few – it’s part of the learning process! Just try to assess what might have gone wrong for the next batch. Once roots are well-established, you can gradually remove the plastic covering over a few days to acclimate them to normal humidity, and then transplant them into their own individual pots.
A Little Patience Goes a Long Way
Propagating Hydrangea sikokiana is such a fulfilling journey. It takes a bit of patience, a dash of observation, and a whole lot of encouragement for your new little plant. Enjoy the process, watch those first tiny roots emerge, and soon you’ll have a whole new garden of these beautiful hydrangeas to share or enjoy yourself. Happy propagating!
Resource:
https://identify.plantnet.org/k-world-flora/species/Hydrangea%20sikokiana%20Maxim./data