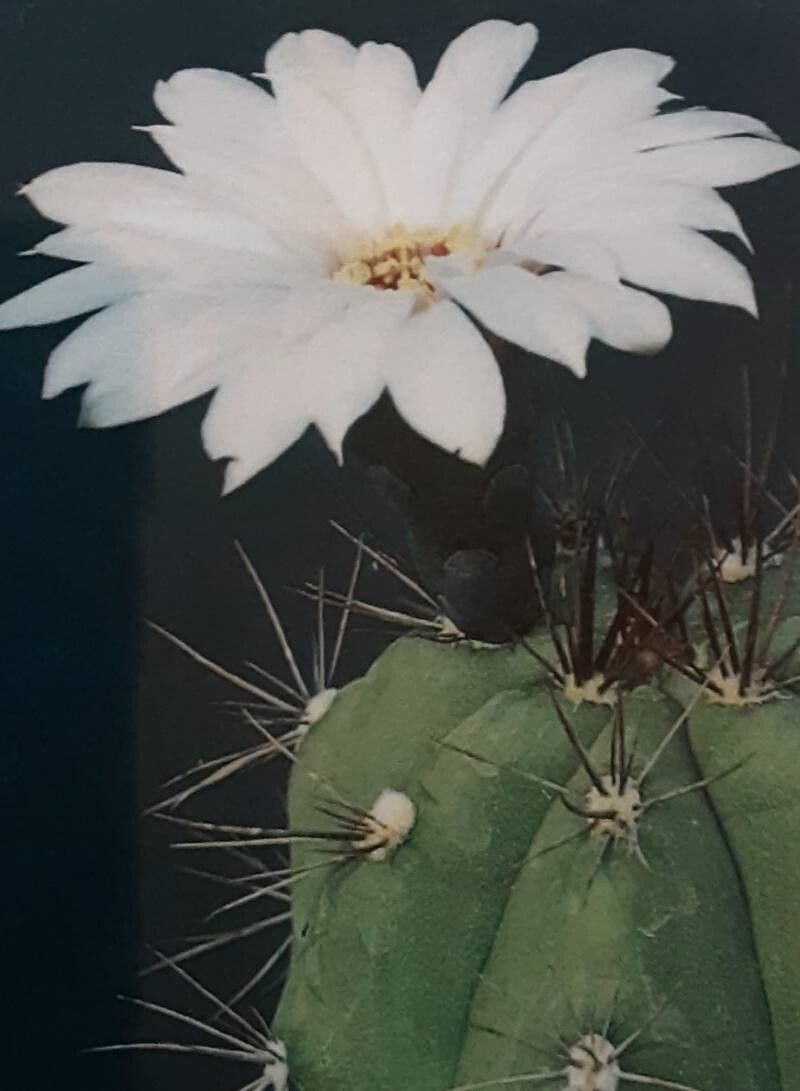
Hello there, fellow plant enthusiasts! It’s a joy to chat with you today about one of my absolute favorite cacti: the Gymnocalycium paediophylum. These little beauties, with their unique ribbed bodies and sometimes striking flower colors, bring such charm to any collection. Propagating them is not only a fantastic way to expand your cactus family but also incredibly rewarding. You’re essentially giving life to new generations of these spiky wonders!
Now, I know some cacti can be a bit finicky, but I’m happy to report that Gymnocalycium paediophylum is quite accessible for beginners. With a little patience and the right approach, you’ll be seeing new growth in no time.
The Best Time to Start
My experience tells me that spring is your best friend when it comes to propagating Gymnocalycium paediophylum. This is when the plant is naturally emerging from its dormancy and has plenty of energy to put into growing new roots. You’ll see the most vigorous activity and therefore the highest success rate. Aim for a time when temperatures are consistently warm but not scorching hot.
Supplies You’ll Need
Here’s what you’ll want to have on hand before you get started:
- Well-draining cactus and succulent soil mix: This is crucial! You can buy a pre-made one or create your own by mixing potting soil with perlite or pumice (about a 50/50 ratio).
- Sharp, sterilized pruning shears or a sharp knife: For making clean cuts.
- Rooting hormone powder (optional, but recommended): This can give your cuttings a helpful boost.
- Small pots or seedling trays: With drainage holes, of course.
- Spray bottle: For misting.
- Gravel or perlite (optional): For top-dressing to improve drainage and air circulation.
- Patience! (This is the most important tool).
Propagation Methods
Gymnocalycium paediophylum is most commonly and successfully propagated through offsets, which are like little baby plants that grow from the base of the parent cactus.
Offsetting (The Easiest Way):
- Wait for the right moment: Look for offsets that are at least an inch or two in diameter and appear to have their own root nubs forming at the base.
- Gently remove the offset: The best way to do this is to carefully twist or gently pry it away from the mother plant. If it’s being stubborn, use your sterilized knife or shears to make a clean cut as close to the base as possible.
- Allow it to ‘callus over’: This is a critical step! Place the removed offset in a dry, airy spot, out of direct sunlight, for 2-7 days. You want the cut surface to dry out and form a protective scab. This prevents rot when you plant it.
- Prepare your pot: Fill your small pot with your well-draining cactus mix. Slightly dampen the soil.
- Plant the offset: Gently press the callused end of the offset into the soil, just enough to keep it upright. You don’t need to bury it deeply.
- Resist watering immediately: Wait another week before giving it its first light watering. This allows any tiny wounds to heal.
The “Secret Sauce” (Pro Tips)
Now, for a couple of things I’ve learned over the years that can make a real difference:
- Don’t be afraid of a clean cut: A dull tool will crush tissues and make it harder for the plant to heal. Always use your sharpest, sterilized implement. A clean wound is a happy wound!
- Consider bottom heat: If you’re propagating in a cooler environment, placing your pots on a seedling heat mat can significantly speed up root development. Remember to use it in moderation, as too much heat can cook delicate roots.
Aftercare & Troubleshooting
Once you see signs of new growth – perhaps a slight swelling at the base or even tiny roots poking through the drainage holes – you’re on your way!
- Watering: Water sparingly. Let the soil dry out completely between waterings. Overwatering is the number one killer of newly propagated cacti. A good rule of thumb is to water lightly only when the soil is bone dry, and even then, don’t drench it.
- Light: Provide bright, indirect light. Avoid intense, direct sun for the first few weeks, as young plants can get sunburned.
- Troubleshooting – Rot: The most common problem you might encounter is rot. If you notice the offset becoming mushy, discolored, or collapsing, it’s likely rot. If caught early, you might be able to cut away the rotted parts with a clean knife and let the healthy portion callus over again. But often, it’s a sign that the conditions weren’t quite right. Don’t get discouraged – it happens to the best of us!
A Little Encouragement
Propagating can take time, and patience is truly a virtue in the garden. Celebrate the small victories, learn from any setbacks, and most importantly, enjoy the journey of nurturing new life. Happy propagating, and may your Gymnocalycium paediophylum collection flourish!
Resource:
https://identify.plantnet.org/k-world-flora/species/Gymnocalycium%20paediophylum%20Schütz/data