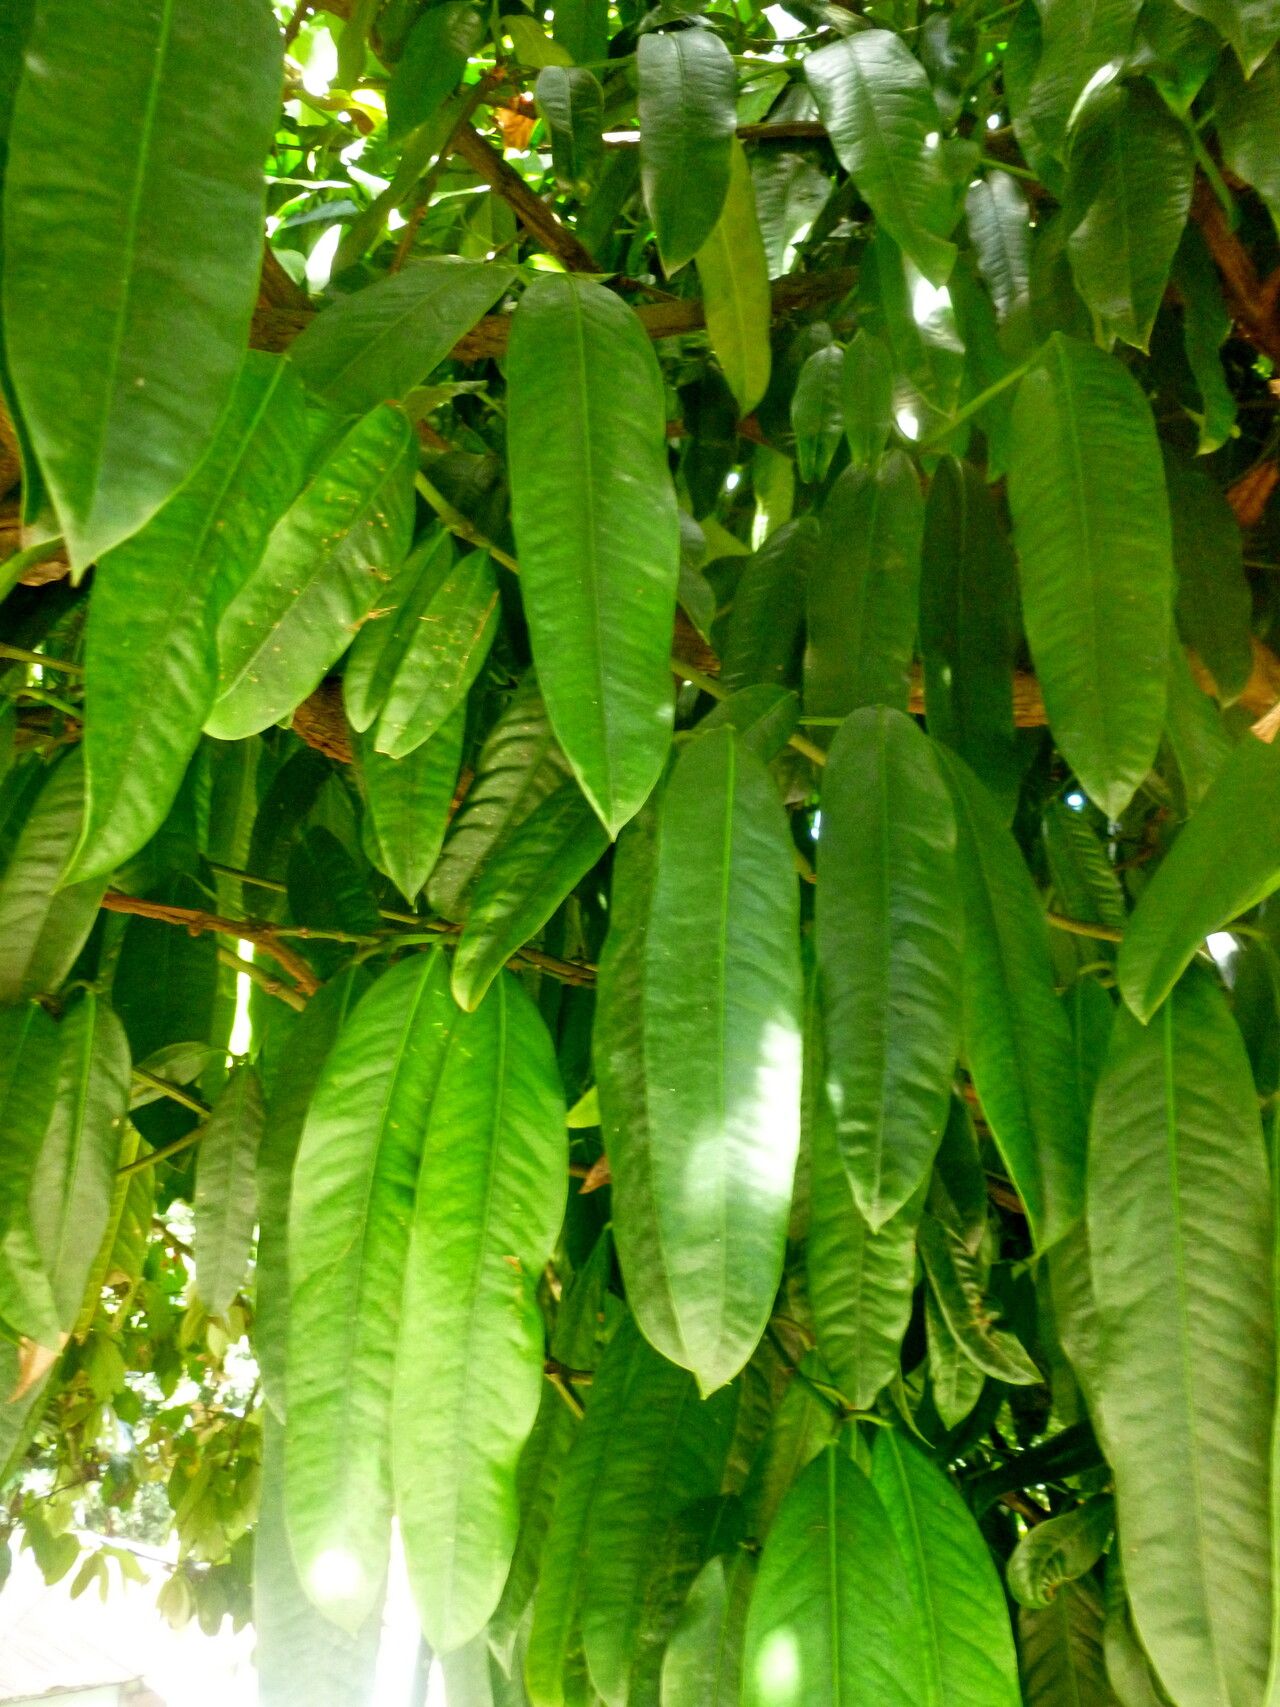
Hey there, fellow plant lovers! Today, we’re diving into the wonderful world of Garcinia xanthochymus, also known as the False Mangosteen or Borneo Manggis. This tropical beauty brings such a unique charm to the garden, with its glossy leaves and the promise of delicious, tangy fruit. If you’ve ever admired one and thought, “I wish I had one of my own!”, you’re in luck. Propagating Garcinia xanthochymus can feel a little daunting at first, but trust me, with a few key pointers, you can absolutely bring new life to your garden. It’s not the easiest plant for a complete beginner, but it’s incredibly rewarding once you get the hang of it.
The Best Time to Start
For the highest success rate with Garcinia xanthochymus, the sweet spot is during active growth, usually in late spring or early summer. You’re looking for stems that are somewhat mature – not brand new, tender shoots, but also not old, woody branches. Think of it as “semi-hardwood.” This is when the plant has plenty of energy reserves to put into producing new roots.
Supplies You’ll Need
Gathering your tools beforehand makes the whole process so much smoother. Here’s what I always have on hand:
- Sharp, clean pruning shears or a sharp knife: For making clean cuts.
- Rooting hormone powder or gel: This is your best friend for encouraging root development.
- Well-draining potting mix: A good blend of peat moss or coco coir, perlite, and a little bit of compost works wonders. You want moisture retention but also excellent drainage.
- Small pots or trays: Clean, with drainage holes!
- A clear plastic bag or propagation dome: To create a humid environment.
- Watering can or spray bottle: For gentle watering.
- Optional: Gentle heat mat: Especially useful if your ambient temperature is cooler.
Propagation Methods
While Garcinia xanthochymus can be grown from seed, my preferred method for quicker results and maintaining parent plant characteristics is stem cuttings.
Stem Cuttings
- Select your cutting: Look for a healthy, five-to-eight-inch stem that’s semi-hardwood. Make your cut just below a leaf node (where a leaf attaches to the stem). This is where the magic of root formation often begins.
- Prepare the cutting: Gently remove the lower leaves from the stem, leaving just a few at the top. This reduces water loss and prevents leaves from rotting in the soil.
- Apply rooting hormone: Dip the cut end of the stem into your rooting hormone, ensuring it’s well-coated. Tap off any excess.
- Plant the cutting: Fill your clean pot with the well-draining potting mix. Make a small hole in the center with your finger or a pencil. Insert the treated end of the cutting into the hole, ensuring the rooting hormone stays on the stem. Firm the soil gently around it.
- Create humidity: Water the soil thoroughly but gently. Then, place the pot inside a clear plastic bag or cover it with a propagation dome. Make sure the leaves aren’t touching the sides of the bag, which can encourage rot. If using a bag, you might need to prop it up with skewers.
- Find a good spot: Place the pot in a bright location that receives indirect sunlight. Avoid direct sun, which can scorch your new cutting.
Water Propagation (Less Common for this particular plant, but can be tried)
If you’re feeling experimental, you can try water propagation. Take your prepared cutting (steps 1 & 2 above) and simply place it in a glass of clean water, ensuring the leaf nodes are submerged but the leaves themselves are not. Change the water every few days to keep it fresh. Place it in bright, indirect light. Once you see significant root growth (about an inch or more), you can then carefully transplant it into soil. This method can be trickier for woody cuttings and often leads to weaker root systems that need careful transition to soil.
The “Secret Sauce” (Pro Tips)
Here are a couple of things I’ve learned over the years that really make a difference:
- Don’t let the leaves touch the water (in cuttings): I stress this because it’s so crucial. If leaves dip into the soil or water in the humidity dome, they’ll rot and can take your cutting down with them. Think of it as keeping the “breathing” parts of the plant elevated and dry.
- Bottom heat is your friend: If you’re struggling with root development, especially in cooler months, a gentle heat mat placed under your pots can significantly speed things up. It mimics the warm soil conditions that roots love. About 70-80°F (21-27°C) is ideal.
Aftercare & Troubleshooting
Once you start seeing signs of new growth – tiny leaves unfurling or roots poking out the drainage holes – congratulations! You’re on your way.
- Transitioning: Gradually acclimate your new plant to normal room conditions. Start by opening the plastic bag or propagation dome for a few hours each day, increasing the duration over a week or two.
- Watering: Keep the soil consistently moist, but never soggy. As the plant grows, you can start watering a little less frequently, allowing the top inch of soil to dry out between waterings.
- Troubleshooting: The most common sign of failure is your cutting turning black and mushy – this is usually rot, often caused by too much moisture or poor air circulation. If you see this, it’s best to discard the cutting. Another sign is that the cutting simply shrivels up and never shows signs of rooting; this could be due to insufficient moisture, lack of rooting hormone, or being kept in too cold of a spot.
Your Green Thumb Journey Awaits
Propagating Garcinia xanthochymus is a beautiful way to connect with nature and expand your plant collection ethically. Be patient with the process; sometimes it takes a few weeks, or even a couple of months, to see those first roots appear. Don’t get discouraged if your first attempt isn’t perfect. Every gardener has had their share of cuttings that didn’t make it! Keep trying, learn from each experience, and most importantly, enjoy the journey of nurturing new life. Happy propagating!
Resource: