Hello there, fellow plant enthusiasts! It’s wonderful to have you join me today. We’re going to talk about a plant that has a special place in my heart: Epilobium hornemannii, often known as Hornemann’s Willowherb.
Welcome the Charm of Hornemann’s Willowherb
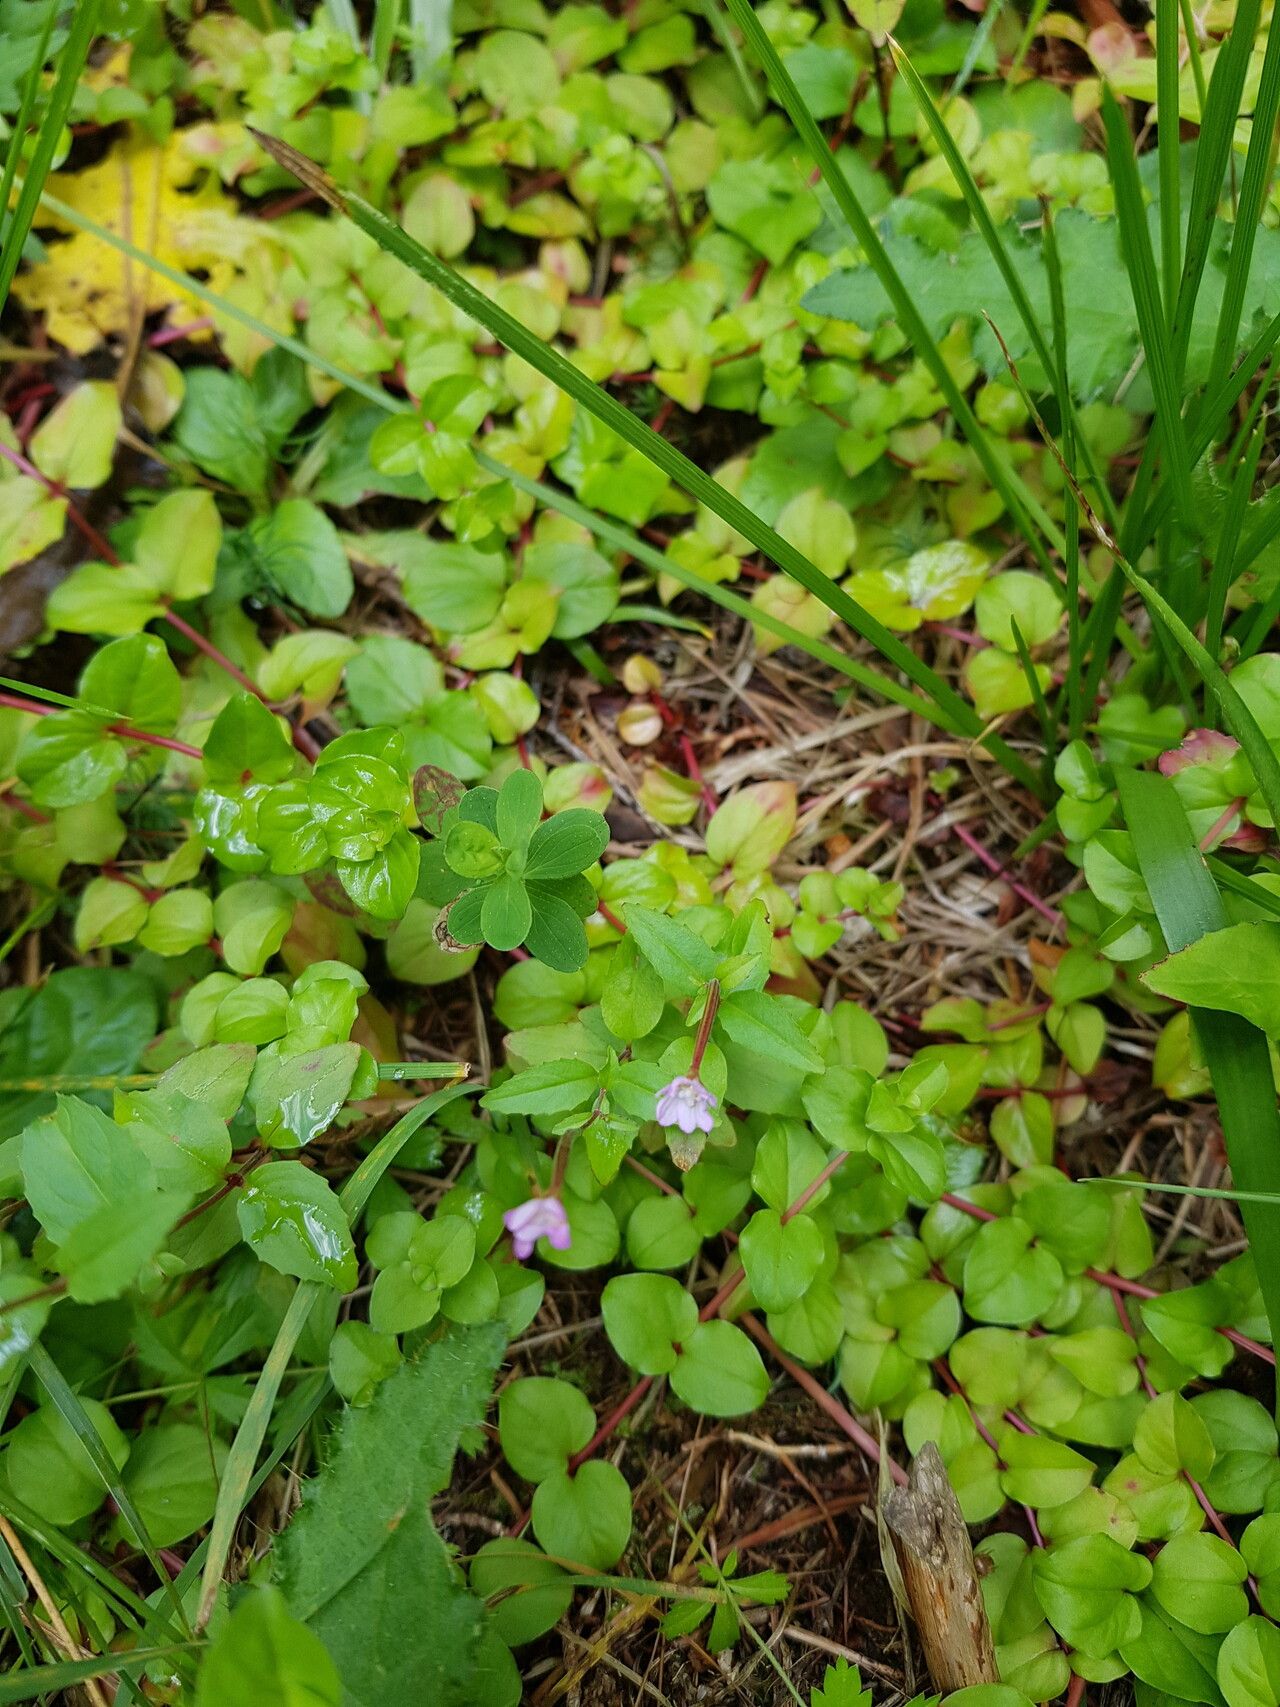
If you haven’t met Epilobium hornemannii yet, you’re in for a treat. This delightful plant boasts delicate, starry flowers in shades of pink and purple, often gracing alpine gardens or rockeries with its charm. It’s a relatively compact grower, making it perfect for smaller spaces or containers. But beyond its pretty face, propagating this willowherb is incredibly rewarding. It’s a fantastic way to expand your collection or share these beauties with friends. And for those of you just starting out – good news! Epilobium hornemannii is generally quite cooperative when it comes to propagation, making it a great choice for beginners.
The Best Time to Start: Timing is Everything
For the best chance of success with Epilobium hornemannii, I like to start my propagation efforts in late spring or early summer. This is when the plant is actively growing, and new shoots are readily available. The warmth of the season generally leads to faster rooting. You can also have success with softwood cuttings in early autumn, but spring is my personal favorite for its energetic growth.
Supplies You’ll Need: Get Your Toolkit Ready
Before we dive into the how-to, let’s gather our supplies. Having everything ready makes the process so much smoother.
- Sharp pruning shears or a clean knife: For making clean cuts.
- A well-draining potting mix: A good mix for cuttings is key. I often use a blend of perlite and peat moss (about 50/50) or a commercial seedling starting mix.
- Small pots or cell trays: Clean ones, please!
- Rooting hormone (optional but recommended): A powdered or liquid hormone can really give your cuttings a boost.
- A spray bottle: For misting and keeping things humid.
- Plastic bags or a clear plastic dome: To create a mini-greenhouse effect.
- Labels: Crucial for remembering what you planted!
Propagation Methods: Let’s Get Our Hands Dirty!
Epilobium hornemannii is quite amenable to a couple of propagation methods. My go-to is usually stem cuttings, but division is also a fantastic option, especially for larger, established plants.
Stem Cuttings: My Preferred Method
This is how I usually expand my willowherb collection. It’s efficient and you can get quite a few new plants from just one parent.
- Take Your Cuttings: When your plant is actively growing in late spring or early summer, look for healthy, non-flowering shoots. Gently select stems that are about 3-4 inches long. Using your clean shears or knife, make a clean cut just below a leaf node (where a leaf grows from the stem). This is important because roots tend to form most readily from these nodes.
- Prepare the Cuttings: Carefully remove the lower leaves from the cutting, leaving just the top few leaves attached. This reduces water loss and prevents leaves from sitting in the potting mix, which can lead to rot. You can also cut any larger remaining leaves in half to further reduce water loss.
- Apply Rooting Hormone (Optional): If you’re using rooting hormone, dip the cut end of the stem into the powder, tapping off any excess.
- Plant Your Cuttings: Fill your clean pots or cell trays with your well-draining potting mix. Make a small hole with a pencil or your finger and gently insert the cut end of the willowherb cutting. Firm the soil gently around the base of the cutting to ensure good contact.
- Water and Cover: Water the cuttings gently to settle the soil. Then, cover the pots with a clear plastic bag or a plastic dome. This creates a humid environment, which is essential for the cuttings to develop roots before they can absorb water from the soil.
Division: For Established Plants
If you have a more mature Epilobium hornemannii plant, dividing it is a simple and effective way to get new plants.
- Timing is Key: The best time for this is either in early spring as new growth appears or in early autumn after flowering.
- Gently Excavate: Carefully dig up the entire plant. Be gentle with the roots.
- Separate the Divisions: You’ll usually see that the plant naturally has clumps or crowns. Using your hands or a clean trowel, gently pull or cut apart these clumps. Aim for divisions that have both roots and a bit of leafy top growth.
- Replant Immediately: Pot up the divisions into well-draining potting mix. Water them in well.
The “Secret Sauce”: Insider Tips from My Garden
Here are a few little tricks I’ve learned over the years that can really make a difference.
- Bottom Heat is Your Friend: If you’re finding your cuttings a bit sluggish to root, consider placing your pots on a heated propagator mat. The gentle warmth encourages root development from below, giving you a faster success rate. Just keep the temperature mild, around 70-75°F (21-24°C).
- Air Circulation Matters: While humidity is crucial, you don’t want the air to become stagnant. Periodically lift the plastic cover or open the dome for a few minutes each day to allow for fresh air exchange. This helps prevent fungal diseases from setting in.
- Don’t Disturb Too Soon: Resist the urge to tug on your cuttings to see if they’ve rooted! Wait until you see clear signs of new growth, like tiny leaves emerging from the top, before you gently check for root development.
Aftercare & Troubleshooting: Nurturing Your New Sprouts
Once your cuttings have taken root (you’ll know because of that new leafy growth!), it’s time to transition them to regular care.
- Gradually Acclimate: Slowly remove the plastic covering over a few days. This helps the new plants adjust to normal humidity levels.
- Watering is Key: Keep the soil consistently moist but not waterlogged. Overwatering is the most common mistake and can lead to root rot, a slimy, mushy failure that’s hard to recover from. If you see wilting that doesn’t perk up with watering, and the stems feel soft, it’s likely rot.
- Transplanting: Once the new plants are a few inches tall and have a good root system, you can transplant them into slightly larger pots or their designated garden spot.
Happy Propagating!
Remember, gardening is a journey of patience and learning. Not every cutting will make it, and that’s perfectly okay! Each attempt teaches you something new. Enjoy the process of nurturing these tiny new lives, and soon you’ll have beautiful Hornemann’s Willowherbs to enjoy and share. Happy planting!
Resource:
https://identify.plantnet.org/k-world-flora/species/Epilobium%20hornemannii%20Rchb./data