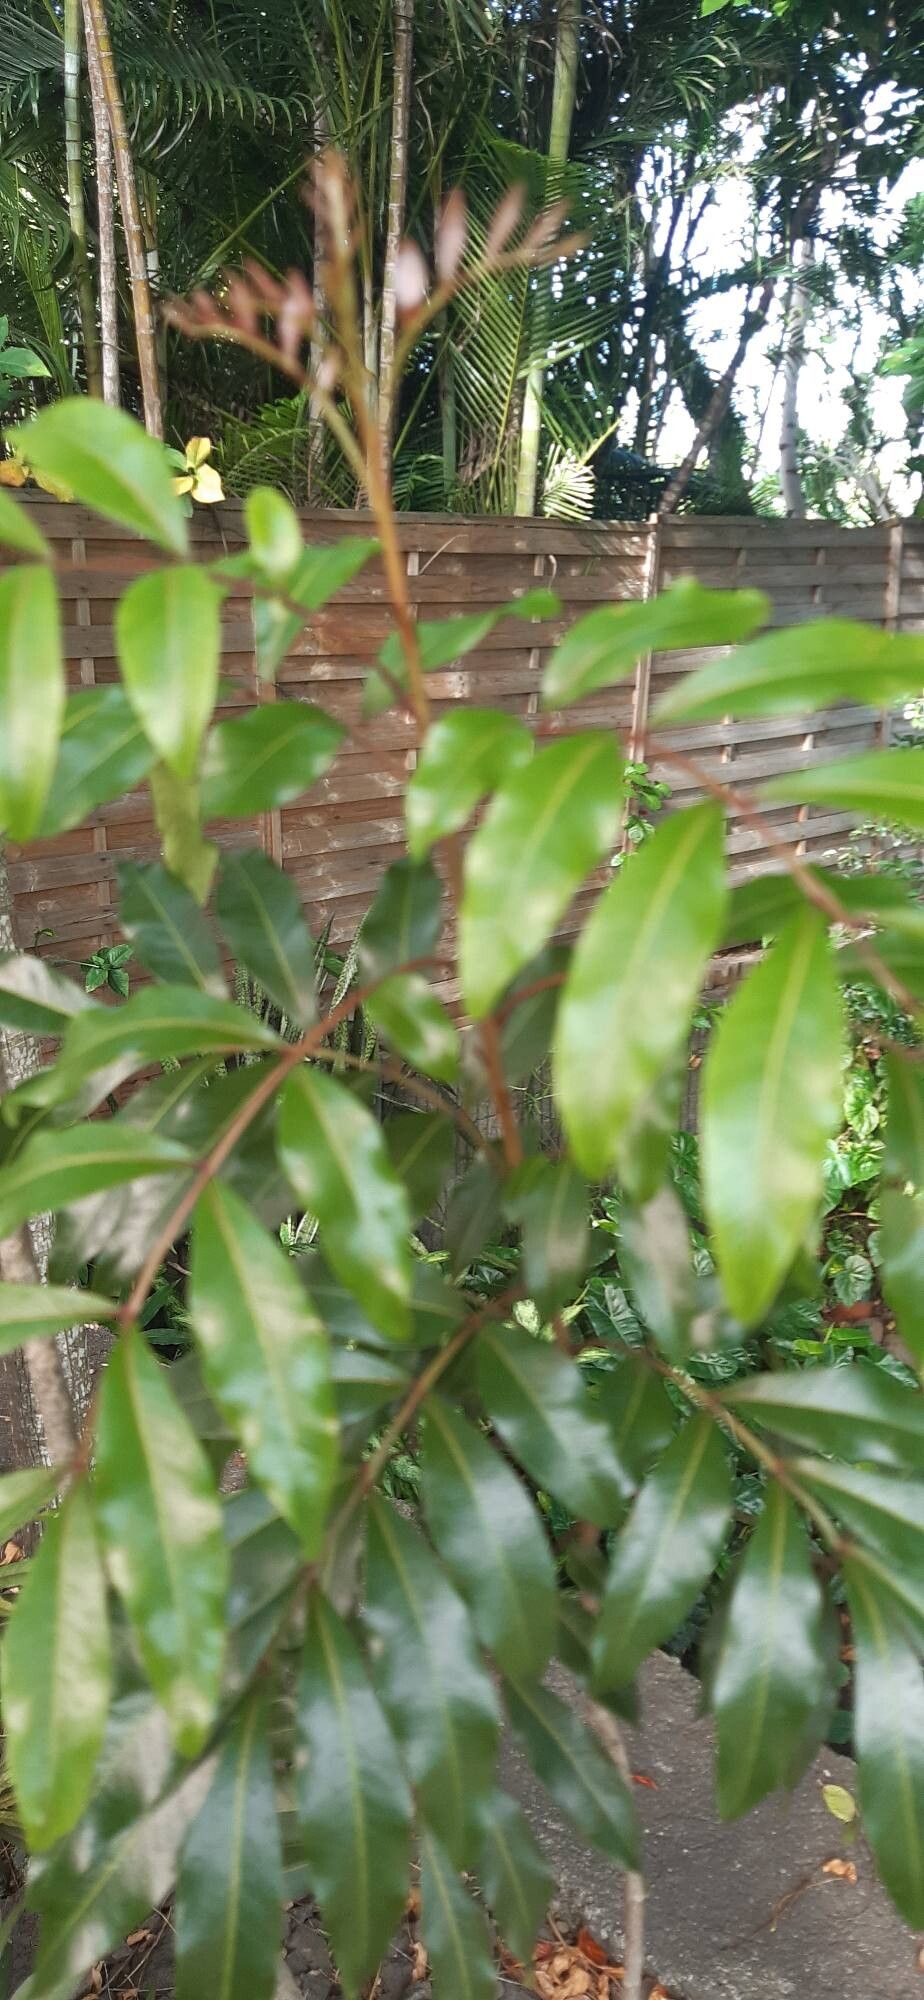
Oh, hello there! Grab a cuppa, and let’s chat about a truly special plant: Doratoxylon apetalum. If you’re looking for something a little bit different, with those gorgeous, almost architectural leaves, you’ve come to the right place. Propagating these beauties is such a rewarding endeavor, and while they might seem a little exotic, I promise, it’s a journey anyone with a bit of patience can enjoy. I wouldn’t call them a complete beginner’s plant, but with a few pointers, you’ll be well on your way to success.
The Best Time to Start
Timing is everything in the garden, isn’t it? For Doratoxylon apetalum, I find the absolute best time to take cuttings is when the plant is in its most vigorous growth phase – that’s usually late spring to early summer. You’ll see new shoots emerge, full of life and energy. This is when they’re most receptive to rooting and have the best chance of success. It’s like trying to get a teenager excited about a new project versus someone feeling a bit sluggish!
Supplies You’ll Need
Before we dive in, let’s make sure you’re prepped. Having your tools ready makes the whole process so much smoother.
- Sharp, clean pruning shears or a sharp knife: Essential for making clean cuts. Hygiene is key to preventing disease!
- Rooting hormone powder or gel (optional but recommended): This really helps give your cuttings a boost. Look for one with an IBA (indole-3-butyric acid) formulation.
- Well-draining potting mix: I like to use a blend of equal parts perlite and peat moss, or a good quality houseplant mix amended with extra perlite.
- Small pots or trays: Clean pots are a must. Think about 3-4 inch pots for individual cuttings.
- Plastic bags or a propagator: To create a humid environment.
- Spritzer bottle: For misting.
- Patience! (Okay, not a physical supply, but vital nonetheless.)
Propagation Methods
There are a couple of ways we can go about this, but my go-to for Doratoxylon apetalum is through stem cuttings. It’s reliable and gives you a good chance of creating more plants.
Stem Cuttings:
- Select your cutting: Look for a healthy, non-flowering stem that’s about 4-6 inches long. You want a cutting that has both woody and slightly soft growth – sometimes called “semi-hardwood.” Make sure there are at least a couple of leaf nodes along the stem.
- Make the cut: Using your sterilized pruning shears or knife, make a clean cut just below a leaf node. This is where the magic of root development often happens.
- Prepare the cutting: Gently remove the lower leaves. You want to expose at least one or two leaf nodes. If your cutting has very large leaves, you can even cut them in half horizontally to reduce water loss through transpiration.
- Apply rooting hormone: Dip the cut end into your rooting hormone powder or gel, tapping off any excess. This step gives your cutting a lovely head start.
- Pot it up: Fill your clean pots with your prepared well-draining potting mix. Make a small hole in the center with your finger or a pencil.
- Insert the cutting: Gently place the cut end into the hole, ensuring that at least one leaf node is below the soil surface. Firm the soil gently around the stem.
- Water thoroughly: Give the pot a good watering until water drains from the bottom. This helps settle the soil.
- Create humidity: This is crucial! You can either cover the entire pot with a clear plastic bag, making sure the leaves don’t touch the plastic, or place it inside a propagator. If using a bag, secure it around the pot with a rubber band.
- Place it in indirect light: Find a warm spot with bright, indirect light. Avoid direct sun, which can scorch the tender cuttings.
The “Secret Sauce” (Pro Tips)
Now, for those little nuggets of wisdom that can really make a difference.
- Bottom heat is your friend: If you can manage it, placing your pots on a seedling heat mat can significantly speed up root development. It mimics the warm soil of its natural environment.
- Don’t let leaves touch the water (if you were to try water propagation): While I prefer soil for these guys, if you were ever tempted with water, ensure no leaves are submerged. They’ll rot quickly, and you’ll have a slimy mess instead of roots!
- Patience with the leaves: You’ll know your cutting has rooted when you see new leaf growth appearing. This can take anywhere from 4-8 weeks, sometimes longer. Don’t panic if nothing seems to be happening immediately!
Aftercare & Troubleshooting
Once you see those lovely new leaves unfurling, congratulations! It’s time for a slightly different approach.
Carefully remove the plastic bag or propagator lid, gradually acclimatizing your new plant to its surroundings over a few days. Continue to keep the soil consistently moist but not waterlogged. As the roots become more established, you can start to introduce it to slightly more light.
The most common sign of failure is rot. If your cutting turns mushy or black, it’s usually a sign of too much moisture or poor air circulation. Sadly, in this case, it’s best to discard it and try again. Another sign can be wilting that doesn’t perk up – this might indicate lack of roots or too much stress from drying out.
A Cheerful Closing
So there you have it! Propagating Doratoxylon apetalum is a delightful way to expand your plant family. Be patient with the process, enjoy watching those tiny roots begin to form, and celebrate every new leaf. Happy propagating!
Resource:
https://identify.plantnet.org/k-world-flora/species/Doratoxylon%20apetalum%20(Poir.)%20Radlk./data