Oh, hello there, fellow garden enthusiast! It’s such a joy to welcome you to my little corner of the internet, where we get our hands dirty and coax beautiful things from the soil. Today, we’re diving into the world of Cinnagrostis spicigera, often called “Copper Top Grass” for its stunning reddish-bronze plumes that catch the light just so.
Introduction: Bringing More Beauty Home
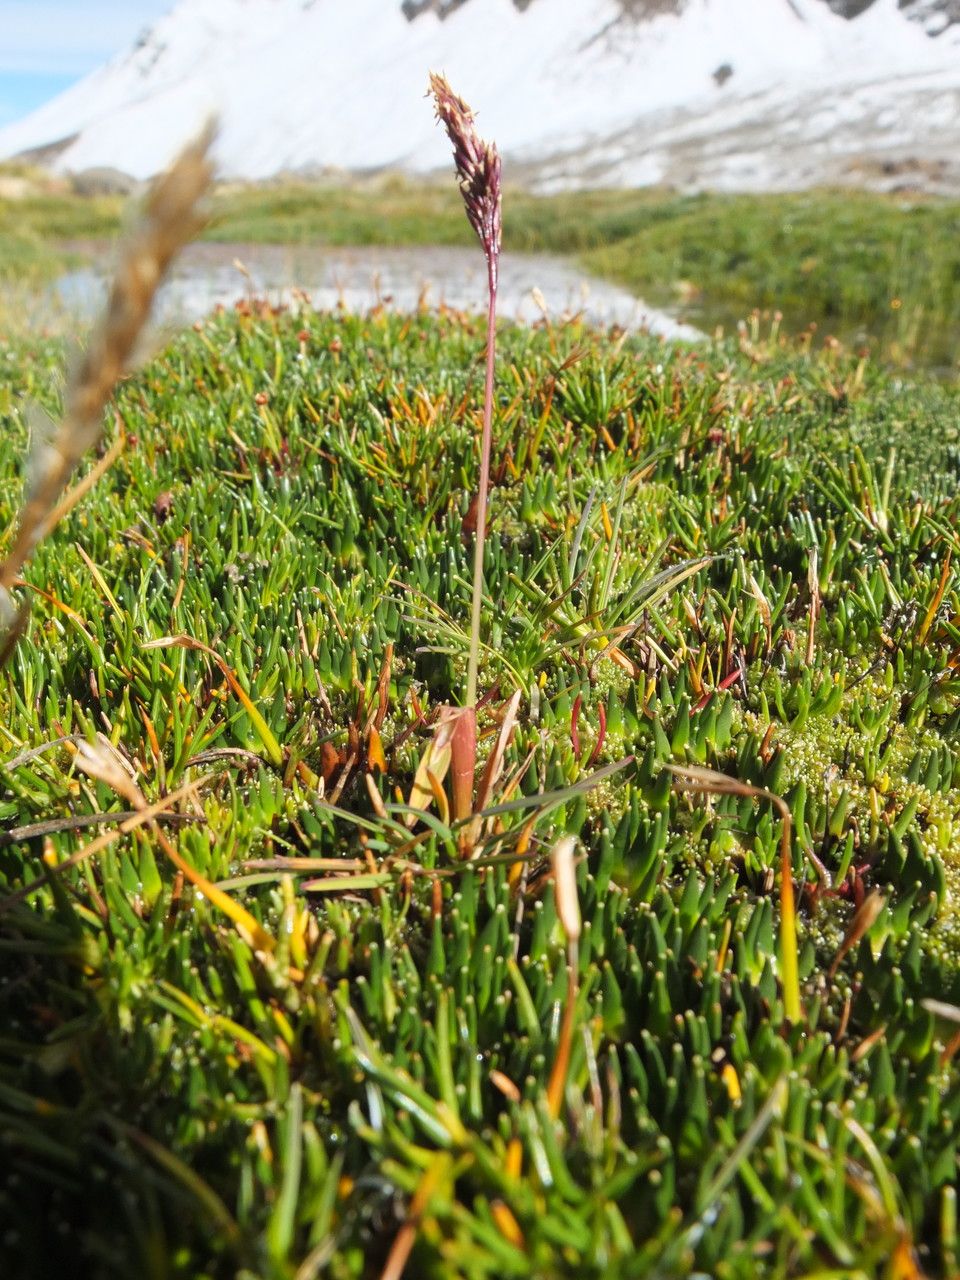
Isn’t Cinnagrostis spicigera just a showstopper? Those feathery, copper-toned seed heads are like living sculpture in the garden, adding so much texture and warmth, especially as the seasons change. And the best part? You can multiply this beauty yourself! Propagating it is incredibly rewarding, allowing you to fill those bare spots, create borders, or even share with friends. For many, especially those new to the gardening scene, Cinnagrostis spicigera is a wonderfully accessible plant to propagate. We’ll get you started with confidence!
The Best Time to Start
Timing is everything in the garden, and for Cinnagrostis spicigera, late spring to early summer is your golden window. This is when the plant is actively growing and has plenty of energy to put into developing new roots. Waiting until after the last frost has passed, and the soil has begun to warm up, will give your cuttings or divisions the best chance of success.
Supplies You’ll Need
Before we get our hands dirty, let’s gather our tools. It’s always good to be prepared!
- Sharp Pruning Shears or a Clean Knife: For making clean cuts.
- Rooting Hormone (Optional but Recommended): A little boost can speed things up. You can find this at most garden centers.
- Well-Draining Potting Mix: A good mix for cuttings might be 50% potting soil and 50% perlite or coarse sand. For divisions, a good quality potting soil is usually fine.
- Pots or Trays: Small pots or a propagation tray with drainage holes.
- Small Watering Can or Spray Bottle: For gentle watering.
- Plastic Bags or a Propagation Dome: To create a humid environment.
- Marker and Labels: To keep track of your projects!
Propagation Methods
Cinnagrostis spicigera is quite forgiving, and we have a couple of great ways to multiply it.
Method 1: Stem Cuttings
This is my go-to for increasing my collection.
- Select Your Cuttings: In late spring or early summer, look for healthy, non-flowering stems. You want stems that are about 4-6 inches long and have a bit of flexibility – not too woody, but not too soft either.
- Make the Cut: Using your sharp pruning shears, make a clean cut just below a leaf node (where a leaf attaches to the stem).
- Prepare the Cutting: Gently remove the lower leaves from the stem, leaving just a few at the top. This prevents them from rotting in the soil. If you’re using rooting hormone, dip the cut end into it according to the product instructions.
- Plant Your Cuttings: Fill your small pots with the well-draining potting mix. Make a small hole in the center of the soil with your finger or a pencil. Insert the cutting into the hole, making sure the leaf nodes are below the soil surface.
- Water Gently: Water the soil thoroughly but gently. You don’t want to wash away the rooting hormone or disturb the cutting.
- Create Humidity: Cover the pot loosely with a plastic bag or place it under a propagation dome. This creates a humid microclimate which is crucial for root development. Make sure the leaves don’t touch the plastic.
Method 2: Division
This is a fantastic way to rejuvenate an older clump and get multiple new plants.
- Dig Up the Clump: In late spring, when the plant is actively growing, carefully dig up the entire clump using a spade. Gently shake off excess soil.
- Separate the Divisions: You can often gently pull the clump apart with your hands. If it’s a bit stubborn, use a clean knife or spade to carefully slice through the root ball. Aim for sections that have a good amount of roots and at least a few leafy shoots.
- Replant Immediately: Find new spots in your garden or a suitable pot. Replant the divisions at the same depth they were growing before. Water them in well.
The “Secret Sauce” (Pro Tips)
Here are a couple of things I’ve learned over the years that really give your propagation efforts a boost.
- Bottom Heat is Your Friend: For stem cuttings, placing the pots on a heat mat can make a huge difference. This gentle warmth encourages root formation from below, speeding up the process significantly. You can find these specialized mats at most garden supply stores.
- “Air Layering” for Tougher Stems: If you have a slightly older, woodier stem that’s proving tricky, consider air layering. You make a small cut on the stem while it’s still attached to the parent plant, wrap the wounded area with moist sphagnum moss, and then cover it tightly with plastic wrap. Roots will form within the moss, and you can then sever the stem and plant it. It takes patience, but it’s very effective!
Aftercare & Troubleshooting
Once your cuttings have taken (you’ll know when you see new growth or feel resistance when gently tugging), or your divisions are planted, it’s time for their next phase.
Keep the potted cuttings misted or lightly watered regularly. Remove the plastic bag or dome gradually over a few days to help the new plants acclimatize to normal humidity levels. Once they have a good root system – you might see roots peeking out of the drainage holes or feel good resistance when you give a gentle tug – they are ready to be transplanted into slightly larger pots or their permanent garden locations.
The most common issue you might encounter is rot. This usually happens due to overwatering or poor drainage, especially if your cuttings are kept too wet and humid without good air circulation. If you see stems turning mushy or yellowing rapidly, it’s a sign of trouble. Remove the affected cuttings immediately, ensure good airflow, and allow the soil to dry slightly between waterings.
A Encouraging Closing
Watching a new plant emerge from a tiny cutting or a separated division is one of gardening’s greatest joys. Be patient with your Cinnagrostis spicigera – some roots take their sweet time. Enjoy the process, celebrate your successes, and don’t be discouraged by any setbacks. Happy propagating, and may your garden be ever more beautiful!
Resource: