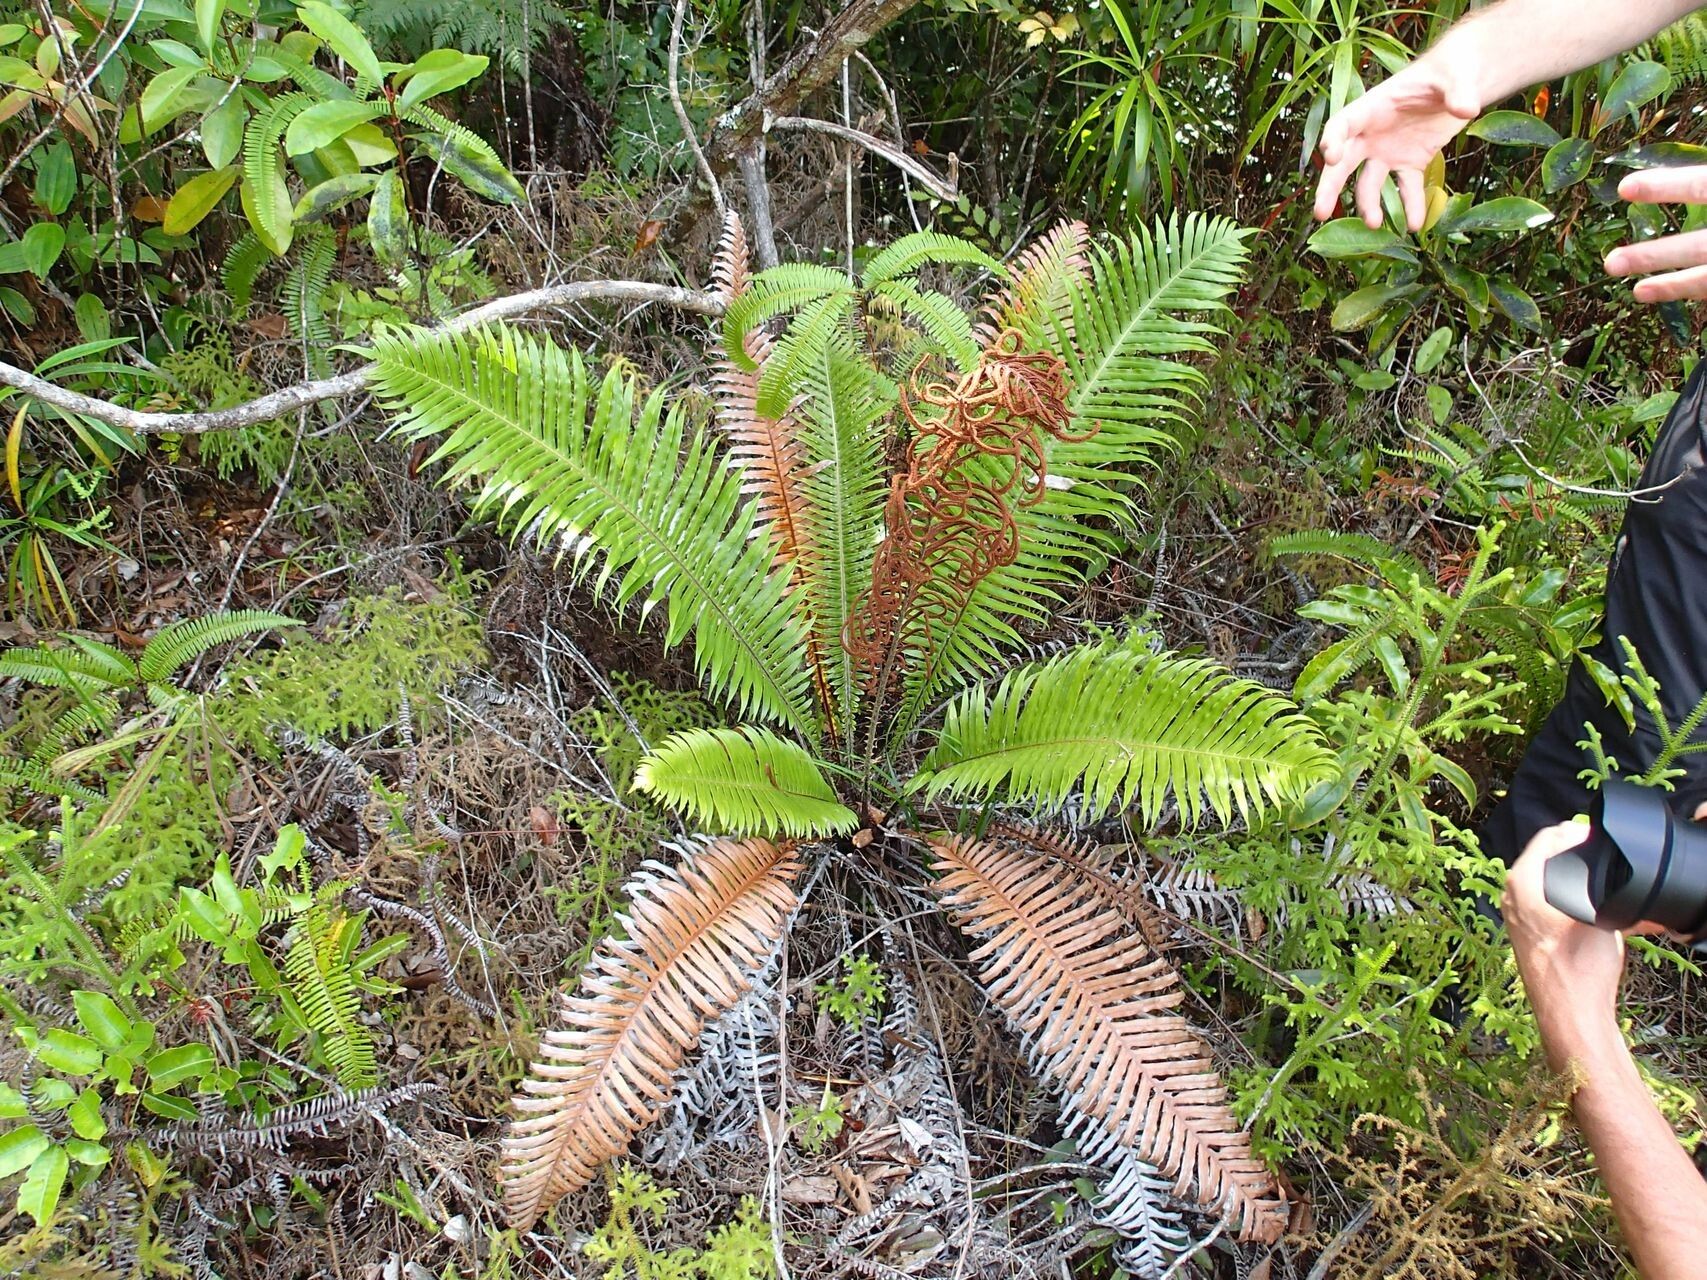
Hello there, fellow plant lovers! I’m so thrilled you’ve stumbled upon this little guide. Today, we’re diving into the wonderful world of Blechnum oceanicum, or as I affectionately call them, the “little waves” ferns. If you’ve ever admired their lush, architectural fronds and wondered how to get more of these beauties into your life, you’re in the right place. Propagating Blechnum oceanicum is a truly rewarding endeavor, and while it might seem a bit fussy at first glance, I assure you, it’s quite achievable once you understand their needs. Don’t let the “fern” label scare you – with a little patience and these tips, you’ll be well on your way to a fern-filled haven.
The Best Time to Start
Timing is everything in the garden, and for our “little waves” ferns, the prime time to propagate is during their active growing season. This generally means spring and early summer. You’ll notice new fronds unfurling with vigor then. This is precisely when the plant has the most energy to invest in developing new roots. Attempting propagation when the plant is dormant in winter is much less likely to yield successful results.
Supplies You’ll Need
Gathering your tools before you begin makes the whole process so much smoother. Here’s what you’ll want to have on hand:
- Sharp, clean pruning shears or a sharp knife: For making clean cuts.
- Well-draining potting mix: I like a blend of peat moss, perlite, and a bit of orchid bark for my ferns. It mimics their natural habitat and prevents waterlogging.
- Small pots or propagation trays: Clean ones are key!
- Rooting hormone (optional but recommended): Especially helpful for a speedier start. Look for one specifically for cuttings.
- Plastic bags or a clear propagation dome: To create a humid environment.
- Watering can or spray bottle: For gentle watering.
- Labels and a marking pen: Always good to know what you’ve planted!
Propagation Methods
Blechnum oceanicum is most successfully propagated through division, which is my go-to method. It’s like giving your mature fern a little haircut and getting multiple plants out of it!
Division
This method is ideal when your fern has grown significantly and its rhizomes (the thick, creeping stems that grow on or just below the surface of the soil) are becoming visibly crowded.
- Gently remove the parent plant from its pot. You might need to coax it out, so don’t be afraid to tap the sides of the pot.
- Carefully work away any excess soil from the root ball. You want to expose the rhizomes.
- Identify natural separation points along the rhizome. You should see where new fronds are emerging from distinct sections.
- Using your clean pruning shears or knife, divide the rhizome into smaller sections. Each section should have at least a few healthy fronds and some viable roots attached. A clean cut is crucial to prevent disease.
- Pot each division: Plant each new section into its own small pot filled with your well-draining potting mix. Ensure the rhizome is just at or slightly below the soil surface.
- Water thoroughly after planting.
The “Secret Sauce” (Pro Tips)
Here are a couple of things I’ve learned over the years that really make a difference:
- Don’t overcrowd the divisions. It’s tempting to cram as many bits as possible into one pot, but each division needs space to grow without competing constantly. Give them room to breathe!
- The humidity is your best friend. Once you’ve potted your divisions, cover the pots with a clear plastic bag or a propagation dome. This creates a mini-greenhouse effect, keeping the humidity high, which is vital for ferns to establish. Just ensure there’s a little airflow to prevent mold – you can poke a few small holes in the bag.
- Avoid direct sunlight. New cuttings and divisions are delicate. Place them in a bright spot, but out of direct sun rays. Dappled light or north-facing windows are perfect.
Aftercare & Troubleshooting
Once your divisions are potted and snug under their humidity covers, the waiting game begins.
- Keep the soil consistently moist but not soggy. Check the soil moisture every couple of days. You should feel it damp to the touch. If it starts to feel dry, give it a gentle watering.
- Remove the cover gradually. After a few weeks, when you see new frond growth or feel confident the roots are taking hold, you can start to gradually acclimate your new plants to normal humidity levels by removing the cover for longer periods each day.
- Watch for rot. The most common problem is root rot, which typically shows up as black, mushy stems or a general yellowing and wilting of the fronds. This is usually due to overwatering and poor drainage. If you see this, act quickly. You might need to repot the division into fresh, drier soil, removing any rotted parts.
A Encouraging Closing
Growing new plants from your existing favorites is one of the most satisfying aspects of gardening. Remember, propagation is a skill that improves with practice. Don’t get discouraged if your first attempt isn’t perfect. Be patient with your little Blechnum oceanicum divisions, provide them with consistent care, and enjoy the quiet magic of watching them unfurl their new, beautiful fronds. Happy growing!
Resource: