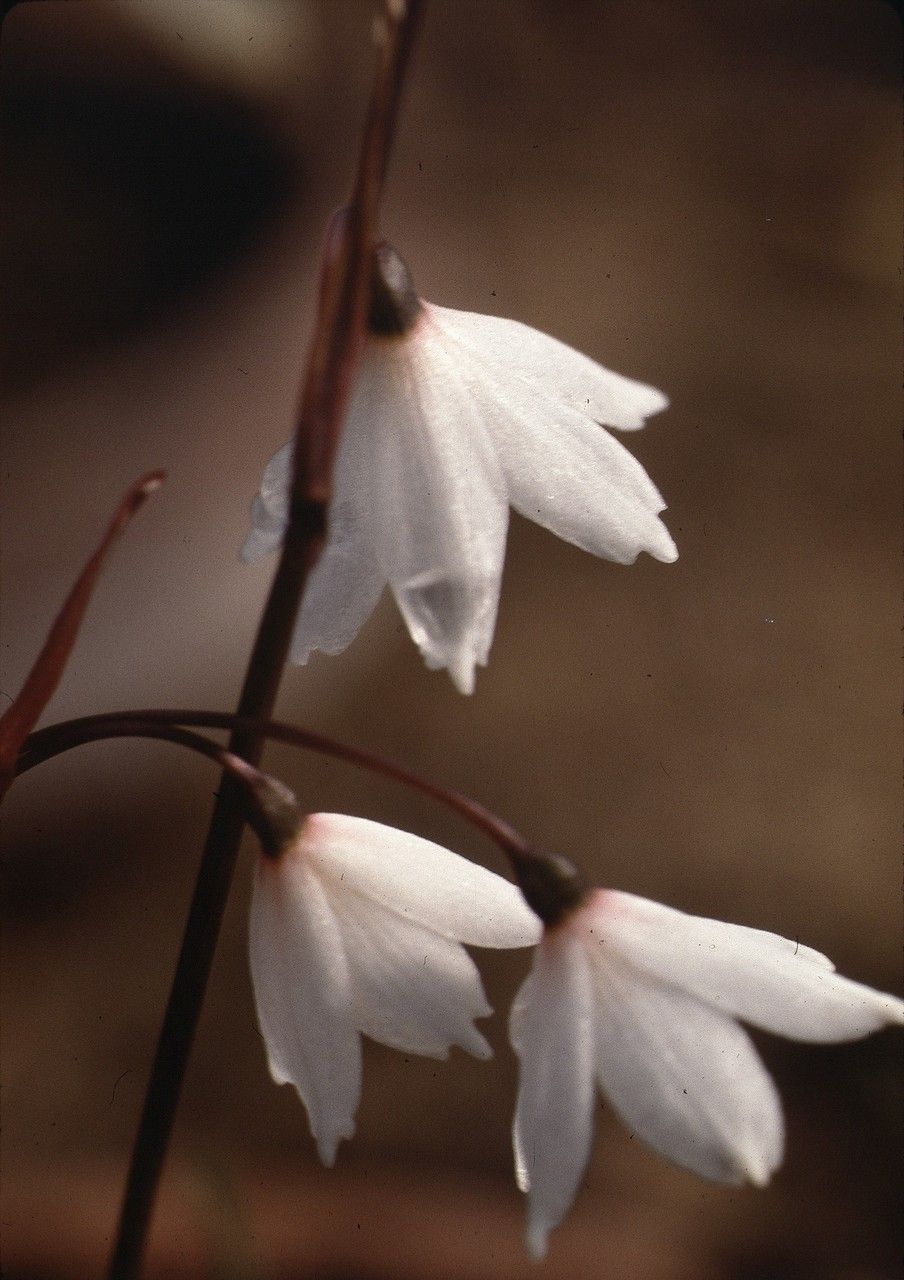
Hello fellow garden enthusiasts! I’m so excited to chat with you today about a truly lovely little plant: Acis rosea. You might know it by its common name, the Rose Fairy Bell. Its delicate, nodding pink flowers, often appearing in clusters, are simply enchanting in a woodland garden or even a shaded pot. And the best part? Propagating them is a wonderfully rewarding process that allows you to multiply these beauties for yourself or to share with friends. Now, I won’t lie to you – Acis rosea isn’t quite as straightforward as, say, a spider plant for a complete beginner, but with a little patience and a few key pointers, you can absolutely succeed.
The Best Time to Start
For Acis rosea, I’ve found that the sweet spot for propagation is late spring to early summer, just as the plant is finishing its flowering period. This is when it’s actively growing and has plenty of energy to put into making new roots. You’ll want to catch it when the stems are slightly firm but not yet woody.
Supplies You’ll Need
Here’s a little kit to get you started:
- Sharp, clean pruning shears or a sharp knife: For making clean cuts.
- A good quality potting mix: I like a mix that’s well-draining, often incorporating perlite or coarse sand. A blend specifically for bulbs or a general potting mix amended with about 30% perlite works wonders.
- Small pots or trays: With drainage holes, of course!
- Optional: Rooting hormone: While not strictly necessary for Acis rosea, it can give your cuttings an extra boost. Look for one formulated for softwoods or general use.
- Watering can with a fine rose: To water gently without disturbing your new cuttings.
- A spray bottle: For keeping the humidity up, especially for cuttings.
- Optional: A heat mat: This is a game-changer for encouraging root development.
Propagation Methods
The most reliable way I’ve found to propagate Acis rosea is through stem cuttings. It’s like giving the plant little hugs to encourage new life!
- Take Your Cuttings: With your clean shears, snip off healthy, non-flowering stems. Aim for pieces about 3-4 inches long. Try to take them from just below a leaf node (where a leaf meets the stem). Make your cuts clean and angled.
- Prepare the Cuttings: Gently remove the lower leaves from your cuttings, leaving just a couple of leaves at the top. This helps the plant focus its energy on rooting rather than supporting too much foliage. If you’re using rooting hormone, dip the cut end into the powder, tapping off any excess.
- Potting Up: Fill your small pots with your well-draining potting mix. Make a hole in the center of the soil with your finger or a pencil.
- Planting the Cuttings: Insert the prepared cuttings into the holes, ensuring the leaf nodes that were just below the soil line are indeed in the soil. Gently firm the soil around them.
- Water and Cover: Water the pots gently. You want the soil to be moist but not waterlogged. To create a mini-greenhouse effect, you can cover the pots with a clear plastic bag or place them in a propagator. Make sure the leaves aren’t touching the plastic, as this can lead to rot.
- Placement: Place your pots in a bright spot but out of direct, harsh sunlight. An east-facing window is often ideal.
The “Secret Sauce” (Pro Tips)
Here are a couple of little tricks I’ve learned over the years that really make a difference:
- Bottom Heat is Your Friend: If you have a heat mat, place your pots on it. This gentle warmth from below encourages root formation incredibly well. It mimics the conditions the plant craves in its natural habitat.
- Don’t Overwater! This is probably the most common pitfall. Acis rosea hates soggy feet. The soil should feel consistently moist, but you should be able to squeeze a bit of water out if you were to grab a handful. Check the moisture level by sticking your finger about an inch into the soil. If it feels dry, it’s time to water.
Aftercare & Troubleshooting
Once your cuttings have started to form roots (you might see some gentle resistance when you try to tug on a cutting, or you might see new leaf growth), it’s time for a little extra attention.
- Gradual Acclimatization: If you’ve been using a plastic cover, gradually remove it over a few days to allow the new plants to adjust to the ambient humidity.
- Continued Care: Keep the soil consistently moist but not wet. Continue to provide bright, indirect light.
- Signs of Trouble: The most common issue you’ll face is rot. If a cutting turns black and mushy, it’s a sure sign of too much moisture and poor air circulation. Unfortunately, these are usually a lost cause. If you see wilting that isn’t caused by dryness, or yellowing leaves that aren’t just old leaves dying off, it could still be overwatering or lack of light.
A Encouraging Closing
Propagating Acis rosea is a journey, and like any good journey, it’s about enjoying the steps along the way. Be patient with your little cuttings; they have their own timetable. Don’t be discouraged if not every single one takes – that’s just part of the gardening dance! Celebrate each new little root and each tiny new leaf. Happy propagating, and may your garden be filled with many more of these delightful Rose Fairy Bells!
Resource:
https://identify.plantnet.org/k-world-flora/species/Acis%20rosea%20(F.Martin%20bis)%20Sweet/data