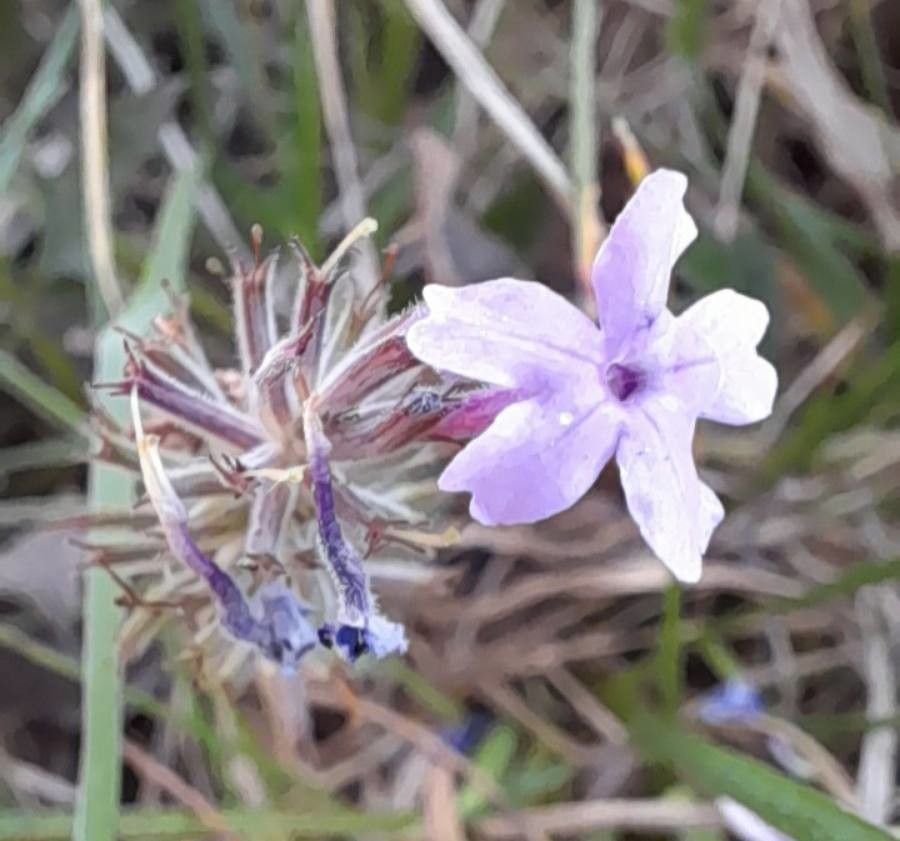
Oh, Verbena balansae! What a gorgeous plant. Those delicate, airy spires of purple and pink really bring a touch of wild elegance to any garden. I’ve always loved how it rambles through borders or spills out of containers, attracting all sorts of buzzing friends. And the best part? It’s surprisingly straightforward to grow more of it yourself. If you’re new to propagating, this is a wonderful plant to start with. You’ll be rewarded with so much beauty from just a single plant!
The Best Time to Start
For Verbena balansae, late spring to early summer is your sweet spot. This is when the plant is actively growing and has plenty of healthy, new stems that are perfect for taking cuttings. Aim for stems that are firm but not woody. Think of it as “softwood” or “semi-hardwood” – not brand new and floppy, but not old and stiff.
Supplies You’ll Need
Gathering your supplies beforehand makes the whole process smoother. Here’s what I always have on hand:
- Sharp pruning shears or a clean knife: For making clean cuts.
- Rooting hormone (optional, but helpful!): A powder or gel that encourages root development.
- Well-draining potting mix: A good quality seed starting mix or a blend of peat moss and perlite works beautifully.
- Small pots or trays: Clean ones are key to preventing disease.
- A plastic bag or cloche: To create a humid environment.
- A spray bottle with water: For misting.
- (Optional) Heat mat: For consistent warmth at the roots.
Propagation Methods
I find stem cuttings to be the most reliable method for Verbena balansae. It’s efficient and gives you a great chance of success.
Stem Cuttings: My Go-To Method
- Select your cuttings: Look for healthy, non-flowering stems. You want pieces that are about 4-6 inches long. Make your cut just below a leaf node (where a leaf attaches to the stem).
- Prepare the cuttings: Gently remove the lower leaves, leaving just a couple of sets at the top. If you’re using a very floppy stem, you can snip off some of the larger top leaves to reduce water loss.
- Apply rooting hormone: Dip the cut end of each stem into your rooting hormone, tapping off any excess.
- Plant the cuttings: Fill your clean pots with moist potting mix. Make a small hole in the center with a pencil or your finger and insert the cutting. Gently firm the soil around it. You can usually fit several cuttings in one pot, as long as they aren’t touching each other.
- Create humidity: Water the soil gently, then cover the pot with a clear plastic bag or a cloche. This traps moisture and keeps the cuttings from drying out. You can use skewers to prop the bag up so it doesn’t touch the foliage.
- Provide light and warmth: Place the pots in a bright spot, but out of direct, harsh sunlight. A windowsill that gets bright, indirect light is perfect. If you have a heat mat, this is where it shines – consistent warmth from below really helps roots form faster.
The “Secret Sauce” (Pro Tips)
Here are a couple of things I’ve learned over the years that seem to make a big difference:
- Don’t let the leaves touch the soil: In the pot, ensure the lower leaves are completely off the soil surface. If they’re wicking up moisture from the soil, they’re much more likely to rot before they have a chance to root.
- Mist judiciously: I like to give the leaves a light misting once a day when they’re under the plastic. It keeps them turgid and happy. However, avoid saturating the soil. We want moist, not soggy.
- Be patient with the heat: If you’re using bottom heat, don’t get discouraged if you don’t see roots immediately. That gentle warmth is working its magic, encouraging root development even if it’s not visible yet.
Aftercare & Troubleshooting
Once your cuttings have developed roots – you’ll know this when you gently tug on them and feel resistance, or see new growth emerging – it’s time for the next stage.
- Acclimatize them: Gradually remove the plastic cover over a few days to let them get used to drier air.
- Watering: Water them when the top inch of soil feels dry.
- Transplanting: Once they’re a few inches tall and have a good root system, you can carefully transplant them into their own small pots.
- Troubleshooting: The most common issue you might encounter is rot. If a cutting turns black and mushy or wilts dramatically, it’s usually a sign of too much moisture and not enough air circulation. Make sure your soil is well-draining and that you’re not overwatering. If you see mold on the soil surface, remove it and ensure good airflow.
A Little Patience Goes a Long Way
Propagating new plants is such a rewarding experience. It connects you to the cycle of growth and allows you to share your love of gardening with others. Don’t be discouraged if not every cutting makes it – that’s part of the learning process! Just keep trying, enjoy the gentle misting and watchful waiting, and soon you’ll have a whole new batch of beautiful Verbena balansae to fill your garden. Happy growing!
Resource:
https://identify.plantnet.org/k-world-flora/species/Verbena%20balansae%20Briq./data