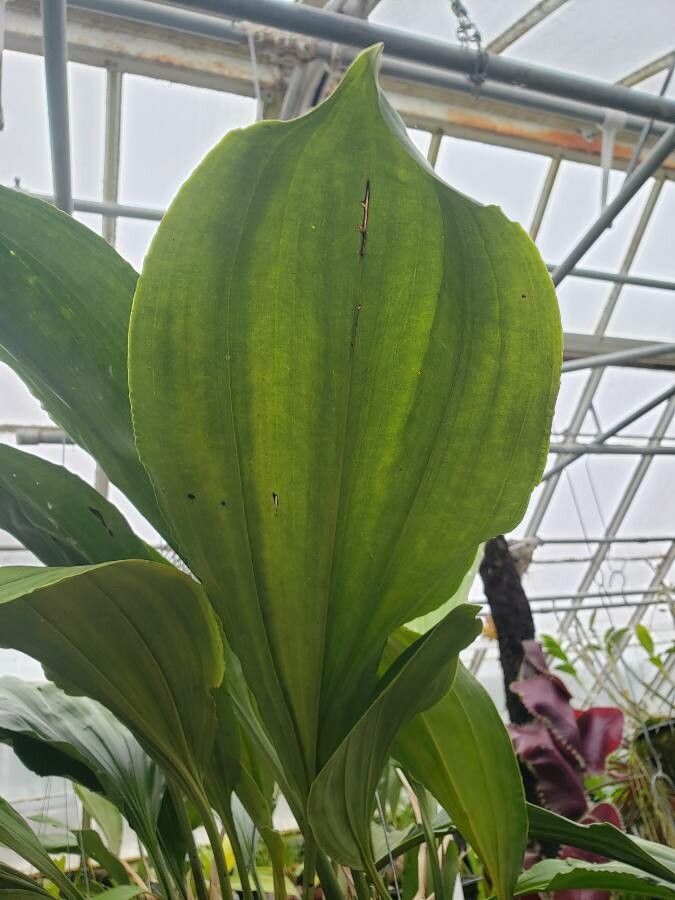
Oh, hello there! It’s so lovely to have you join me today. We’re going to talk about one of my absolute favorite orchids: the Stanhopea frymirei. If you’ve ever seen one in bloom, you’ll know exactly why I’m so smitten. The flowers are just… well, they’re like little works of art dropped from heaven! Their incredible fragrance and their unique pendulous blooms that hang down like delicate lanterns are truly captivating.
Now, I know what you might be thinking: orchids can be a bit intimidating. And while Stanhopea frymirei isn’t as tricky as some of the rarer species, it does require a little know-how. Propagating them can feel like a significant step, but trust me, it’s incredibly rewarding. Watching a tiny piece of your beloved orchid grow into a whole new plant is pure gardening joy. For beginners, I’d say it’s a moderate challenge – achievable with a bit of patience and the right guidance.
The Best Time to Start
When it comes to Stanhopea frymirei, timing is everything. The absolute best time to propagate is during its active growth period. This is typically after it has finished blooming and is putting out new pseudobulbs or leaves. This is when the plant has the most energy and resources to dedicate to developing new roots and shoots. For most of us, this means late spring through summer. Avoid attempting propagation when the plant is dormant or stressed.
Supplies You’ll Need
To give your new Stanhopea frymirei the best start, having the right tools and materials on hand is crucial. Here’s what you’ll want to gather:
- Sharp, sterile pruning shears or a clean knife: For making clean cuts. Sterilize them with rubbing alcohol between cuts to prevent disease.
- Well-draining orchid mix: A popular blend includes medium-grade bark, perlite, and horticultural charcoal. You can also find specific Stanhopea mixes.
- Small pots or community trays: Clean, individual pots for divisions or a shallow tray for cuttings.
- Rooting hormone (optional but recommended): A powdered or liquid form can give your cuttings a helpful boost.
- Watering can with a fine rose: For gentle watering.
- Clear plastic bags or a humidity dome: To maintain high humidity around cuttings.
- Sphagnum moss (optional): Can be helpful for keeping cuttings moist.
Propagation Methods
Stanhopea frymirei is primarily propagated by division. This is where you separate a mature plant into smaller, independent sections. It’s best done when the plant is actively growing.
Here’s how I do it:
- Gently remove the plant from its pot. You might need to coax it out. If it’s a tightly packed mount, you might need to carefully cut away the mounting material.
- Inspect the pseudobulbs and their connections. Look for distinct sections, each with at least two or three healthy pseudobulbs and some active roots. The goal is to create viable divisions that can sustain themselves.
- Use your sterile pruning shears or knife to carefully separate the divisions. Make sure each division has a good amount of its own root system attached. If the roots are tightly intertwined, don’t be afraid to gently tease them apart. Sometimes, a bit of careful shimmying works wonders. If you absolutely must cut through roots, make sure you do so cleanly.
- Allow the cut surfaces to air dry for a day or two in a warm, well-ventilated spot. This helps the cuts callus over, preventing rot.
- Pot up each division into its own pot with fresh orchid mix. Make sure the pseudobulbs are sitting just at the surface of the mix, not buried too deeply.
The “Secret Sauce” (Pro Tips)
Over the years of coaxing these beauties into new life, I’ve learned a few tricks that really make a difference.
- Don’t overpot! This is a common mistake with orchids. Use a pot that’s just large enough for the new division to grow into for a year or so. Too much potting mix holds too much moisture, leading to rot.
- Bottom heat is your friend. For divisions, placing the pots on a seedling heat mat set to a gentle warmth (around 70-75°F or 21-24°C) can significantly encourage root development. It mimics the warm soil they’d find in their natural habitat.
- Patience with watering is key. After potting your divisions, wait a few days before watering. Let those callused cuts seal up properly. Then, water thoroughly, but allow the potting mix to approach dryness before watering again.
Aftercare & Troubleshooting
Once your Stanhopea frymirei division is potted, give it a bright, indirect light spot. Keep humidity high, especially in the first few weeks. Mist the leaves lightly rather than drenching the potting mix.
The most common issue you’ll encounter is rot. This usually appears as blackening, mushy pseudobulbs or leaves. If you see this, remove the affected parts immediately with your sterile tool. Ensure good air circulation and try to let the potting mix dry out a bit more between waterings. If a division completely fails, it’s disappointing, but don’t let it deter you. It often means the conditions weren’t quite right for it at that moment.
So there you have it! Propagating Stanhopea frymirei might seem like a big undertaking, but it’s such a rewarding way to expand your collection and share these magnificent plants. Be patient with your new divisions, give them good care, and before you know it, you’ll have a whole new generation of fragrant blooms to enjoy. Happy growing!
Resource:
https://identify.plantnet.org/k-world-flora/species/Stanhopea%20frymirei%20Dodson/data