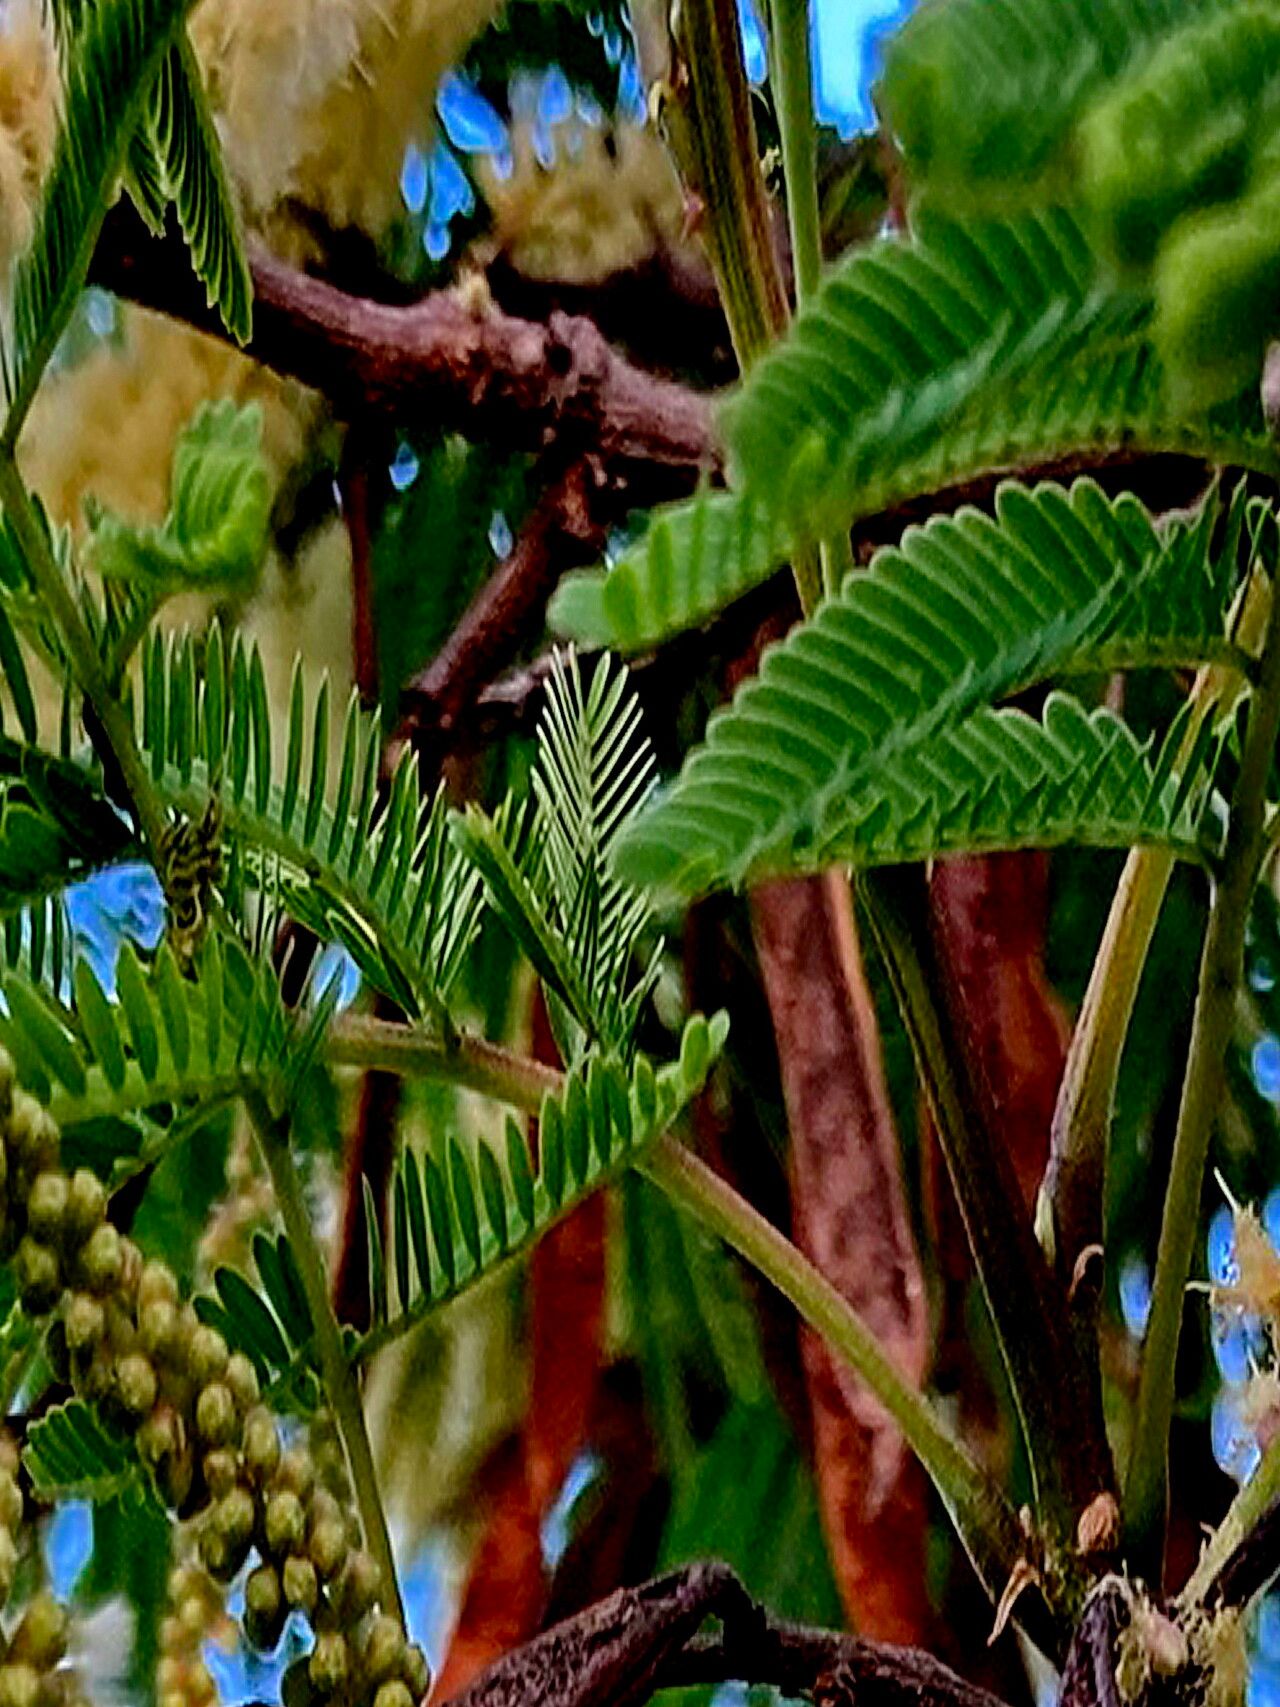
Hello fellow plant lovers! I’m so excited to chat with you today about a true gem of a plant: Senegalia caffra, often called the KwaZulu-Natal Coral Tree. Its delicate, feathery leaves and stunning coral-red flower spikes are simply breathtaking. Growing your own from scratch? That’s pure gardening joy, and I promise, it’s more achievable than you might think, though it does require a little patience.
The Best Time to Start
For Senegalia caffra, the sweet spot for propagation is late spring to mid-summer. This is when the plant is actively growing and has plenty of energy to put into developing new roots. You want to work with healthy, semi-hardwood cuttings – those that are neither brand new and floppy nor old and woody.
Supplies You’ll Need
Here’s what you’ll want to have on hand:
- Sharp, clean pruning shears or secateurs: A clean cut is crucial for preventing disease.
- Rooting hormone powder or gel: This really gives your cuttings a head start.
- A well-draining potting mix: I like a blend of equal parts perlite, coco coir, and a good quality potting soil. You can also buy specific cactus or succulent mixes, which work wonderfully.
- Small pots or seed trays: Make sure they have drainage holes!
- A watering can with a fine rose: Gentle watering is key.
- A plastic bag or propagation dome: This creates a humid environment your cuttings will love.
- Optional: A heat mat: This can be a game-changer for encouraging root development.
Propagation Methods
Let’s get our hands dirty! The most reliable method for Senegalia caffra is stem cuttings.
- Take Your Cuttings: Select a healthy stem that’s about pencil thickness and has at least two or three sets of leaves. Using your clean shears, make a clean cut just below a leaf node. A leaf node is where a leaf grows from the stem; this is where roots are most likely to form. Aim for cuttings that are about 4-6 inches long.
- Prepare the Cuttings: Gently remove the lower leaves from the cutting, leaving just the top two or three leaves. If the leaves are very large, you can even snip them in half to reduce water loss through transpiration.
- Apply Rooting Hormone: Dip the cut end of the stem into your rooting hormone powder or gel, ensuring it’s coated evenly. Tap off any excess.
- Pot Them Up: Fill your small pots or trays with your prepared potting mix. Make a small hole in the center of the mix with your finger or a pencil. Insert the prepared cutting into the hole, making sure the base is firmly in contact with the soil. Gently firm the soil around the stem.
- Create a Humid Environment: Water the soil gently until it’s moist but not waterlogged. Then, cover the pots with a clear plastic bag or a propagation dome. This humidity will prevent the cuttings from drying out while they try to root. You want the leaves to not touch the plastic, so use sticks or stakes if needed to prop it up.
The “Secret Sauce” (Pro Tips)
Now for a couple of things I’ve learned over the years that really make a difference:
- Bottom Heat is Your Friend: If you have a heat mat, place your pots on it. This gentle warmth from below mimics ideal conditions and can significantly speed up root formation. It’s like giving your cuttings a cozy, warm bed to grow in.
- Don’t Rush the Light: Place your newly potted cuttings in a bright spot with indirect light. Direct sun can scorch delicate cuttings. Once you see new growth appearing, you know they’ve rooted and you can gradually introduce them to more light.
- The “Wiggle Test” (Later On): After a few weeks, you can gently tug on a cutting. If you feel resistance, congratulations! Roots are forming. Don’t pull too hard, though!
Aftercare & Troubleshooting
Once your cuttings have a good root system – you might even see them emerging from the drainage holes – it’s time to give them a bit more attention.
- Gradual Acclimation: Slowly remove the plastic bag or dome over a week or so. This helps the new plant adjust to normal humidity levels.
- Careful Watering: Continue to water them when the top inch of soil feels dry. Avoid overwatering at all costs, as this is the most common cause of failure – it leads to rot.
- Signs of Trouble: If your cuttings turn black and mushy, that’s rot. This usually means too much moisture and not enough air circulation. If they simply wither and dry up, it might be due to too much direct sun or not enough humidity. Don’t be discouraged if a few don’t make it; it’s all part of learning!
Keep Growing!
Propagating Senegalia caffra is a wonderfully rewarding experience. It’s a chance to connect with your plants on a deeper level and to share their beauty. Be patient with yourself and with your new little saplings. Enjoy the process, and before you know it, you’ll have more of these stunning coral trees to admire and share! Happy gardening!
Resource: