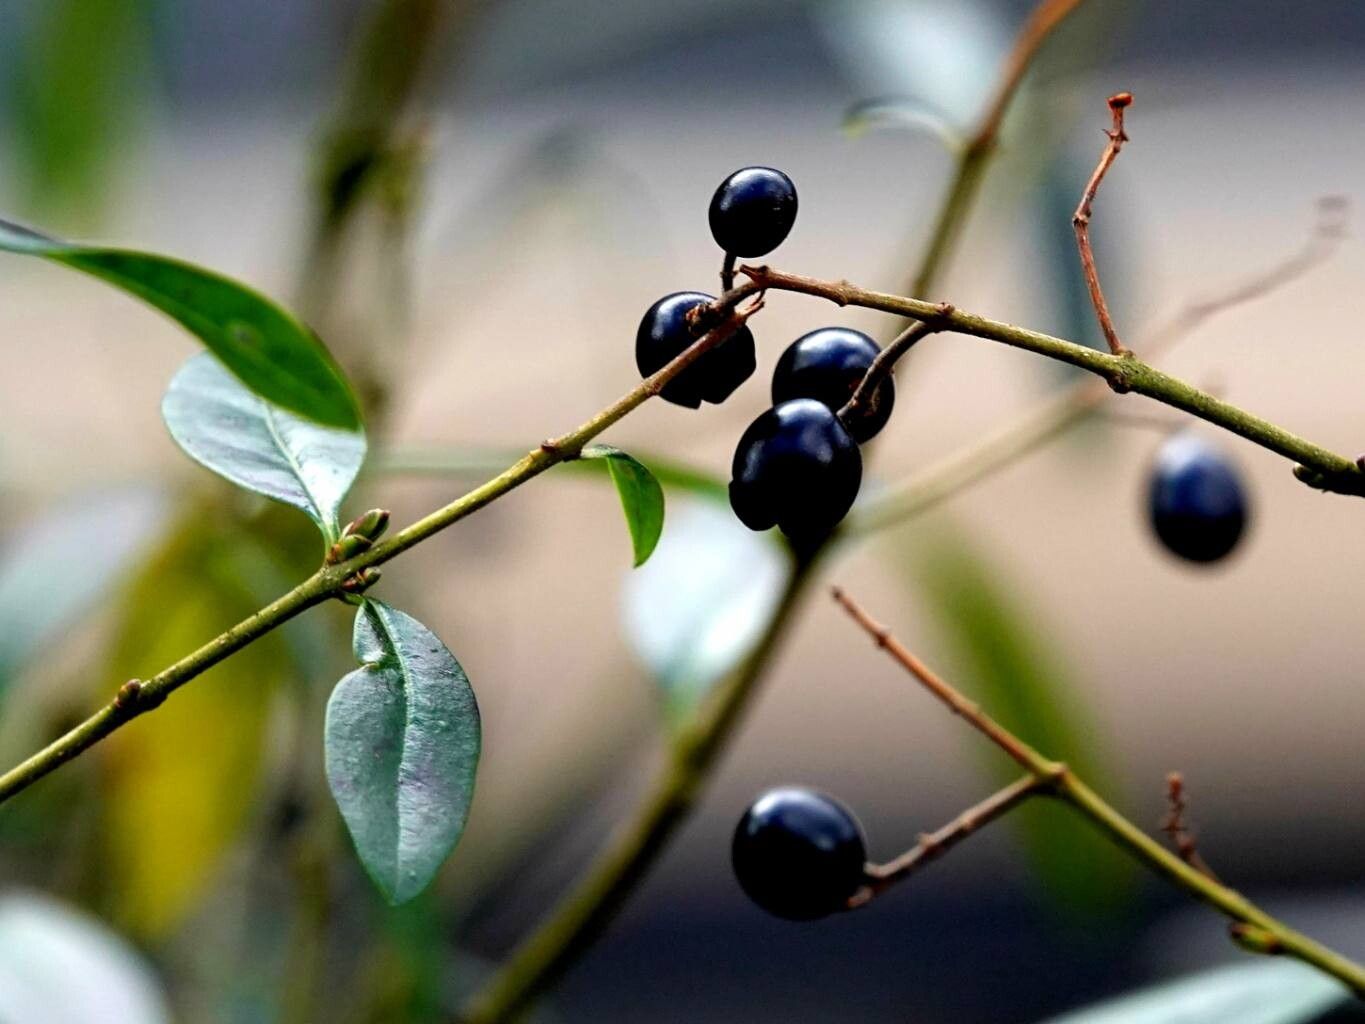
Oh, hello there! Come on in, let’s pull up a chair and chat about a plant I absolutely adore, and one that’s surprisingly easy to multiply: Privet, or Ligustrum vulgare. You know, that lovely, hardy shrub with its glossy green leaves and those attractive dark berries in the fall? It’s a gardener’s workhorse, perfect for hedges, borders, or just adding some structure to your landscape. And the best part? It’s a joy to propagate. You’ll feel like a gardening wizard watching those tiny cuttings burst into life!
For those of you just dipping your toes into the world of gardening, I have great news. Privet is wonderfully beginner-friendly when it comes to propagation. You don’t need a fancy greenhouse or a doctorate in plant science. Just a little patience and a few key steps, and you’ll be well on your way to creating a whole new patch of these beautiful shrubs.
The Best Time to Start
Timing is everything with plants, and for Ligustrum vulgare, I find late spring to early summer to be the sweet spot. You want to work with stems that are semi-hardwood. This means they’ve finished their vigorous spring growth but haven’t quite turned woody and old. Look for stems that bend a bit but snap cleanly when you try to break them. If you miss this window, don’t fret! You can also try late summer or early fall with slightly softer, younger growth, though success rates might be a tad lower.
Supplies You’ll Need
Gathering your tools beforehand makes the whole process smoother, like getting all your ingredients ready before you bake. Here’s what I keep on hand:
- Sharp Pruning Shears or a Craft Knife: Clean cuts are essential for good healing.
- Rooting Hormone (Powder or Gel): Not strictly mandatory for privet as it roots quite readily, but it can give your cuttings a significant boost.
- Small Pots or Trays: With drainage holes, of course!
- A Good Potting Mix: I like a well-draining blend, something like a 50/50 mix of peat moss or coir and perlite or coarse sand. This prevents soggy roots, which are the enemy!
- Clear Plastic Bags or a Propagation Dome: To create a humid microclimate for your cuttings.
- Watering Can with a Fine Rose: For gentle watering.
- Labels: So you remember what you planted where!
Propagation Methods
Privet is quite obliging and can be propagated in a couple of straightforward ways. I usually lean towards stem cuttings as it’s the most efficient for me.
Stem Cuttings: My Go-To Method
- Take Your Cuttings: On a mild day in late spring or early summer, select healthy, non-flowering shoots from your established privet plant. Use your clean shears to cut pieces about 6-8 inches long. Try to make the cut just below a leaf node (where a leaf attaches to the stem).
- Prepare the Cuttings: Gently strip off the leaves from the bottom half of each cutting. You can leave 2-3 leaves at the very top, but I often snip those in half horizontally to reduce water loss.
- Dip in Rooting Hormone (Optional but Recommended): Moisten the cut end of each cutting slightly, then dip it into your rooting hormone, tapping off any excess. This is where the magic starts to happen.
- Plant Them Up: Fill your pots or trays with your prepared potting mix. Make small holes with a pencil or your finger, then insert the cuttings, ensuring the bottom leaf node is buried in the soil. Gently firm the soil around them.
- Water Gently: Give them a good, but not drenching, watering. You want the soil to be consistently moist but not waterlogged.
- Create a Humid Environment: This is crucial! Cover the pots with a clear plastic bag or place them under a propagation dome. Make sure the plastic doesn’t touch the leaves too much. Place them in a bright spot, but out of direct, scorching sunlight.
Water Propagation (A Fun Alternative)
This method is super visual and a great way to see roots develop.
- Prepare Cuttings: Follow steps 1 and 2 from the stem cutting method.
- Place in Water: Fill a clean jar or glass with water and place your prepared cuttings in it. Make sure no leaves are submerged in the water. Any leaves underwater will just rot and hinder rooting.
- Change Water Regularly: Change the water every 2-3 days to keep it fresh and prevent bacteria growth.
- Find a Bright Spot: Again, bright, indirect light is ideal.
- Transplant When Ready: Once you see healthy roots forming (usually after a few weeks, about 1-2 inches long), you can carefully transplant them into pots with your potting mix.
The “Secret Sauce” (Pro Tips)
Over the years, I’ve picked up a few little tricks that make a big difference.
- The Power of the Node: Always ensure at least one leaf node is buried in the soil for stem cuttings. This is where the plant is most likely to send out roots.
- Bottom Heat is Your Friend: If you have a heating mat designed for seedlings, placing your pots on it can significantly speed up root development. It mimics the warmth of spring soil and gives those little root cells a real boost.
- Don’t Rush the Transplant: Even with water propagation, wait until the roots look robust and well-established before moving them to soil. Patience here pays off in a stronger, healthier plant.
Aftercare & Troubleshooting
Once you see signs of growth – a new leaf unfurling or the cutting resisting a gentle tug – you know roots have formed!
- Gradual Acclimation: If you used a plastic bag or dome, gradually increase ventilation over a week before removing it completely. This helps them adjust to normal humidity.
- Continue Gentle Watering: Keep the soil consistently moist, but not soggy. Let the top inch of soil dry out slightly between waterings.
- Feeding (Later On): Once they’ve established well in their pots and are showing good top growth, you can start feeding them with a diluted liquid fertilizer every few weeks during the growing season.
Now, what if things don’t go as planned? Rot is the most common problem. If your cuttings turn black and mushy, it’s usually due to one of two things: too much moisture combined with poor air circulation, or contaminated water (in the case of water propagation). If you see this, discard the affected cuttings and check your watering and ventilation. Sometimes, it’s just a matter of trying again with fresh material and slightly adjusted conditions. Don’t get discouraged – every gardener has “duds”!
A Fond Farewell
Propagating privet is a wonderfully rewarding experience. It’s a chance to connect with nature, learn patience, and see the miracle of new life unfold right before your eyes. Your new plants might take a little while to establish, so keep them happy, keep them watered, and celebrate every tiny bit of progress. Happy propagating, my green-thumbed friends! You’ve got this.
Resource:
https://identify.plantnet.org/k-world-flora/species/Ligustrum%20vulgare%20L./data