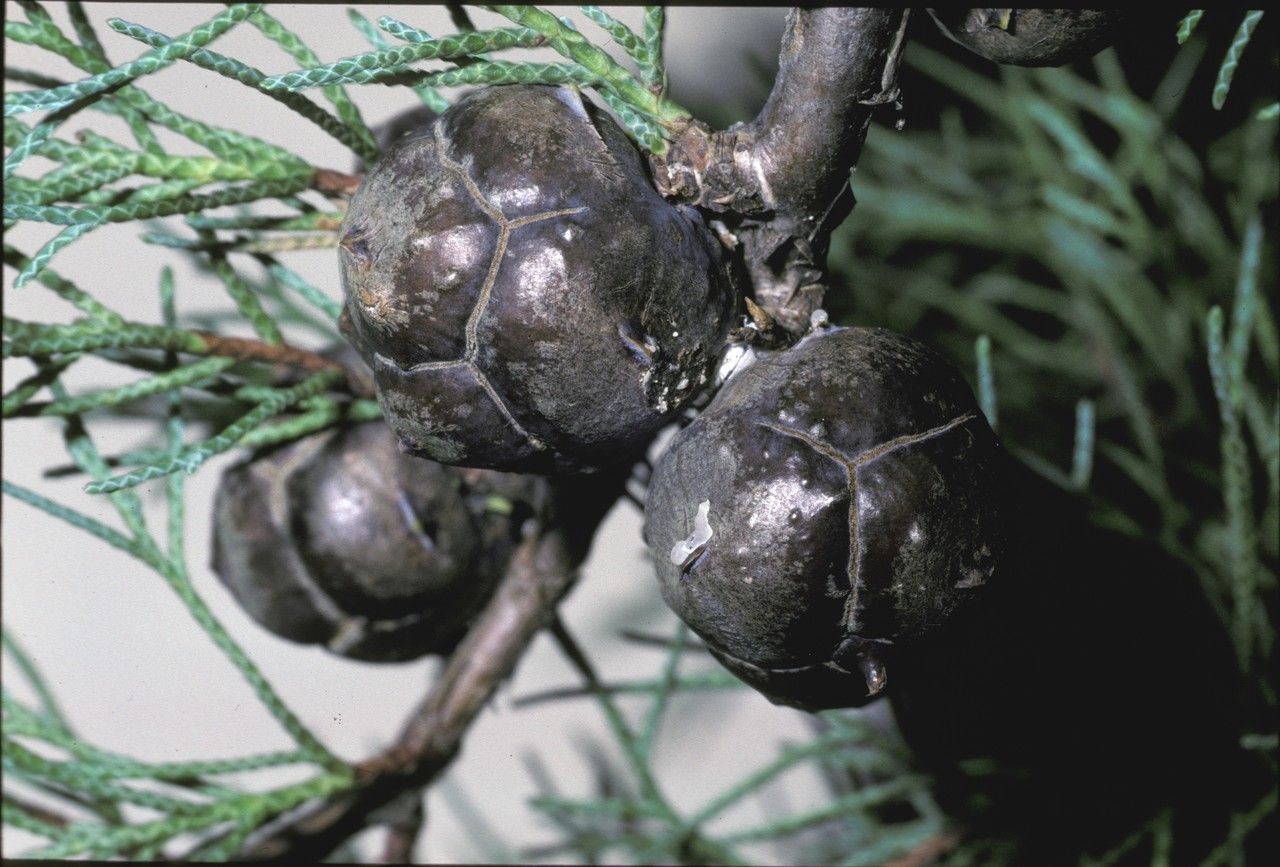
Hello fellow garden lovers! I’m so glad you’re here. Today, we’re diving into the wonderful world of Cupressus duclouxiana, or the Yunnan Cypress. This tree, with its graceful, often weeping branches and lovely, fragrant foliage, brings a touch of quiet elegance to any landscape. Propagating it yourself is incredibly rewarding, giving you the joy of seeing a new life sprout from a piece of your favorite tree. Now, I won’t sugarcoat it – Cupressus duclouxiana isn’t the absolute easiest plant for a complete novice to propagate. It can be a little fussy, but with a bit of care and attention, it’s definitely achievable, and I’m here to walk you through it.
The Best Time to Start
For the highest success rate with Cupressus duclouxiana, I always recommend working with semi-hardwood cuttings. The ideal window for taking these is typically in late summer to early autumn, after the rapid growth of spring has begun to firm up. You’re looking for stems that are flexible but no longer sappy and soft. Think of it as a stem that’s saying, “Okay, I’m done growing for the year, but I’m still full of life!”
Supplies You’ll Need
Gathering your supplies in advance makes the whole process much smoother. Here’s what you’ll want to have on hand:
- Sharp, clean pruning shears or a sharp knife: Essential for taking clean cuts.
- Rooting hormone: I prefer a powder type for ease of use, but a gel works beautifully too.
- A well-draining potting mix: A good blend of peat moss, perlite, and a bit of compost is excellent. Avoid heavy garden soil.
- Small pots or seed trays: Ensure they have drainage holes!
- A plastic bag or humidity dome: To create a mini-greenhouse effect.
- Potting grit or coarse sand: For the potting mix, to improve drainage.
- Optional: Bottom heat mat: This can significantly speed up root development.
Propagation Methods: Stem Cuttings
The most common and effective way to propagate Cupressus duclouxiana is through stem cuttings. Here’s how I do it:
- Select Your Cuttings: Choose healthy, vigorous shoots from your mature tree. Look for stems about 4-6 inches long.
- Make the Cut: Using your clean shears or knife, take a clean, angled cut just below a leaf node. This is where roots are most likely to form.
- Prepare the Cutting: Gently remove the lower leaves from the bottom inch or two of the stem. This area needs to be bare to prevent rotting when planted.
- Apply Rooting Hormone: Dip the cut end of the stem into rooting hormone, ensuring it’s well-coated. Tap off any excess.
- Plant the Cuttings: Make a hole in your prepared potting mix with a pencil or dibber. Gently insert the cutting into the hole, ensuring the rooting hormone stays on the cut end. Firm the soil gently around the stem.
- Water Gently: Water the pots thoroughly but avoid over-saturating.
- Create a Humid Environment: Place the pots inside a plastic bag or cover with a humidity dome. Ensure the leaves don’t touch the plastic. You can prop it up with sticks if needed.
- Provide Light and Warmth: Place the cuttings in a bright location but out of direct, harsh sunlight. If you have a bottom heat mat, now’s the time to use it – aim for around 70-75°F (21-24°C).
The “Secret Sauce” (Pro Tips)
I’ve learned a few things over the years that can really make a difference.
- “Wipe” Your Cuttings: Before dipping in rooting hormone, I sometimes give the bottom inch of the cutting a gentle “wipe” with a clean paper towel. This can remove any sticky sap that might interfere with the hormone uptake.
- Don’t Overcrowd: Give your cuttings space! Cramming too many into one pot can lead to poor air circulation and increase the risk of fungal diseases, especially rot.
- Sterilize Everything: This is crucial! Make sure your pruning shears, knives, and pots are sparkling clean before you start. Any lingering bacteria or fungi can spell disaster for tender cuttings.
Aftercare & Troubleshooting
Once your cuttings have been planted and are happily nestled in their humid environment, remember they’re still babies! Keep the soil consistently moist but not waterlogged. Check the soil with your finger – it should feel damp but not soggy.
Patience is key here! It can take several weeks, sometimes even a couple of months, for roots to develop. You can gently tug on a cutting to feel for resistance; if it feels firm, roots are likely starting to form.
The most common sign of trouble is rot. If you see your cuttings turning black or mushy, this is usually a sign of too much moisture and poor air circulation. You may need to discard the affected cuttings and check your watering and ventilation. If your cuttings start to wilt excessively and don’t perk up, it could indicate they’re not rooting, or the environment is too dry.
A Little Patience, A Lot of Reward
Propagating Cupressus duclouxiana is a journey, and like any good journey, it’s about the steps you take and the lessons you learn along the way. Don’t be discouraged if your first attempt isn’t perfect. Keep trying, observe your plants, and enjoy the satisfaction of nurturing new life from your garden. Happy propagating!
Resource:
https://identify.plantnet.org/k-world-flora/species/Cupressus%20duclouxiana%20Hickel/data