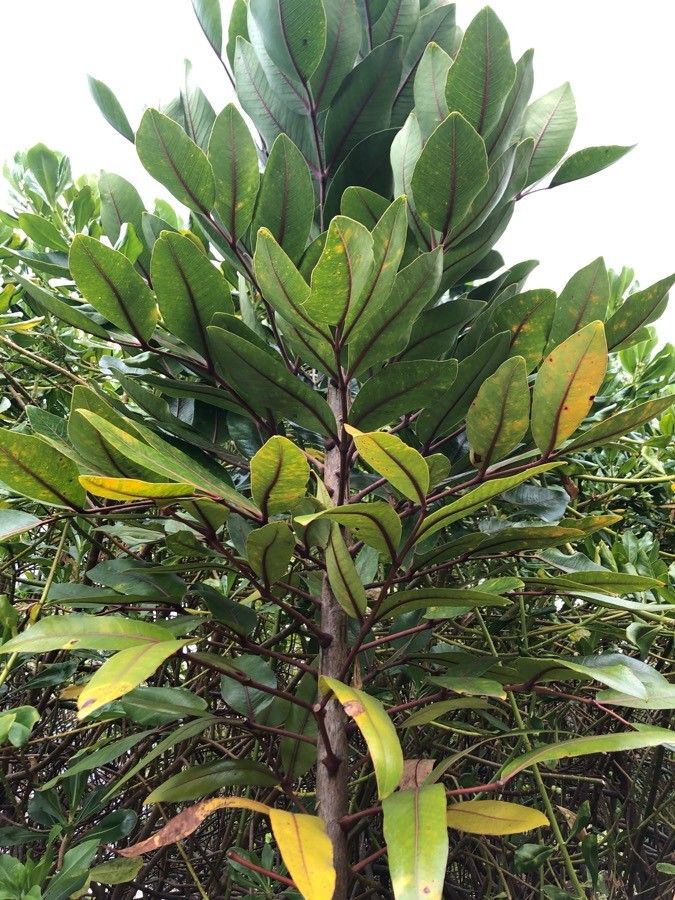
Hello fellow plant lovers! I’m so thrilled to share my passion for a truly special plant with you today: Cunonia rupicola. If you’re looking for a shrub that offers delicate beauty and a touch of the exotic, this might be your next obsession. Its cascading clusters of creamy white flowers are simply breathtaking in bloom, and its glossy foliage adds evergreen elegance year-round.
Now, I know what you might be thinking – is this one of those fussy plants that’s too tricky to get going? Honestly, when it comes to propagation, Cunonia rupicola can be a little more of a thoughtful process than, say, a Pothos. But don’t let that deter you! The reward of successfully coaxing new life from an established beauty is incredibly satisfying. It requires a bit of patience and the right approach, but with these tips, you’ll be well on your way.
The Best Time to Start
For the absolute best chance of success, I always recommend taking cuttings in late spring or early summer. This is when the plant is actively growing, and the new stems, known as ‘softwood’, are pliable and full of energy. They have a wonderful ability to root when they’re in this vigorous phase. Avoid taking cuttings when the plant is dormant or stressed.
Supplies You’ll Need
Gathering your supplies beforehand makes the whole process smoother. Here’s what I like to have on hand:
- Sharp pruning shears or a clean knife: For making clean cuts.
- Rooting hormone: I find a powdered rooting hormone specifically for softwood cuttings works wonders.
- Well-draining potting mix: A good blend of peat moss or coco coir, perlite, and a bit of compost is perfect. You want it to hold moisture but not get waterlogged.
- Small pots or seed trays: Clean ones are essential to prevent disease.
- Plastic bags or a propagation dome: To create a humid environment.
- Water mister or spray bottle: For keeping things moist.
- Optional: Bottom heat mat: This can significantly speed up rooting.
Propagation Methods: Stem Cuttings
This is my go-to method for Cunonia rupicola, and it’s quite effective.
- Select Your Cuttings: Look for healthy, vigorous stems that are about 4-6 inches long. These should be from the current season’s growth – they’ll be flexible enough to bend without snapping. Remove any flowers or flower buds; we want the plant to focus its energy on rooting, not flowering.
- Prepare the Cuttings: Using your sharp shears or knife, make a clean cut just below a leaf node (where the leaves attach to the stem). Gently remove the lower leaves from about half to two-thirds of the stem. This exposes the nodes where roots will form.
- Apply Rooting Hormone: Dip the cut end of the stem into your rooting hormone, tapping off any excess.
- Plant Your Cuttings: Insert the treated end into your prepared potting mix, making sure there are at least a couple of leaf nodes buried. Gently firm the soil around the stem.
- Create Humidity: Lightly water the soil. Then, cover the pot with a clear plastic bag or a propagation dome. This creates a mini-greenhouse. Ensure the plastic doesn’t touch the leaves too much – you can use small stakes if needed.
- Find the Right Spot: Place your pots in a bright spot with indirect light. Avoid direct, harsh sun, which can scorch the delicate cuttings.
The “Secret Sauce” (Pro Tips)
Over the years, I’ve learned a few tricks that seem to give my cuttings a little extra boost.
- One thing I always do is use bottom heat. If you have a heat mat, pop your pots on it. It mimics the warmth of the soil in spring and encourages root development significantly faster.
- When you mist your cuttings, try to mist the air around them and only lightly on the leaves. Too much water sitting on the leaves can encourage fungal diseases. Think of it as a gentle dew.
- Don’t be tempted to constantly fidget with your cuttings! Resist the urge to pull them up to check for roots too early. You can subtly tug to see if there’s resistance, but patience is key. I find they often root more readily when left undisturbed.
Aftercare & Troubleshooting
Once you start to see small roots emerging, usually after 4-8 weeks, it’s time for a little pampering.
- Gradually introduce them to air: Once they have a good root system (you might see roots peeking out of the drainage holes), slowly start to remove the plastic cover for longer periods each day. This hardens them off.
- Water gently: Continue to keep the soil consistently moist but not soggy.
- Transplanting: When the plant is strong enough and has a decent amount of roots, you can transplant it into a slightly larger pot.
Now, what if things don’t go as planned? The most common issue you’ll encounter is rot. If a cutting turns black and mushy, it’s usually a sign of too much moisture and not enough air circulation or drainage. If you see this, sadly, that cutting is likely lost. Don’t beat yourself up – it happens to the best of us! The solution is to ensure your soil mix is just right and that the humidity isn’t too high, especially if you don’t have bottom heat.
A Encouraging Closing
Propagating Cunonia rupicola is a journey, and like all gardening adventures, it has its moments of triumph and learning. Be patient with yourself and with your new plant babies. Watch for the subtle signs of life, and celebrate each tiny victory – a new leaf unfurling, a firmer stem. It’s in these small moments that the true magic of gardening unfolds. Happy propagating!
Resource:
https://identify.plantnet.org/k-world-flora/species/Cunonia%20rupicola%20Hoogland/data