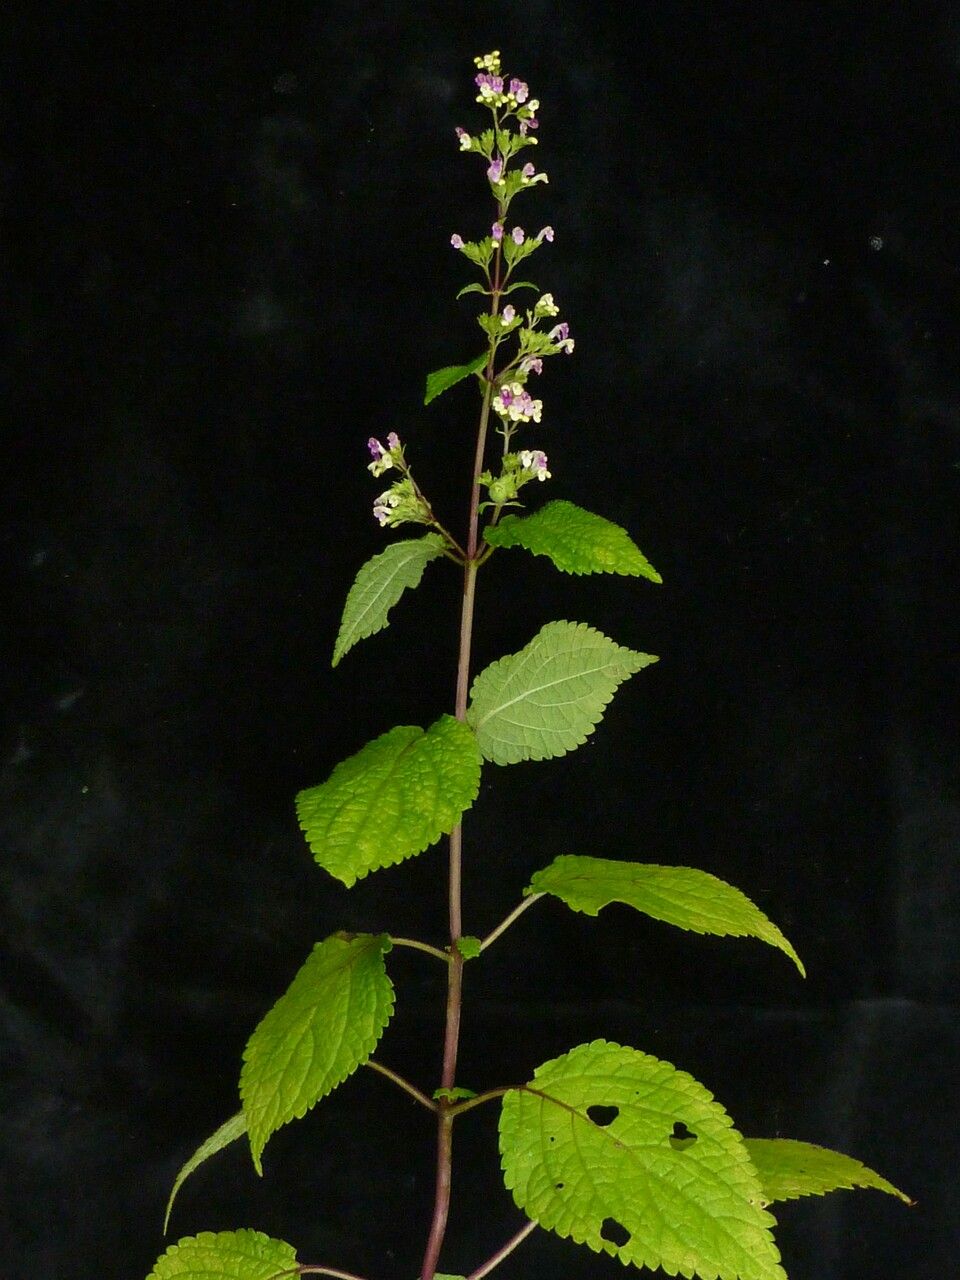
Oh, hello there! Come on in, let’s chat about one of my favorite plants: Craniotome furcata. If you’re looking for a bit of lushness and a lovely scent in your garden, this one’s a gem. The heart-shaped leaves are just so satisfying, and the clusters of delicate, often white or pale lilac flowers are a delightful surprise. Propagating it yourself is incredibly rewarding. Honestly, while it’s not necessarily a “propagate-it-in-your-sleep” kind of plant for absolute beginners, with a little care, you’ll find it’s quite achievable. Think of it as a delightful challenge that yields beautiful results!
The Best Time to Start
For the highest success rate with Craniotome furcata, I always aim for late spring to early summer. This is when the plant is in its most vigorous growth phase. You’ll have nice, strong new stems to work with, and the warmer temperatures and longer days really encourage quick rooting. Avoid trying this when the plant is dormant or stressed.
Supplies You’ll Need
Here’s what I’ve found helpful:
- Sharp, clean pruning shears or a sharp knife: For making clean cuts.
- Well-draining potting mix: A good general-purpose mix with perlite or sand added works wonders. I often use about a 50/50 blend of potting soil and perlite myself.
- Small pots or propagation trays: With drainage holes, of course!
- Rooting hormone (optional but recommended): A powder or gel can give your cuttings a helpful boost.
- Clear plastic bag or dome: To create a humid environment.
- Water: For watering and potentially for water propagation.
- Small trowel or stick: For making planting holes.
Propagation Methods
I’ve had the most luck with stem cuttings and a bit of water propagation for Craniotome furcata.
Stem Cuttings
- Take your cuttings: Select healthy, non-flowering stems from a mature plant. Look for stems that have started to harden slightly, not the super-soft new growth. Cut a piece about 4-6 inches long, making sure each cutting has at least two sets of leaves. Make your cut just below a leaf node (where a leaf attaches to the stem).
- Prepare the cuttings: Gently remove the lower leaves from your cuttings, leaving just the top two or three. This prevents them from rotting in the soil.
- Apply rooting hormone (optional): If you’re using it, dip the cut end of the stem into the rooting hormone, tapping off any excess.
- Plant the cuttings: Fill your small pots or trays with your well-draining potting mix. Use your trowel or a stick to make a hole in the soil. Insert the cut end of the stem into the hole and gently firm the soil around it.
- Water and cover: Water the soil thoroughly until it’s moist but not soggy. Then, cover the pots with a clear plastic bag or propagation dome. This traps humidity, which is crucial for cuttings. You can prop the bag up with a few stakes if needed to keep it from touching the leaves.
- Provide warmth and light: Place your pots in a warm spot with bright, indirect light. Avoid direct sun, which can scorch the delicate cuttings.
Water Propagation
- Prepare your cuttings: Follow steps 1 and 2 from the stem cutting method.
- Place in water: Find a clean jar or glass and fill it with fresh water. Place the prepared cuttings directly into the water, ensuring the leaf nodes are submerged. I usually make sure no leaves are below the waterline – they tend to rot quickly.
- Find a good spot: Place the jar in bright, indirect light.
- Change the water regularly: This is key! Change the water every 2-3 days to prevent stagnation and keep it fresh.
The “Secret Sauce” (Pro Tips)
- Bottom heat is your friend: If you plan on doing a lot of propagation, investing in a small seedling heat mat can make a world of difference. It provides gentle warmth to the roots, encouraging them to develop much faster. Just place your pots on top of it.
- Don’t be afraid to experiment with stem thickness: While softer stems root quickly, slightly more mature stems often develop stronger root systems. It’s worth trying a few different types of stems to see what works best in your environment. You might find a sweet spot!
- Give them a gentle tug: After about 3-4 weeks (or sometimes longer), you can give your cuttings a very gentle tug. If you feel resistance, that means roots have formed!
Aftercare & Troubleshooting
Once you see those lovely new roots forming – either peeking out of the drainage holes or you’ve felt that resistance – it’s time for a little more care.
- For water-propagated cuttings: When the roots are about an inch long, carefully transplant them into your well-draining potting mix, just like you would a new plant. Water them gently.
- For soil-propagated cuttings: Gradually acclimate them to normal humidity by opening the plastic bag or dome for increasing periods over a few days before removing it entirely. Keep the soil consistently moist but not waterlogged.
- Signs of trouble: The most common issue is rot. If your cuttings are turning mushy or black, it’s usually due to too much moisture and not enough air circulation. If you see this, remove the affected cutting and ensure the remaining ones have good drainage and air flow. Yellowing leaves can sometimes indicate an issue with watering – too much or too little.
A Little Encouragement
Growing new plants is such a joy, isn’t it? It’s a process that teaches us patience and observation. Don’t be discouraged if your first few attempts aren’t perfect. Keep trying, learn from each experience, and before you know it, you’ll have a whole new collection of beautiful Craniotome furcata to share or enjoy in your own home. Happy propagating!
Resource:
https://identify.plantnet.org/k-world-flora/species/Craniotome%20furcata%20(Link)%20Kuntze/data