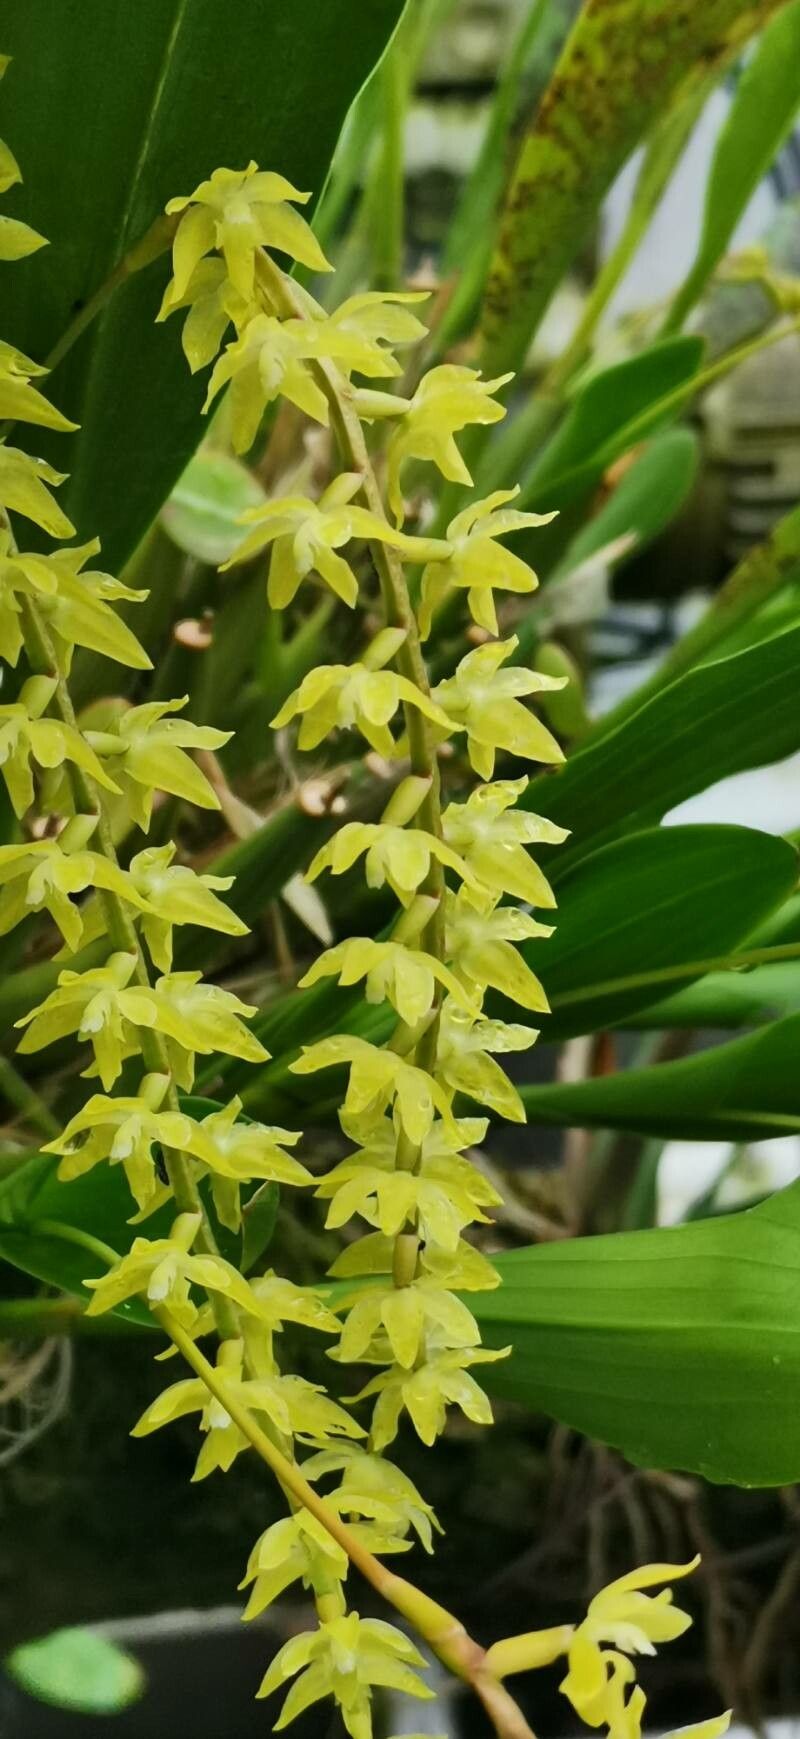
Hello fellow plant enthusiasts! You’ve likely fallen in love with the graceful elegance of Coelogyne pangasinanensis, with its delicate, fragrant blooms. It’s such a rewarding orchid to grow, and there’s a special joy in creating more of these beauties yourself. Now, you might be wondering if it’s a tricky business. Honestly, Coelogyne pangasinanensis can be a little bit of a fussbudget compared to some of the more robust orchids out there, so I’d say it’s more suited for intermediate growers who have a few orchids under their belt already. But don’t let that deter you! With a bit of care and attention, you can absolutely succeed.
The Best Time to Start
The absolute best time to think about propagating your Coelogyne pangasinanensis is when the plant is actively growing, usually in the spring or early summer. You’ll see new pseudobulbs forming and new leaf growth emerging. This is when the plant has the most energy to put into developing new roots and shoots. Trying to propagate when the plant is dormant or stressed is just asking for disappointment, so let’s wait for those prime growing conditions!
Supplies You’ll Need
Here’s what you’ll want to have on hand before you get started:
- Sharp, sterilized pruning shears or a clean knife: For making precise cuts.
- Orchid poting mix: A free-draining mix is crucial. I like a blend of bark, perlite, and a bit of sphagnum moss.
- New orchid pots: Clean and appropriately sized for your divisions.
- Rooting hormone (optional but helpful): A powder or gel to encourage root development.
- Spring water or distilled water: Free of the minerals that can build up and harm orchids.
- A small, sharp trowel or a chopstick: For gently teasing apart roots during division.
- Clean workspace: Sanitize as you go to prevent disease.
Propagation Methods
For Coelogyne pangasinanensis, division is your go-to method for propagation. These orchids grow from rhizomes, sending up new pseudobulbs alongside older ones.
- Assess your plant: Look for a mature Coelogyne pangasinanensis that has at least 3-4 healthy pseudobulbs in each division you plan to make. A good rule of thumb is that each new division should have at least one or two old pseudobulbs to support the new growth and a strong, developing pseudobulb.
- Gently remove from the pot: If your orchid is still in its pot, carefully ease it out. If it’s root-bound, you might need to gently squeeze the pot or even cut away some of the plastic.
- Clean the roots: Gently remove as much of the old potting mix as you can from the root ball. This will help you see where to make your cuts and assess the health of the roots.
- Identify division points: Look for the natural segments of the rhizome between the pseudobulbs. You want to make cuts where there’s a strong connection between the pseudobulbs and healthy roots.
- Make the cut: Using your sterilized shears or knife, carefully cut through the rhizome to separate the divisions. Ensure each division has plenty of healthy roots.
- Treat the cuts (optional but recommended): You can, if you choose, lightly dust the cut surfaces with cinnamon or sulfur powder to help prevent fungal or bacterial infections.
- Pot up your divisions: Place each division into a clean pot with your fresh orchid mix. Position them so the pseudobulbs are sitting slightly above the surface of the mix, with the new growth facing outwards.
- Water gently: Water your newly potted divisions lightly. Avoid overwatering; the goal is to keep the mix slightly moist, not soggy.
The “Secret Sauce” (Pro Tips)
Here are a couple of things I’ve learned over the years that can really make a difference.
- Don’t suffocate the new growth: When potting divisions, make sure the newest growth, the emerging pseudobulb, isn’t buried too deeply in the potting mix. It needs air circulation to thrive and develop properly.
- Patience is your best friend with new divisions: It can take a little while for new roots to establish and for the plant to show obvious signs of new leaf growth. Resist the urge to constantly repot or disturb it to check for roots. Let it settle in.
Aftercare & Troubleshooting
Once your divisions are potted, keep them in a spot that receives bright, indirect light and has good air circulation. Water them whenever the potting mix starts to feel dry, but again, avoid waterlogged conditions. You can mist the leaves lightly if the humidity is low, but try to avoid letting water sit in the crown of the pseudobulbs.
The most common issue you might encounter is rot. If you see a pseudobulb turning black and mushy, it’s usually a sign of too much moisture. If this happens, you’ll want to isolate the plant, remove the affected part if possible, and allow it to dry out more before repotting in fresh, drier mix. Yellowing leaves on older pseudobulbs are normal as the plant redirects energy, but if all the leaves are wilting and yellowing, it might indicate root rot or insufficient watering.
A Little Encouragement
Propagating orchids like Coelogyne pangasinanensis is a journey. Some divisions might take off right away, while others need a little more time to find their footing. Be patient, observe your plants, and enjoy the process of nurturing new life. There’s nothing quite like seeing a division you’ve created burst into bloom. Happy growing!
Resource: