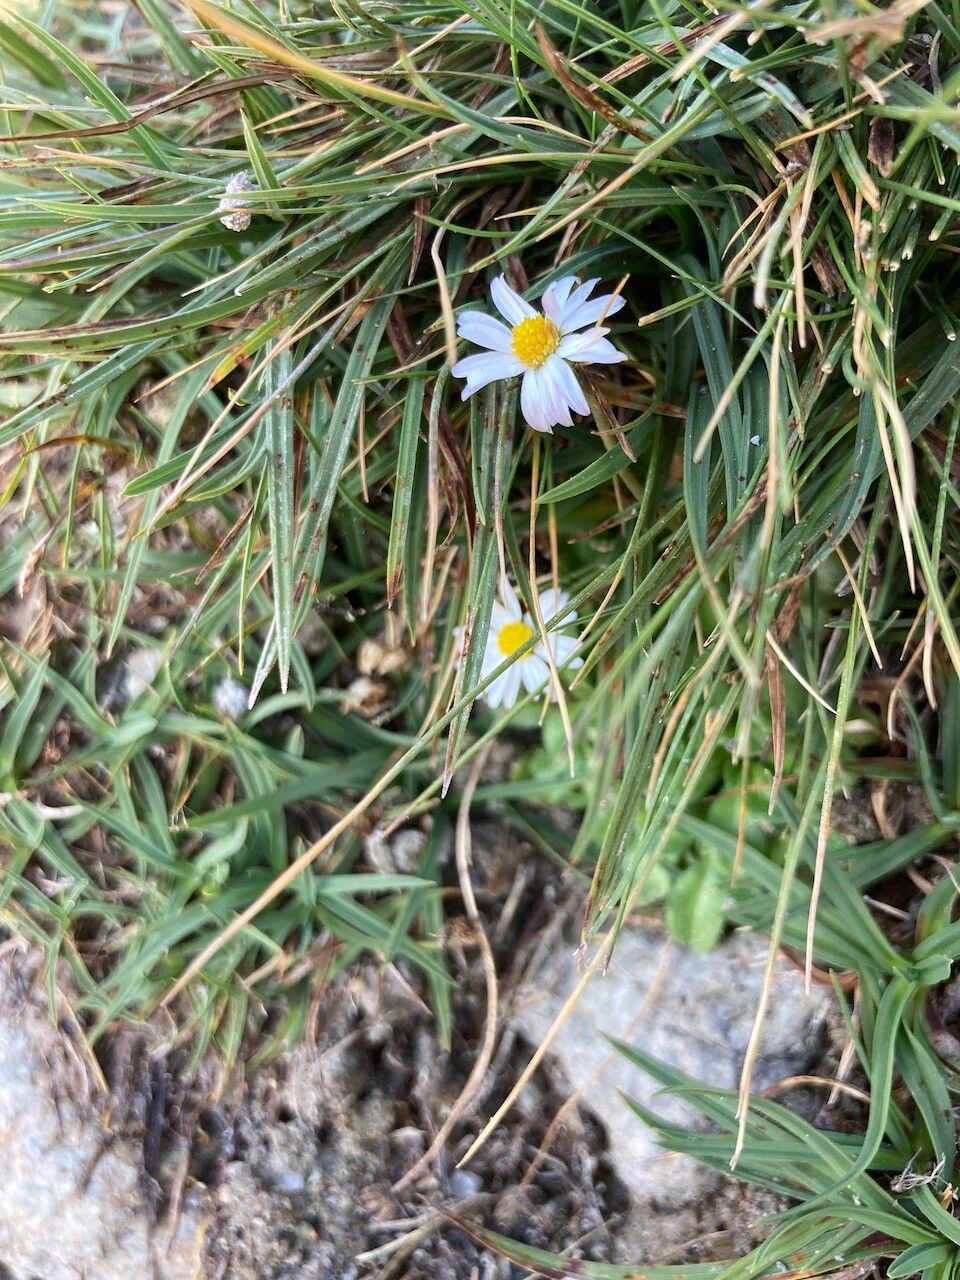
Bringing More of That Cheerful Bellis bernardi Magic to Your Garden
Oh, Bellis bernardi! Those little pockets of sunshine, aren’t they just the sweetest? I’ve always been charmed by their delicate, daisy-like blooms and their cheerful splash of color, even in the cooler parts of the year. They’re like tiny, persistent friends in the garden. And the best part? They’re surprisingly easy to multiply! If you’re new to plant propagation, Bellis bernardi is a fantastic place to start. Seriously, you’ll feel like a seasoned pro in no time.
When to Get Your Hands Dirty
The best time to embark on your propagation adventure with Bellis bernardi is usually in the spring, once the plant has finished its main blooming flush and is really starting to put on new growth. You can also have success with late summer or early autumn propagation, giving your new babies a chance to establish themselves a bit before winter. Just look for healthy, vigorous shoots that haven’t flowered yet.
Your Propagation Toolkit
Here’s what you’ll want to have on hand for a smooth operation:
- Clean, sharp pruning shears or a sharp knife: For making clean cuts.
- Seed-starting mix or a well-draining potting mix: I often use a blend of equal parts peat moss (or coco coir) and perlite.
- Small pots or trays: With drainage holes, of course!
- Rooting hormone (optional but helpful): A powder or gel will do.
- Watering can or spray bottle: For gentle watering.
- A clear plastic bag or propagation dome: To create a humid environment.
Let’s Get Growing: Propagation Methods
Bellis bernardi is quite obliging and can be propagated in a couple of easy ways:
1. Division: The Quickest Route
This is my go-to method for Bellis bernardi, especially when the plant is already established and starting to look a bit crowded.
- Dig it up: Gently dig up the entire plant. Don’t be afraid to get in there!
- Find its segments: You’ll usually see distinct clumps or crowns forming.
- Separate them: Using your hands or a gentle pull with your trowel, carefully divide the plant into smaller sections. Each section should have at least a few leaves and some healthy roots.
- Replant: Pot each division into its own pot with your fresh, well-draining soil mix. Water them in well.
2. Stem Cuttings: For Extra Sweetness
This method is great for taking advantage of new growth.
- Take your cuttings: Using your clean shears, snip off lengths of healthy stem, about 3-4 inches long. Aim for pieces that have no flowers on them. Make your cut just below a leaf node (where a leaf attaches to the stem).
- Prepare the cutting: Pinch off any lower leaves, leaving just a couple at the very top. If you’re using rooting hormone, dip the cut end into it now.
- Plant them: Insert the prepared cuttings into small pots filled with your potting mix. Make sure the leaf nodes you removed are buried in the soil, as this is where roots will form. Gently firm the soil around them.
- Create humidity: Water thoroughly and then cover the pots with a clear plastic bag or a propagation dome to maintain high humidity. Stick a few small twigs in the soil to keep the bag from touching the leaves.
The “Secret Sauce” from My Garden
You know, after years of tinkering, I’ve learned a few little tricks that seem to really make a difference:
- Don’t let the leaves touch the water if you’re experimenting with water propagation. While Bellis bernardi can sometimes root in water, the leaves rotting off is a common issue. If you do use water, make sure only the stem is submerged. I still prefer soil for this one!
- A little warmth goes a long way. If you’ve got a heated propagator or can place your pots on a heat mat, bottom heat can significantly speed up root development. It mimics spring soil temperatures beautifully.
Aftercare and Keeping an Eye Out
Once your divisions are potted up or your cuttings have rooted (you can gently tug on them to feel for resistance), it’s time for the next stage. Continue to keep them consistently moist but not waterlogged. As they grow a bit more and you see new leaves forming, you can gradually acclimate them to less humid conditions by opening the plastic bag a little more each day.
The most common issue you might run into is rot. If you see your cuttings or divisions turning mushy and black, it’s usually a sign of too much moisture or poor drainage. Make sure your pots have good drainage holes and use a light, airy soil mix. Sometimes, overwatering is the culprit, so let the top of the soil dry out slightly between waterings.
Happy Planting!
Watching a new plant emerge from a cutting or a divided clump is one of the most rewarding parts of gardening for me. Be patient with your Bellis bernardi babies. They’ll let you know when they’re ready to thrive. Enjoy the process of growing more of that cheerful beauty for your garden!
Resource:
https://identify.plantnet.org/k-world-flora/species/Bellis%20bernardi%20Boiss.%20&%20Reut./data