Hello, fellow garden enthusiasts! It’s so wonderful to have you here. Today, we’re diving into the magical world of propagating Alchemilla glaucescens, often known as Silver or Lady’s Mantle.
Why Grow More Lady’s Mantle?
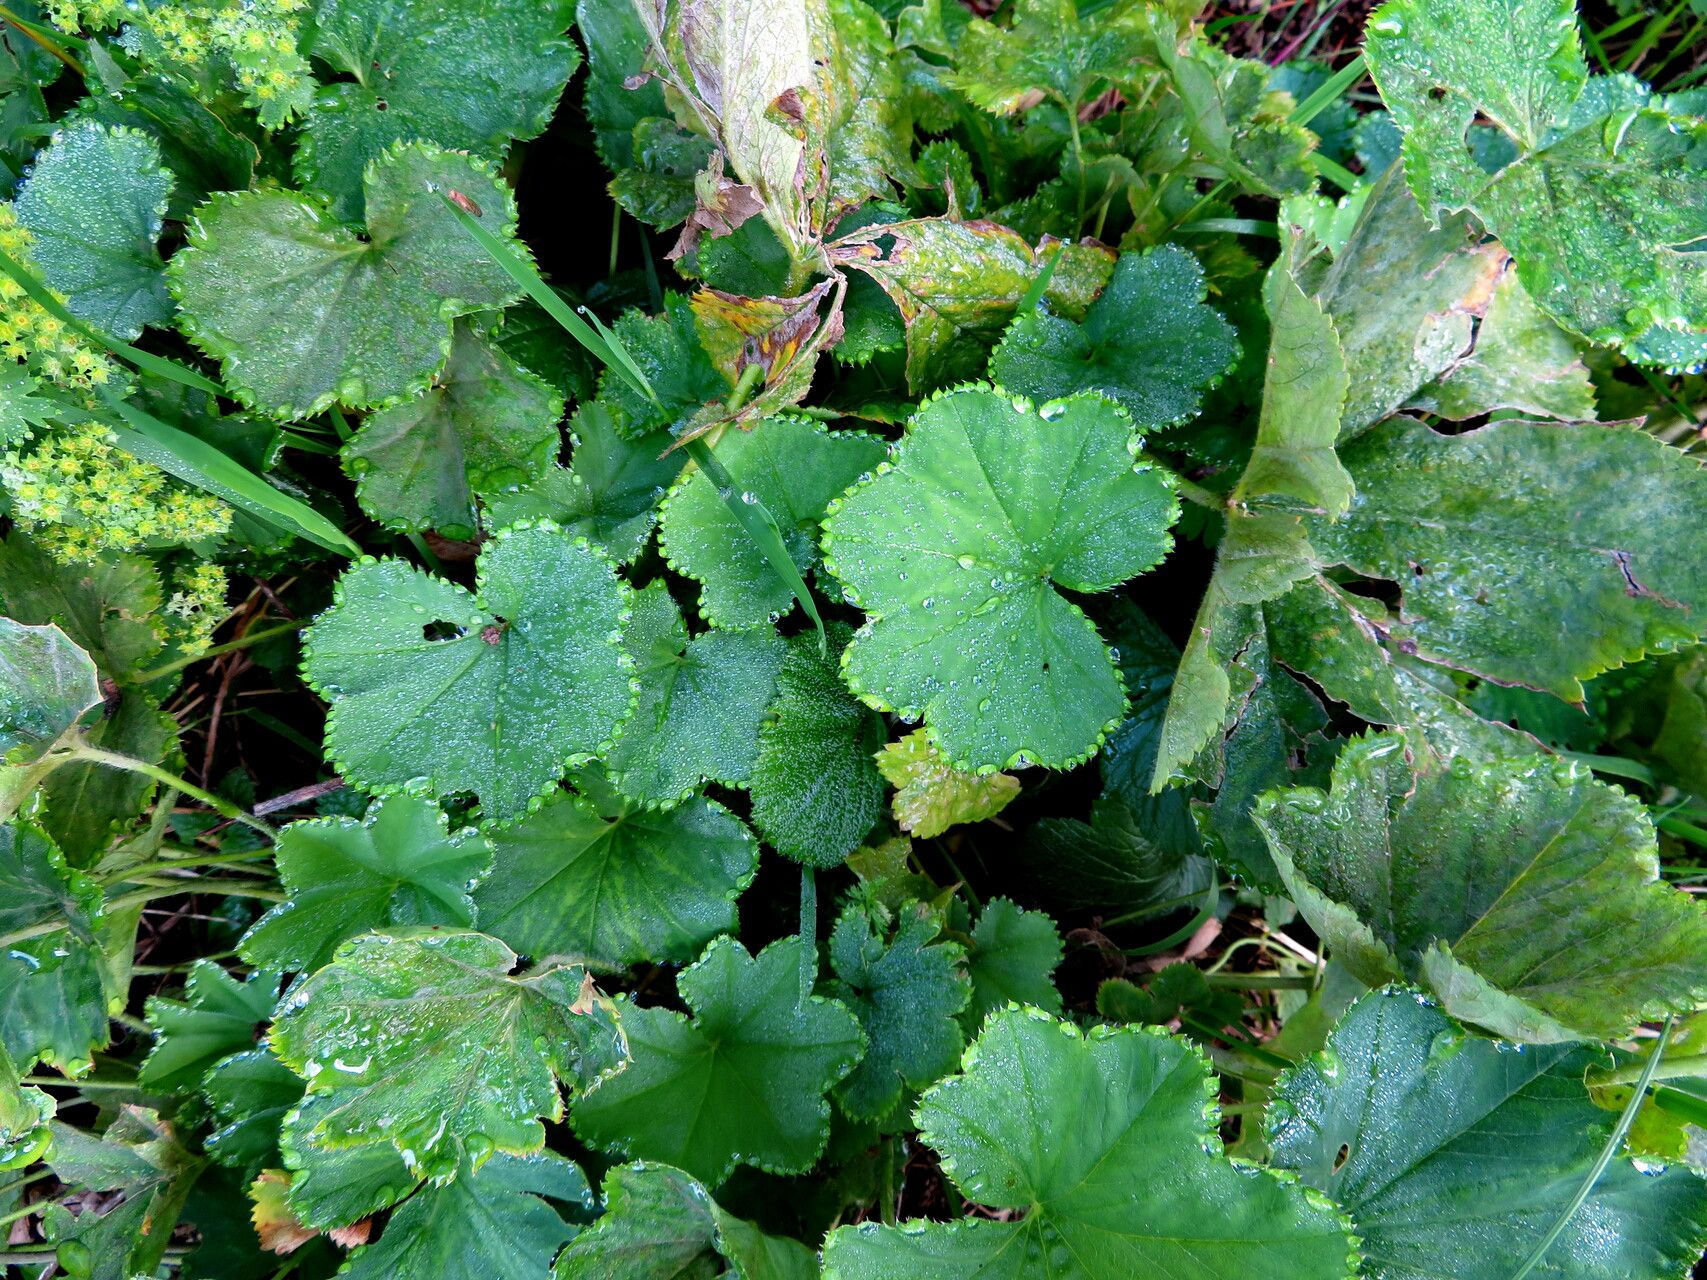
If you love those frothy clouds of chartreuse flowers and the way raindrops cling to its velvety, fan-shaped leaves like tiny jewels, then you’re already hooked. Lady’s Mantle is wonderfully unfussy and adds a soft, textured charm to just about any garden spot. The best part? It’s surprisingly easy to multiply! You can fill those empty spaces, share with friends, or simply enjoy more of this delightful plant without spending a fortune. For beginners, this is an excellent plant to get your propagation journey started.
When to Get Your Hands Dirty
The absolute best time to propagate Alchemilla glaucescens is in late spring or early summer, usually after it has finished its initial flush of blooming. This is when the plant is actively growing and has plenty of energy to put into developing new roots. You can also have success with divisions in early fall, but spring is generally the easiest.
What You’ll Need for Success
Gathering your supplies beforehand makes the whole process a breeze. Here’s what I always have on hand:
- Sharp Pruning Shears or a Knife: Clean tools are crucial to prevent disease.
- Rooting Hormone (Optional but Recommended): A little dip can significantly boost root development.
- Propagation Pots or Trays: Small pots with drainage holes are perfect.
- A Gritty, Well-Draining Potting Mix: I like a mix of equal parts peat moss or coco coir, perlite, and coarse sand. This is key for preventing rot.
- Watering Can or Spray Bottle: For gentle watering.
- Labels and a Marker: To keep track of your projects!
Methods to Multiply Your Lady’s Mantle
Alchemilla glaucescens is a champion at propagation, and I find two methods to be the most straightforward and successful.
Method 1: Stem Cuttings – The Classic Approach
This is my go-to method for increasing my plant collection reliably.
- Take Your Cuttings: In late spring or early summer, select healthy, non-flowering stems. Using your sharp shears, cut a stem about 4-6 inches long, just below a leaf node (where a leaf attaches to the stem).
- Prepare the Cuttings: Gently remove the lower leaves, leaving just a few at the top. If your cutting has any flower buds, pinch them off.
- Apply Rooting Hormone (Optional): Dip the cut end of each stem into your rooting hormone powder or gel. Tap off any excess.
- Plant Your Cuttings: Fill your small pots with the gritty potting mix. Make a small hole in the center with a pencil or your finger. Insert the prepared cutting into the hole, ensuring the leaf nodes are buried. Gently firm the soil around the stem.
- Water Gently: Water thoroughly until you see moisture coming out of the drainage holes.
- Create a Humid Environment: You can cover the pots with a clear plastic bag or place them in a propagator with a lid. Make sure the leaves don’t touch the plastic. This creates a humid microclimate that helps prevent the cuttings from drying out. Place them in a bright spot, but out of direct sunlight.
Method 2: Division – The Quickest Way
If you have an established clump of Lady’s Mantle that’s getting too big, division is your friend.
- Dig Up the Plant: In late spring or early summer, carefully dig around the base of the plant with a spade. Gently lift the entire clump out of the ground.
- Inspect and Separate: Gently shake off excess soil so you can see the plant’s structure. You’ll see multiple stems growing from a central crown. You can usually pull the clump apart by hand or use your trowel or a sharp knife to gently tease apart sections. Aim for sections that have a good amount of roots attached and a few healthy shoots.
- Replant Immediately: Plant your divisions into their new locations or into pots filled with your regular garden soil or potting mix. Ensure they are planted at the same depth they were previously growing.
- Water Well: Water both the original plant and the divisions thoroughly.
The “Secret Sauce” for Extra Boost
Here are a few little tricks that have really helped me over the years:
- Bottom Heat for Cuttings: For stem cuttings, placing your pots on a heated propagator mat can make a huge difference in encouraging root development. It speeds things up considerably!
- Don’t Drown Your Cuttings: While humidity is essential, overwatering is the enemy. Be vigilant about ensuring your potting mix drains well. If you see water pooling, your mix is too heavy.
- Use a Small Amount of the Mother Plant’s Soil: When taking cuttings, I sometimes give the cut end a gentle roll in some of the soil from the base of the healthy parent plant. This can introduce beneficial microbes that help with rooting. It’s a little bit of garden magic!
Aftercare and What to Watch For
Once your cuttings have developed a good root system – you’ll know they’re ready when you tug gently and feel resistance, or you see new top growth – it’s time for a bit more care.
For Cuttings:
- Gradually Acclimate: If you’ve kept them covered, slowly remove the cover over a few days to let them adjust to normal humidity.
- Potting Up: Once they have a solid root ball, gently transplant them into larger pots filled with a good quality potting mix.
- Water Consistently: Keep the soil moist but not soggy. They’ll be producing new leaves, which is a great sign!
For Divisions:
- Water Regularly: Newly divided plants need consistent moisture to help them re-establish. Water deeply until new growth appears.
- Mulch Gently: A light layer of mulch around the base can help retain moisture and suppress weeds.
Troubleshooting:
The most common issue you’ll encounter is rot, often caused by overly wet soil and poor drainage. If your cuttings turn black and mushy at the base, or if a division looks wilted and unhealthy despite regular watering, rot is likely the culprit. Prevention is key with a good gritty mix. If you see a bit of wilting, it might just be shock, so keep an eye on it and ensure good drainage.
Happy Propagating!
Watching a tiny cutting or a divided piece transform into a thriving plant is one of the most rewarding parts of gardening. Be patient, enjoy the process, and before you know it, you’ll have more lovely Lady’s Mantle than you can count! Happy growing!
Resource:
https://identify.plantnet.org/k-world-flora/species/Alchemilla%20glaucescens%20Wallr./data