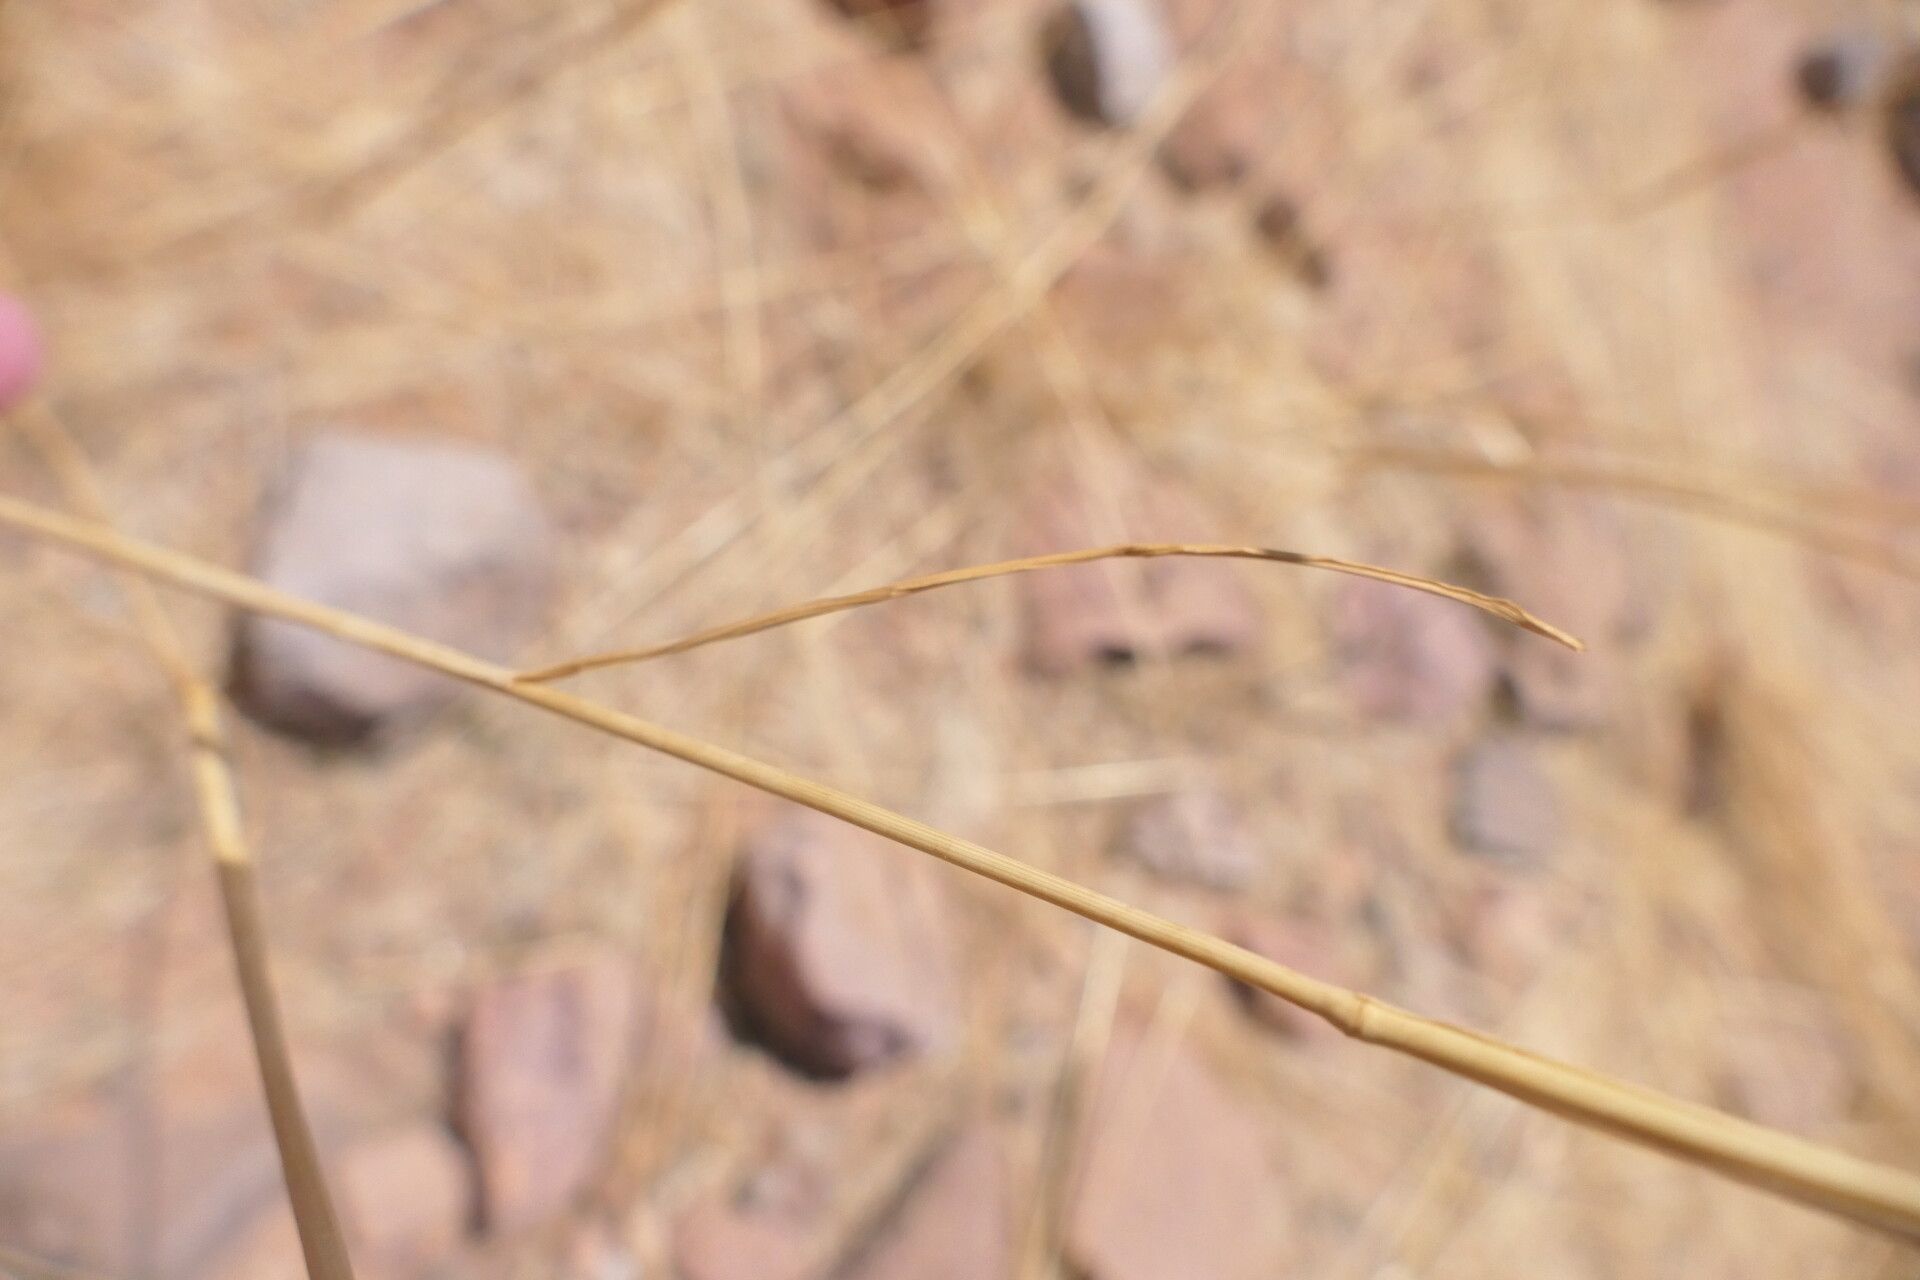
Oh, hello there! Grab yourself a cuppa, because I’m so excited to chat about a grass that’s really captured my heart: Stipagrostis uniplumis, also known as the graceful plumes grass. It’s not your everyday lawn grass, mind you. Think delicate, feathery plumes that dance in the breeze and a lovely texture that adds so much life to the garden, especially when the light catches it just right. Propagating this beauty is incredibly rewarding. You get to multiply that magic, and it’s actually not as intimidating as you might think. For beginners, I’d say it’s moderately easy, especially if you follow a few key steps.
The Best Time to Start
My favorite time to get my hands dirty with Stipagrostis uniplumis is late spring to early summer. This is when the plant is in its most vigorous growth phase. You’ll be able to find fresh, healthy stems and the overall conditions are warm and bright – perfect for encouraging new root development. Waiting until after the initial flush of spring growth means you’re working with established material that’s full of stored energy.
Supplies You’ll Need
Here’s what I always have on hand when I’m propagating grasses. It’s a good idea to have everything ready before you begin:
- Sharp Pruning Shears or Scissors: Cleanliness is key to prevent disease.
- Rooting Hormone (Optional but Recommended): Especially helpful for cuttings. Look for powders or gels.
- Potting Mix: A well-draining mix is crucial. I often use a blend of equal parts peat moss (or coco coir), perlite, and coarse sand.
- Small Pots or Seed Trays: With drainage holes, of course!
- Watering Can or Spray Bottle: For gentle watering.
- Labels and a Pen: To keep track of what you’ve planted!
Propagation Methods
For Stipagrostis uniplumis, I find two methods work particularly well: stem cuttings and division.
Stem Cuttings
This is a fantastic way to get new plants from mature specimens.
- Take Cuttings: Look for healthy, non-flowering stems. Using your clean shears, cut sections that are about 4-6 inches long. Make a clean cut just below a leaf node (where a leaf attaches to the stem).
- Prepare the Cuttings: Gently remove the lower leaves from your cuttings, leaving just a couple at the very top. This reduces water loss.
- Apply Rooting Hormone: Dip the cut end of each cutting into your rooting hormone. Tap off any excess.
- Plant the Cuttings: Fill your pots with your prepared well-draining potting mix. Make a small hole with your finger or a pencil. Insert the cut end of the stem into the hole, making sure the leaf nodes you trimmed are below the soil surface. Gently firm the soil around the stem.
- Water Gently: Water the soil thoroughly but avoid waterlogging. A light misting is often best initially.
- Create a Humid Environment: You can cover your pots with a plastic bag or a propagator lid to maintain humidity. Make sure the leaves aren’t touching the plastic.
- Provide Warmth and Light: Place the pots in a bright location out of direct sunlight. If you have access to a propagator with a heat mat, that’s even better – these grasses love a little warmth from below.
Division
This is a simpler method, especially for mature clumps.
- Excavate the Clump: Gently dig up the entire plant. You can do this in spring or fall if the weather is mild.
- Loosen the Roots: Carefully shake off excess soil. You’ll want to see where the rhizomes or roots naturally divide.
- Separate the Divisions: Using your hands, or a clean, sharp spade or knife if the clump is very dense, gently pull or cut the clump into smaller sections. Each division should have some healthy roots and at least one shoot.
- Replant Immediately: Plant your divisions directly into prepared garden beds or pots, just as you would a full plant.
- Water Well: Water the newly planted divisions thoroughly to help settle the soil and encourage root establishment.
The “Secret Sauce” (Pro Tips)
Here are a couple of things I’ve learned over the years that really boost success:
- Don’t Let Leaves Touch the Water: This is super important for cuttings. If the leaves are submerged, they’ll rot quickly, taking your whole cutting with them. Regularly check that the leaves are nestled above the soil or within the humid environment without being submerged.
- Bottom Heat is Your Friend: Grasses, especially when rooting cuttings, respond wonderfully to warmth from below. A heated propagator or even placing pots on a slightly warm surface (like near a radiator, but not directly on it!) can dramatically speed up root formation. It mimics natural conditions.
- Be Patient with Foliage: Don’t be discouraged if your cuttings look a bit sad or droopy for the first week or two. They’re busy focusing on root development underground. As long as the stems remain firm and green, there’s still hope!
Aftercare & Troubleshooting
Once roots have formed (you can gently tug on a cutting – if it feels resistant, it’s likely rooted), it’s time to transition them.
- Acclimatize: Gradually introduce cuttings to drier air by opening vents on your propagator or removing the plastic bag for longer periods each day.
- Watering: Continue to water moderately. The soil should be kept consistently moist but never soggy. Overwatering is a common mistake and can lead to root rot.
- Transplanting: Once the roots are well-developed and filling the pot, you can transplant your new Stipagrostis uniplumis into larger pots or their permanent garden spot.
- Troubleshooting: The biggest culprit for failure is rot. If your cuttings turn mushy and black, or the divisions wilt dramatically and don’t recover, it’s usually a sign of too much moisture and poor air circulation. Ensure your soil drains well, and don’t overwater!
And there you have it! Propagating Stipagrostis uniplumis is a truly satisfying endeavor. It’s a chance to connect with nature, learn a new skill, and fill your garden with more of that lovely, airy beauty. So don’t be afraid to give it a go. Be patient, observe your plants, and most importantly, enjoy the process. Happy gardening!
Resource: