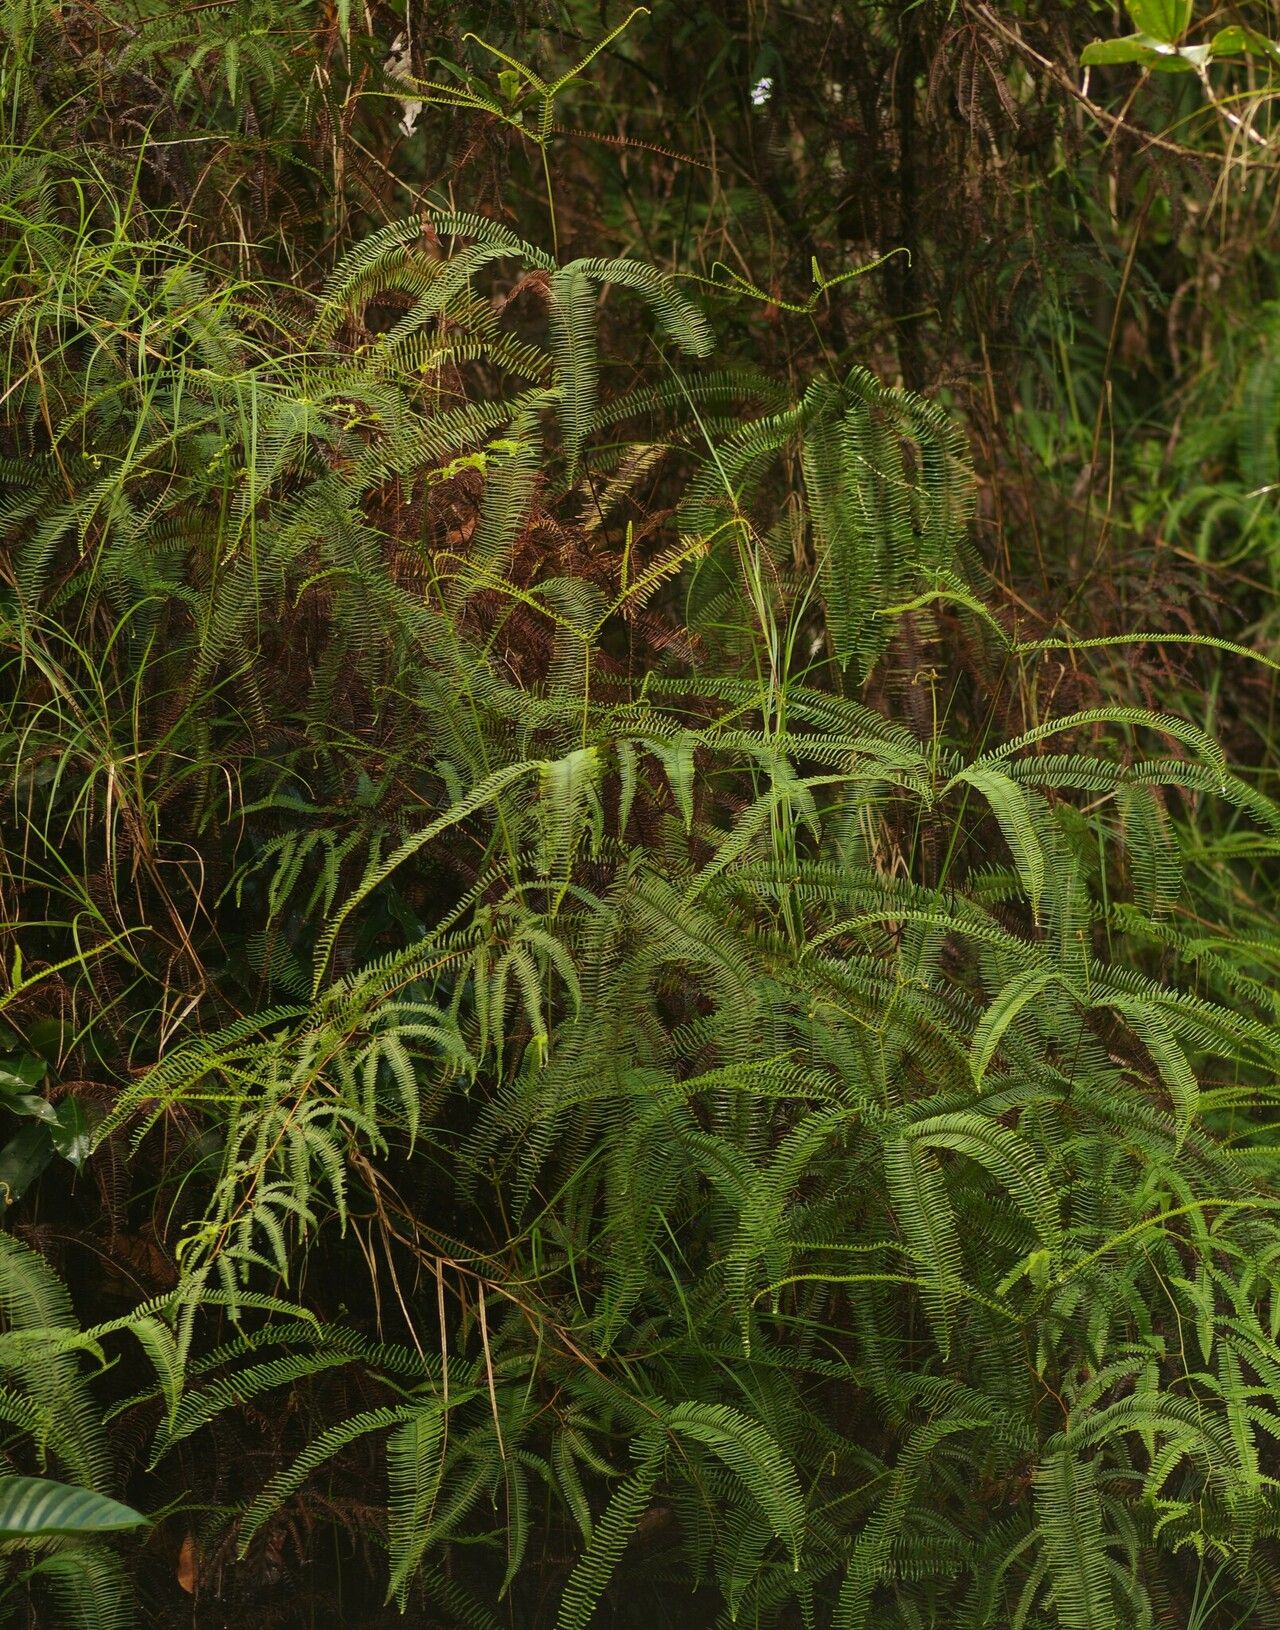
Oh, hello there! Grab a mug, let’s chat about a fern that’s truly special: Sticherus remotus. If you’ve ever seen this beauty with its almost impossibly architectural fronds unfurling, you know the allure. It has this wonderful, almost wild grace that makes any space feel a little more magical. And guess what? Bringing more of that magic into your garden through propagation is a deeply satisfying endeavor. Now, I’ll be honest, Sticherus remotus isn’t the absolute easiest plant for a complete beginner to propagate. It requires a bit of patience and understanding its needs. But with a little guidance, you’ll be well on your way to success!
The Best Time to Start
Timing is everything, isn’t it? For Sticherus remotus, the sweet spot for propagating is during its active growth period. This usually means late spring through early summer. You’re looking for new, healthy growth, those lovely unfurling fronds. Avoid trying to propagate when the plant is stressed or dormant. Think of it as catching your fern when it’s feeling its most robust and ready to embrace new beginnings!
Supplies You’ll Need
Gathering your bits and bobs beforehand makes the whole process so much smoother. Here’s what you’ll want to have on hand:
- Sharp, sterile pruning shears or a sharp knife: Clean cuts are crucial to prevent disease.
- A well-draining potting mix: I like a blend of peat moss, perlite, and a bit of orchid bark. You want aeration!
- Small pots or seedling trays: Enough to give your new cuttings space. Make sure they have drainage holes.
- Rooting hormone (optional but recommended): This helps encourage root development. Look for a powder or gel.
- A clear plastic bag or humidity dome: To keep the humidity high around your cuttings.
- Watering can or spray bottle: For gentle watering.
- A small trowel or dibber: For making holes in the soil.
Propagation Methods
Sticherus remotus can be propagated through a couple of reliable methods. I find division and stem cuttings to be the most effective for this particular fern.
Division
This is probably the most straightforward way to go. As your mature fern grows, it will naturally produce offsets or new growth from its base.
- Gently remove the fern from its pot. If it’s in the ground, carefully dig around it.
- Inspect the root ball. Look for natural divisions – where the plant seems to be splitting into separate sections. You want to see distinct crowns and root systems.
- Using your hands or a clean knife, carefully separate the divisions. Try to ensure each new section has a good amount of roots attached. Don’t worry if a few roots break; it’s natural.
- Pot up each division in its own pot using your well-draining potting mix.
- Water gently and place in a shaded spot.
Stem Cuttings
This method involves taking pieces of the fern’s stems, often called rhizomes or “legs” in the fern world, to root.
- Select healthy, mature stems that are at least 4-6 inches long and have some foliage.
- Using your sterile shears or knife, make a clean cut just below a node (where a frond emerges or a bud is visible). If the stem has multiple sections, you can cut it into smaller pieces, ensuring each piece has at least one node and some healthy fronds.
- Dip the cut end in rooting hormone, if you’re using it. Tap off any excess.
- Make a hole in your potting mix with your trowel or dibber.
- Insert the cut end of the stem into the hole, making sure the node is buried in the soil.
- Gently firm the soil around the stem.
- Water thoroughly but gently.
- Cover the pot with a clear plastic bag or humidity dome. This is crucial for maintaining high humidity, which ferns absolutely adore. Make sure the leaves don’t touch the plastic if possible.
- Place in a bright, indirect light location. Avoid direct sun, which will scorch the cuttings.
The “Secret Sauce” (Pro Tips)
Here are a few things I’ve learned over the years that really seem to make a difference:
- Don’t let the leaves touch the water (when water propagating, though I prefer soil for Sticherus). Even with soil cuttings, if the fronds droop and sit on overly wet soil, they’re more prone to rot. Aim for good air circulation around the foliage.
- Bottom heat is a game-changer for cuttings. If you have a seedling heat mat, placing your pots on it can significantly speed up root formation. It mimics the warmth of spring soil beautifully.
- Choose rhizomes that have a slight “foot” attached. When taking cuttings, look for those segments that have a bit of the older, thicker rhizome attached. They often have more stored energy to get started.
Aftercare & Troubleshooting
Once you see signs of new growth—tiny fronds unfurling or resistance when you gently tug on a cutting—you know roots are forming!
- Gradually acclimate your new plants to lower humidity. Once they’re established, you can start uncovering them for longer periods.
- Keep the soil consistently moist but never waterlogged. This is the biggest challenge. A good watering schedule is key. Feel the soil; if the top inch is dry, it’s time to water.
- If you see yellowing, mushy stems or leaves, that’s usually a sign of rot. This often means too much moisture and not enough air circulation. You might need to discard the affected piece and try to save others by ensuring they aren’t sitting in soggy soil. Brown, crispy leaf tips can mean it’s too dry or there’s too much direct sun.
A Encouraging Closing
Propagating Sticherus remotus is a rewarding journey, like watching a slow-motion ballet unfold. There might be a few stumbles along the way, but that’s part of the learning process. Be patient, observe your plants closely, and celebrate every tiny bit of success. Before you know it, you’ll have a whole collection of these stunning ferns to admire. Happy growing!
Resource:
https://identify.plantnet.org/k-world-flora/species/Sticherus%20remotus%20(Kaulf.)%20Chrysler/data