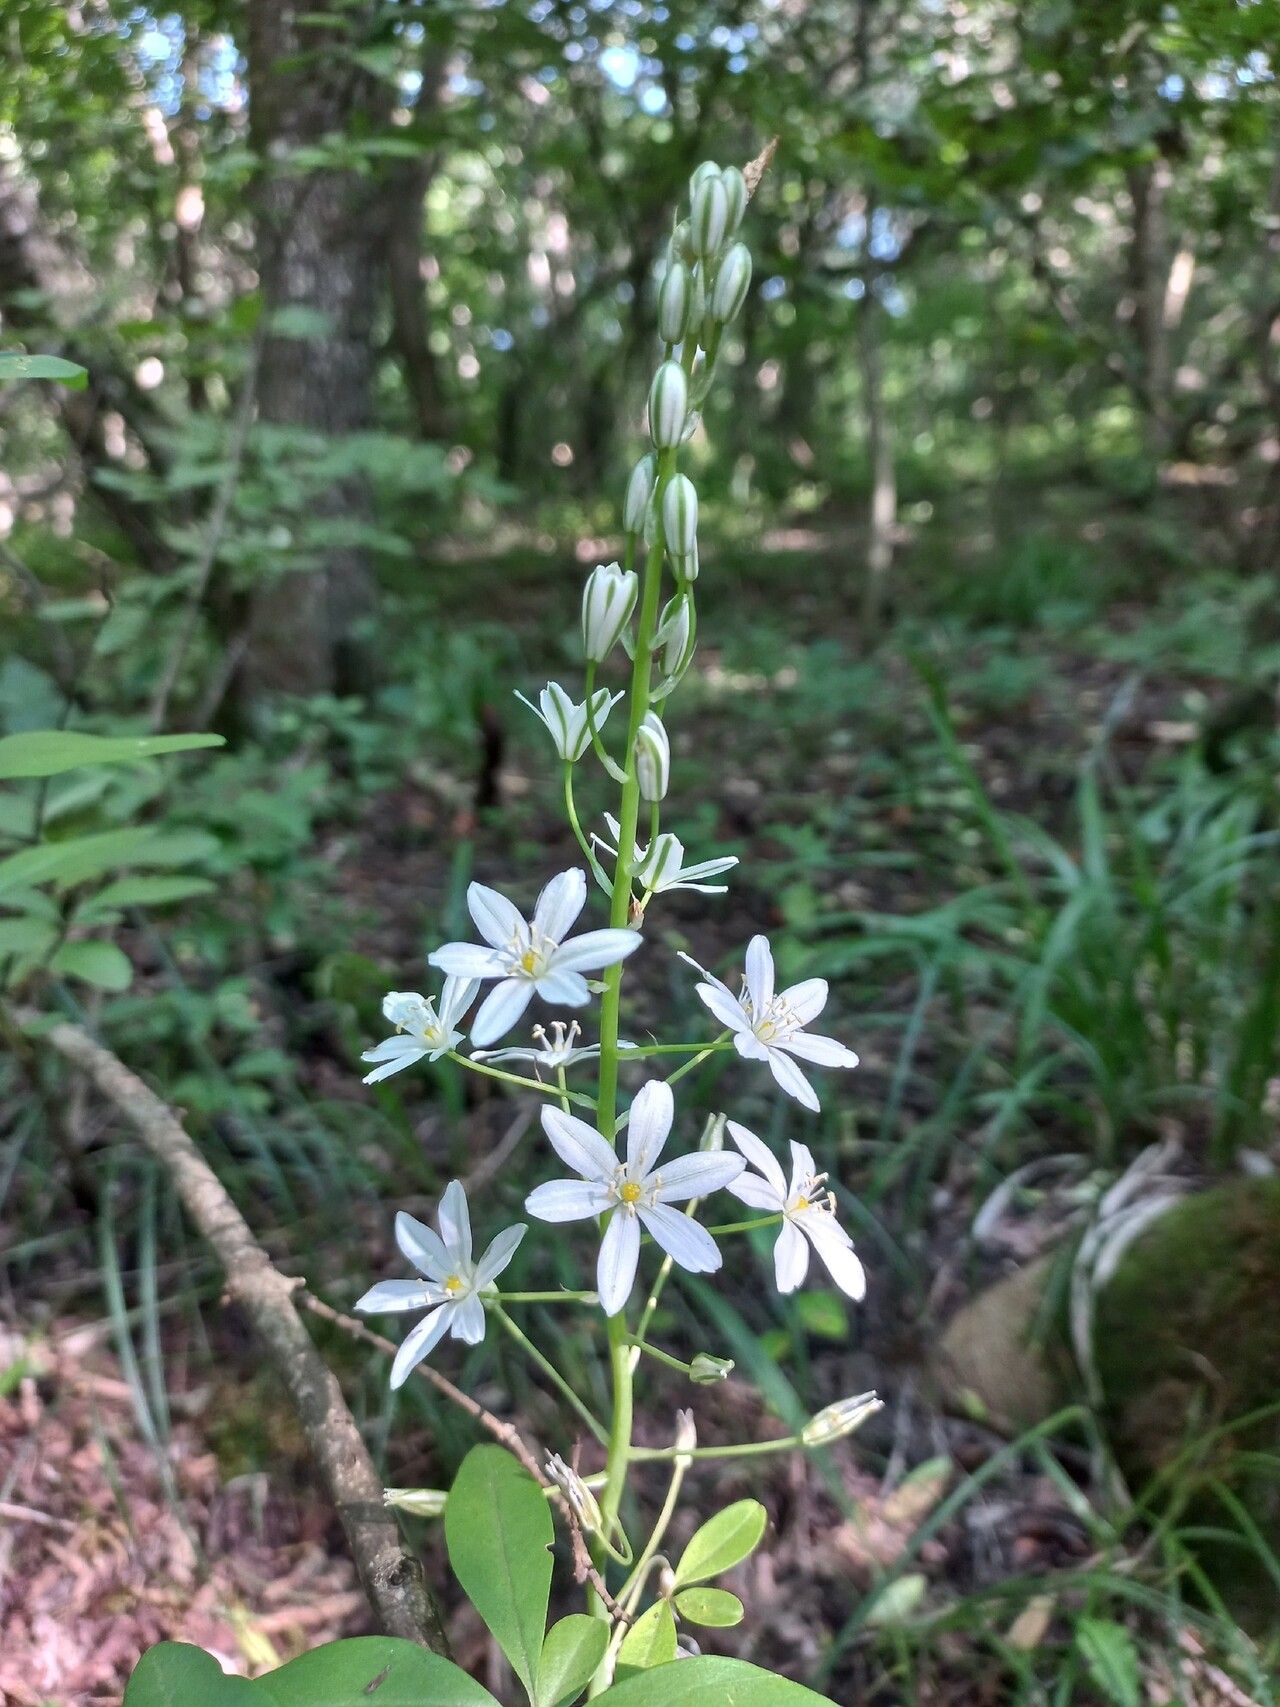
Oh, hello there, fellow plant enthusiast! I’m so glad you’re curious about Ornithogalum pyramidale. This beauty, often called the Pyramidal Star of Bethlehem, is a real showstopper with its elegant, tall spikes of starry white flowers that seem to glow in the garden. Growing them from scratch is incredibly satisfying, and honestly, for a plant with such a dramatic flair, it’s surprisingly doable, even for those just starting their gardening journey!
The Best Time to Start
The happiest time to propagate your Ornithogalum pyramidale is definitely after it has finished flowering and the foliage begins to yellow and die back. This usually happens in late summer or early autumn. The plant is storing energy in its bulbs, and that energy is just what we need to encourage new growth. You can try dividing them in early spring, but I’ve found autumn to be the most successful window.
Supplies You’ll Need
Gathering your tools beforehand makes the whole process so much smoother. Here’s what you’ll want:
- Healthy Parent Plant: Choose a robust, well-established Ornithogalum pyramidale.
- Sharp Pruning Shears or a Small Trowel: For clean divisions.
- Well-Draining Potting Mix: A blend for bulbs or a general potting mix amended with plenty of perlite or grit works wonders.
- Pots or Containers: Seed trays or small pots with drainage holes are perfect.
- Optional: Rooting Hormone: While not strictly necessary for bulb division, some gardeners swear by it.
- Watering Can or Spray Bottle: Gentle watering is key.
Propagation Methods
For Ornithogalum pyramidale, the most effective and straightforward method is division. These plants naturally produce offsets, or baby bulbs, around the base of the parent bulb.
- Gently Excavate: Once the foliage has died back, carefully dig around the base of your parent plant. You can use your hands or a small trowel. The goal is to expose the cluster of bulbs without damaging them.
- Separate the Offsets: You’ll see smaller bulbs clinging to the main bulb. Gently twist or use your clean pruning shears to separate these offsets. Most should come away easily. If an offset is stubbornly attached, cut cleanly at the connection point. Ensure each offset has at least one basal plate (where roots will emerge).
- Inspect and Trim: Look for any damaged roots or bulb sections and trim them away with your clean shears. This helps prevent rot.
- Potting Up: Fill your chosen pots with your well-draining potting mix. Plant each offset about 2-3 inches deep, with the pointed end facing upwards. Don’t overcrowd them; give them a little room to grow.
- Initial Watering: Water gently but thoroughly. You want the soil to be moist, not soggy.
The “Secret Sauce” (Pro Tips)
Over the years, I’ve learned a few little tricks that make a big difference:
- Let Them “Cure”: After dividing the bulbs, it’s a good idea to let the offsets sit in a dry, airy spot for a day or two. This helps any cut surfaces callus over, which significantly reduces the risk of fungal infections and rot. Don’t skip this!
- Think About Drainage, Drainage, Drainage! I cannot stress this enough. Ornithogalum bulbs hate wet feet. If your soil isn’t draining perfectly, your new babies are more likely to rot before they even have a chance to establish. Use plenty of grit or perlite in your potting mix.
- Patience is a Virtue (and a Necessity): Don’t expect to see new growth popping up overnight. These bulbs are settling in. Keep them in a cool, dry place for the winter and don’t water them again until you see signs of new shoots in the spring.
Aftercare & Troubleshooting
Once spring arrives and you see those first little green shoots, it’s time to move your pots to a brighter spot. You can start watering them more regularly as they grow, but still, always check that the top inch of soil is starting to dry out before watering again. Feed them with a balanced liquid fertilizer once a month during the active growing season.
The most common issue you’ll encounter is bulb rot. If you notice your bulb turning mushy and dark, it’s likely a goner, and sadly, there’s not much you can do. This is almost always due to overwatering or poorly draining soil. Keep an eye out for yellowing leaves before flowering in the next season, as this can sometimes indicate a bulb isn’t happy.
A Encouraging Closing
So there you have it! Propagating your Ornithogalum pyramidale through division is a wonderfully rewarding way to expand your collection. Be patient with your new little bulbs, give them good drainage, and a little bit of love, and you’ll be rewarded with those stunning starry blooms in no time. Happy gardening!
Resource:
https://identify.plantnet.org/k-world-flora/species/Ornithogalum%20pyramidale%20L./data