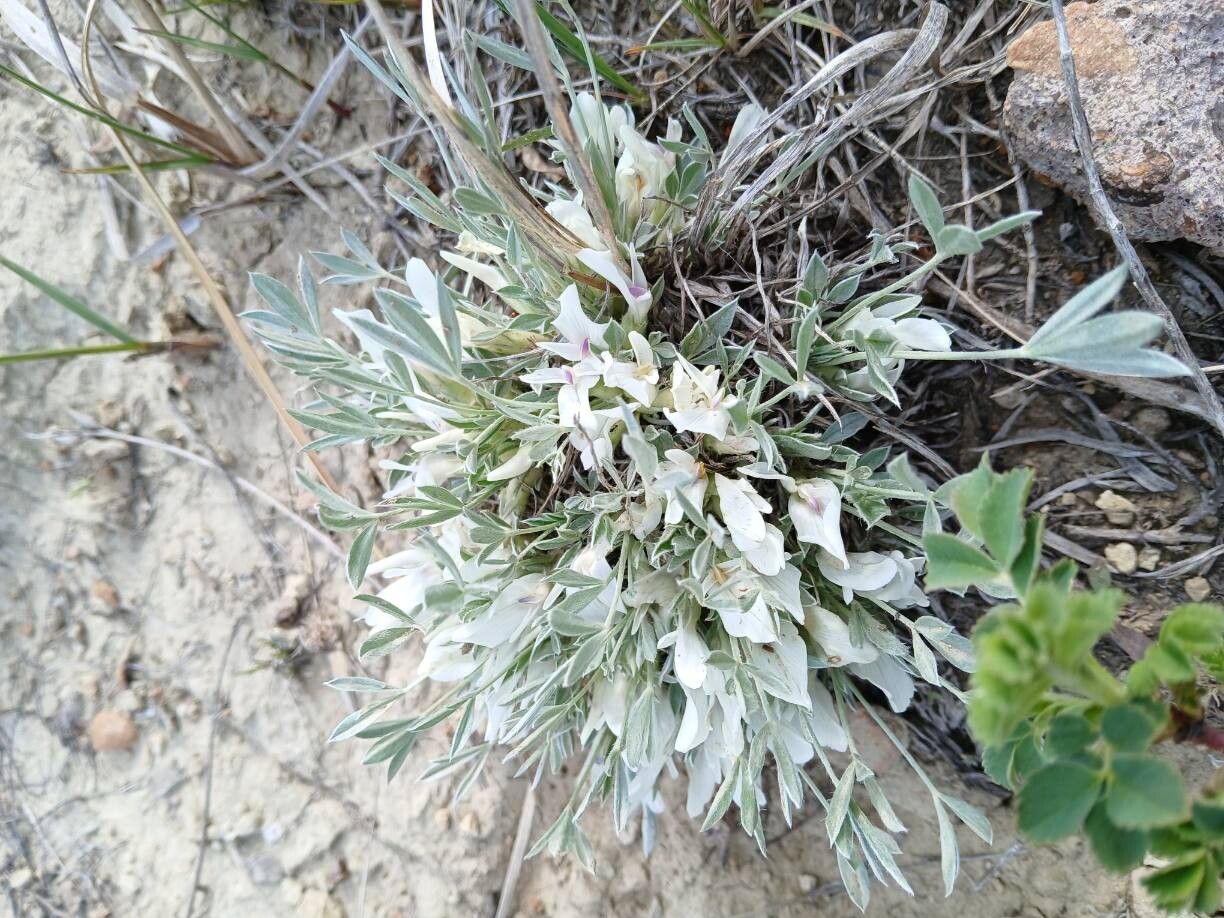
Hello, fellow garden enthusiasts! Today, we’re diving into the delightful world of Lathyrus grimesii. If you haven’t met it yet, prepare to be charmed. This lovely vine, often a cousin to our familiar sweet peas, offers delicate blooms with an enchanting fragrance. Honestly, getting more of these beauties to grow feels like unlocking a secret treasure, and propagating them yourself is incredibly rewarding. For beginners, I’d say Lathyrus grimesii leans towards the moderately easy side. It’s definitely doable with a bit of care and patience, and I’m here to walk you through it!
The Best Time to Start
When it comes to Lathyrus grimesii, timing is key for success. I’ve found the absolute sweet spot for propagation is late spring to early summer. This is when the plant is actively growing and has plenty of vigorous, healthy stems to work with. You’re looking for new growth that’s firm but not yet woody – think pencil-thick, not toothpick-thin. Starting your cuttings during this period gives them the best chance to establish roots before the intense heat of summer or the cooler weather of fall sets in.
Supplies You’ll Need
Gathering your tools beforehand makes the whole process so much smoother! Here’s what I always have on hand:
- Sharp Pruning Shears or a Craft Knife: Cleanliness is paramount to prevent disease.
- Rooting Hormone: While not strictly essential for all Lathyrus species, it can give those cuttings a helpful boost. Gel or powder forms work well.
- A Light, Well-Draining Potting Mix: I usually mix equal parts seed starting mix and perlite for excellent aeration.
- Small Pots or Seed Trays: Clean 4-inch pots or shallow trays are perfect. Make sure they have drainage holes!
- Plastic Bags or a Propagation Dome: To create a humid environment for your cuttings.
- Watering Can with a Fine Rose: For gentle watering.
- Labels: Don’t forget to label your pots! Trust me on this one.
Propagation Methods
For Lathyrus grimesii, stem cuttings are my go-to method. It’s efficient and you can get several new plants from a single parent.
- Select Your Cuttings: On a healthy, actively growing Lathyrus grimesii plant, choose stems that are about 4-6 inches long. Look for sections with at least two or three sets of leaves.
- Make the Cut: Using your sterilized pruning shears or craft knife, make a clean cut just below a leaf node (where a leaf grows out of the stem). This is where roots will emerge.
- Prepare the Cutting: Gently remove the lower leaves from the cutting, leaving just the top two or three sets. If the leaves are very large, you can even cut them in half to reduce water loss.
- Apply Rooting Hormone: Dip the cut end of the stem into your rooting hormone, tapping off any excess.
- Pot Up: Fill your small pots with your prepared well-draining potting mix. Make a small hole in the center of the soil with a pencil or your finger.
- Insert the Cuttings: Gently place the prepared cutting into the hole so that the nodes where you removed leaves are buried. Firm the soil gently around the stem.
- Water Gently: Water thoroughly until you see water draining from the bottom of the pot.
- Create Humidity: Place the potted cuttings inside a clear plastic bag or cover them with a propagation dome. Make sure the leaves don’t touch the plastic if possible.
The “Secret Sauce” (Pro Tips)
Here are a couple of tricks I’ve picked up over the years that make a real difference:
- Bottom Heat is Your Friend: While not always necessary, placing your potted cuttings on a gentle heat mat can significantly speed up root development. It mimics the warmth of spring soil and encourages those roots to form faster. Keep the mat on a low setting – you don’t want to cook them!
- Don’t Rush the Re-potting: Resist the urge to tug at your cuttings to check for roots! The best indicator is new leaf growth. Once you see small, fresh leaves emerging, that’s a good sign that roots have formed. Give them another week or two in the humid environment before you consider transplanting.
Aftercare & Troubleshooting
Once you see that new growth, congratulate yourself! You’re officially on your way to more Lathyrus grimesii.
- Acclimation is Key: Gradually introduce your cuttings to drier air over a week. Start by opening the plastic bag for a few hours each day, then remove it entirely.
- Light Requirements: Place your newly rooted cuttings in bright, indirect light. Avoid direct sun, which can scorch their delicate new leaves.
- Watering: Keep the soil consistently moist but not waterlogged. Overwatering is the quickest way to invite problems.
- Troubleshooting: The most common issue you’ll encounter is rot. If you see a cutting wilting, turning mushy, or developing black spots, it’s likely succumbed to rot. This is often caused by too much moisture or poor air circulation. If you see a bit of rot on one cutting, it’s best to remove it immediately to prevent it from spreading. Don’t get discouraged if you lose a few – it’s all part of the learning curve!
A Bit More Patience, A Lot More Beauty
Propagating Lathyrus grimesii might take a little patience, but the joy of seeing those tiny roots develop and eventually transplanting your own flourishing vine is incredibly satisfying. Enjoy the process, appreciate each little success, and happy gardening!
Resource:
https://identify.plantnet.org/k-world-flora/species/Lathyrus%20grimesii%20Barneby/data