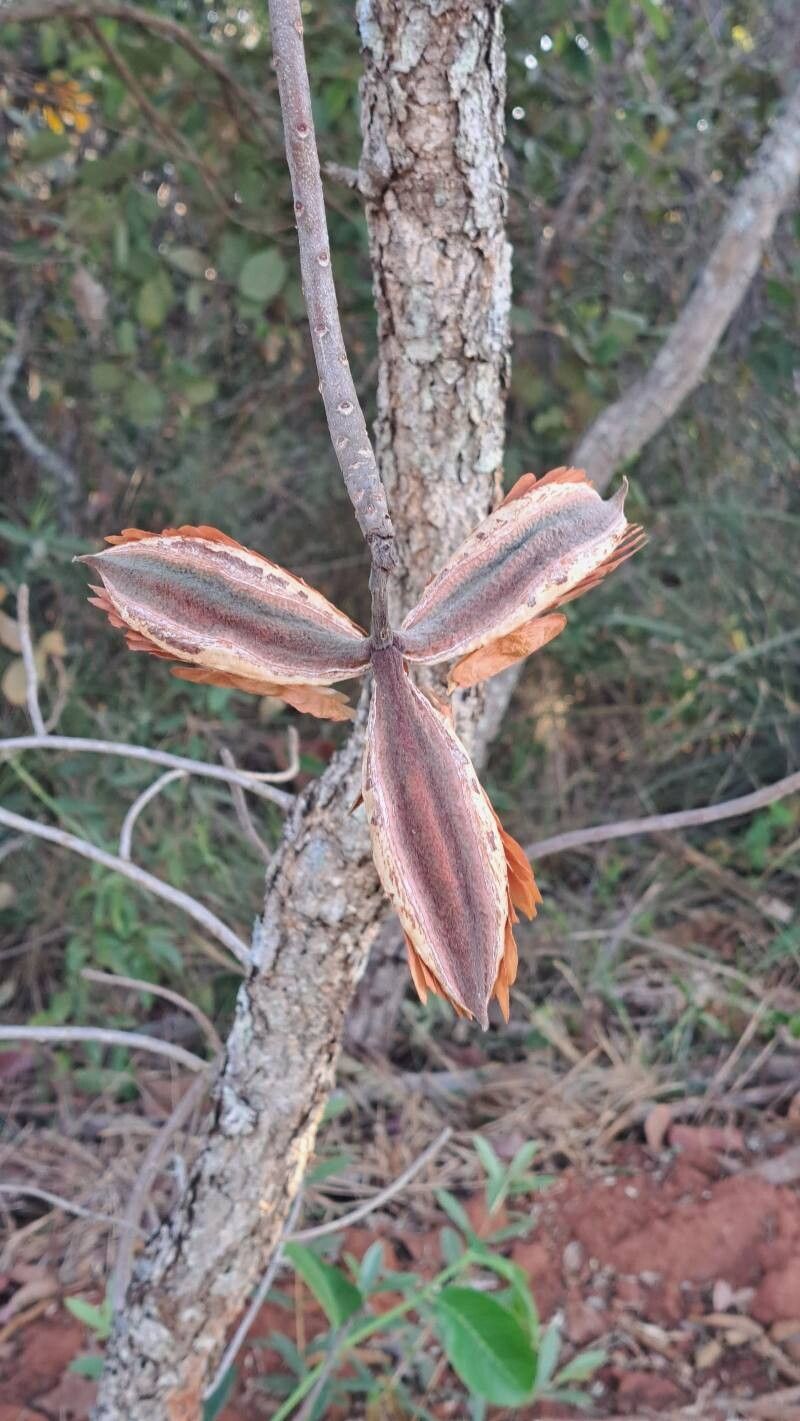
Ah, Kielmeyera coriacea! If you’ve ever admired its glossy leaves and vibrant blooms, you’re not alone. This beauty, often called “Pau-Formiga” in Brazil, is a real charmer. Propagating it has brought me so much joy over the years, and I’m thrilled to share how you can do the same. It’s a plant that rewards a little patience, but don’t let that intimidate you. I find it to be quite manageable, even for those just dipping their toes into the world of propagation.
The Best Time to Start
For Kielmeyera, spring and early summer are your absolute best friends. This is when the plant is actively growing and full of life, meaning those cuttings are more likely to take root. Aim for stems that are a bit firm but not woody – think of them as having just graduated from being soft and new.
Supplies You’ll Need
Gathering your materials beforehand makes the whole process smoother. Here’s what I always have on hand:
- Sharp Pruning Shears or a Clean Knife: For making clean cuts. Think of it as giving your plant a precise surgical-like snip.
- Rooting Hormone (Optional but Recommended): A little dab can really encourage those roots to form. I usually go for the powdered kind.
- Potting Mix: A well-draining mix is crucial. I like to use a blend of equal parts perlite, peat moss, and a good quality potting soil. You can also buy specific propagation mixes.
- Small Pots or Seedling Trays: Clean ones, of course!
- Plastic Bags or a Propagator: To create a humid environment.
- Watering Can with a Fine Rose: To water gently.
- Labels and a Marker: Because trust me, you will forget which cutting is which!
Propagation Methods
I tend to have the most success with stem cuttings. It’s straightforward and offers a great chance of success.
Stem Cuttings:
- Take Your Cuttings: Using your clean shears, snip lengths of stem about 4-6 inches long. Make your cut just below a leaf node, which is that little bumpy part where the leaves grow from. This is where the magic happens for root development.
- Prepare the Cuttings: Gently remove the lower leaves, leaving just a couple at the top. You can even cut larger leaves in half horizontally to reduce water loss.
- Dip in Rooting Hormone (If Using): Lightly dip the cut end into your rooting hormone powder. Tap off any excess.
- Plant Them Up: Fill your small pots with your prepared, moist potting mix. Make a small hole with your finger or a pencil and insert the cutting. Gently firm the soil around the stem to ensure good contact.
- Create a Humid Environment: Water the soil gently. Then, cover the pot with a clear plastic bag, or place it inside a propagator. Make sure the bag doesn’t touch the leaves if possible, as this can encourage rot. Prop open the bag slightly if you see condensation forming too quickly.
The “Secret Sauce” for Success
Here are a few tricks I’ve learned over the years that really make a difference:
- Bottom Heat is Your Friend: If you can, place your pots on a heating mat specifically designed for propagation. This gentle warmth from below really encourages root formation, especially if your environment is a bit cooler.
- Don’t Overwater: This is a big one! You want the soil to be consistently moist, but not soggy. Too much water is a fast track to root rot. I usually check the soil moisture by gently poking my finger into it. If it feels dry an inch down, it’s time to water.
- Give Them Light, But Not Direct Sun: Place your cuttings in a bright spot that receives indirect light. Direct sun will scorch those tender new leaves and dry out the cuttings too quickly.
Aftercare & Troubleshooting
Once your cuttings have been planted, be patient! It can take anywhere from 4 to 8 weeks to see new growth, which is usually the first sign of roots. You can gently tug on a cutting; if there’s resistance, you’ve got roots!
Signs of Trouble:
- Wilting Yellow Leaves: This often means the cutting isn’t getting enough water or its roots aren’t established. It could also be a sign of too much direct sun.
- Black or Mushy Stems: This is a classic sign of root rot, usually caused by overwatering or poor drainage. If you see this, unfortunately, that cutting is likely lost. Remove it to prevent it from affecting others.
When your plant shows signs of new growth, you can begin a very gentle watering schedule. As it gets stronger, you can gradually introduce it to more normal light conditions.
Don’t get discouraged if every single cutting doesn’t make it. Propagation is a journey of learning and experimentation. Just keep at it, enjoy the process of nurturing these new lives, and soon you’ll have a beautiful collection of Kielmeyera coriacea to share (or keep all to yourself – I won’t tell!). Happy gardening!
Resource:
https://identify.plantnet.org/k-world-flora/species/Kielmeyera%20coriacea%20Mart./data