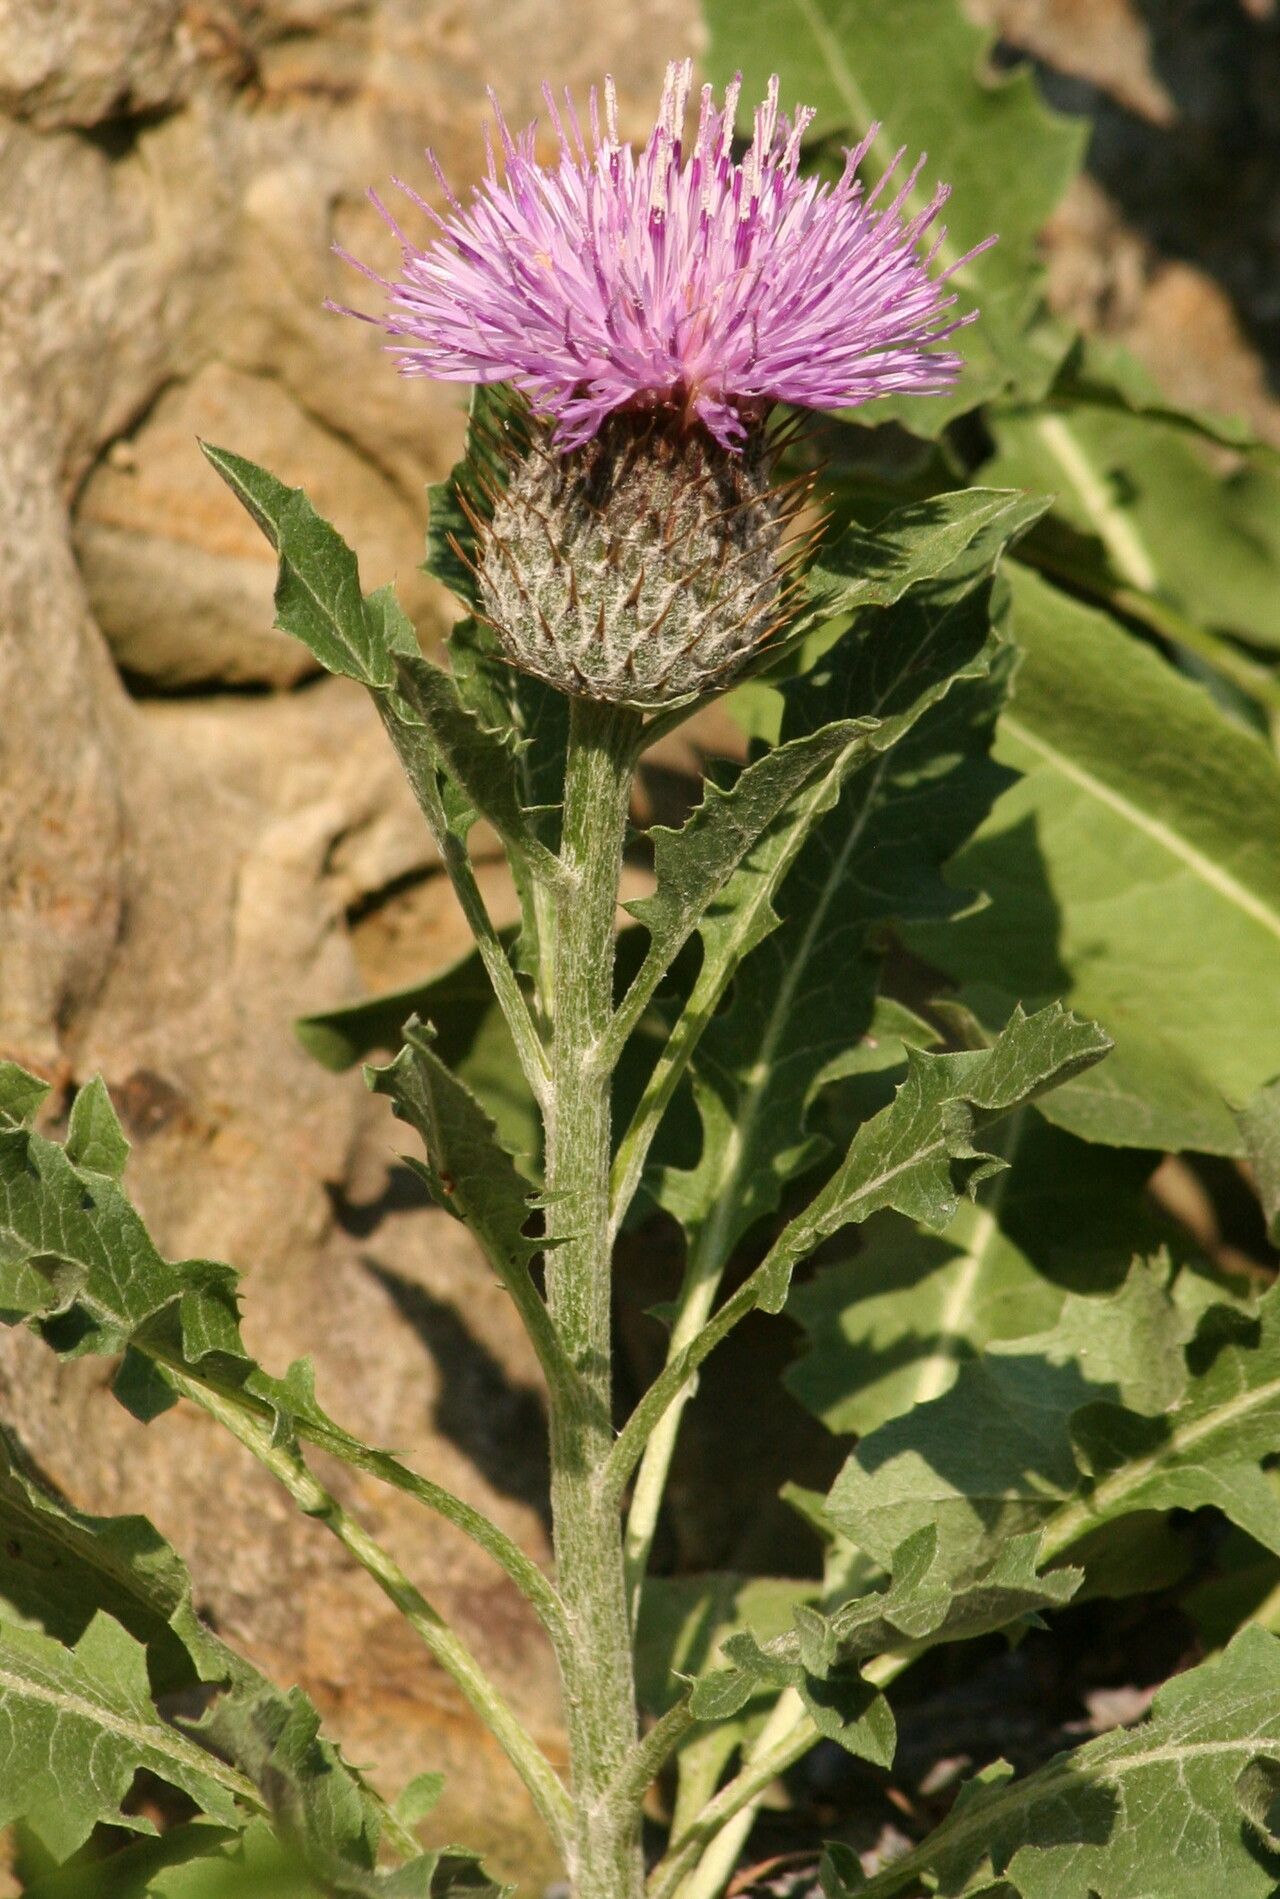
Oh, Jurinea arachnoidea! If you haven’t met this beauty yet, get ready. Its fuzzy, almost otherworldly appearance and intriguing pink-purple blooms are a real showstopper in the garden. Propagating it brings such a deep satisfaction, like coaxing a little piece of magic into being. Now, I won’t lie, Jurinea can be a bit particular, so it might be a tad more challenging for absolute beginners than, say, a petunia. But with a little patience and the right approach, you absolutely can do it!
The Best Time to Start
For the highest success rate, hands down, aim for late spring to early summer. This is when Jurinea is actively growing and has plenty of energy to put into rooting. You want to work with healthy, vigorous stems that are just starting to mature – not the brand new, floppy growth, but not woody old material either. Think of it as the plant hitting its prime.
Supplies You’ll Need
Here’s what I usually gather before I get started:
- Sharp, clean pruning shears or a very sharp knife: Essential for clean cuts that heal well. Don’t use dull tools – they just tear the plant tissue.
- Rooting hormone (optional but recommended): A powdered or gel form can give your cuttings a helpful boost.
- A well-draining potting mix: I like a blend of about 50% peat moss or coco coir and 50% perlite or coarse sand. This is key for Jurinea, as it really dislikes soggy feet.
- Small pots or trays: Clean ones, of course! Terra cotta pots are great because they breathe.
- A spray bottle: For fine misting.
- Plastic bags or a humidity dome: To create a humid environment around your cuttings.
- Gravel or small stones (optional): For water propagation, if you choose that method.
Propagation Methods
Jurinea arachnoidea is often best propagated by stem cuttings or division. Let’s dive into those.
Stem Cuttings:
- Take your cuttings: In late spring or early summer, select healthy, non-flowering stems. Using your clean shears, cut stems that are about 3-5 inches long. Try to get them from the middle of a stem, not the very tip.
- Prepare the cuttings: Gently remove the leaves from the bottom half of the stem, leaving only a few at the top. This prevents them from rotting when buried. If the leaves are very large, you can even cut them in half to reduce water loss from transpiration.
- Dip in rooting hormone (if using): Lightly dip the cut end of each stem into your rooting hormone, tapping off any excess.
- Plant your cuttings: Fill your pots with your well-draining mix. Make a small hole in the center of each pot with your finger or a pencil. Carefully insert the cut end of a stem into the hole, ensuring the leaves aren’t touching the soil surface. Gently firm the soil around the stem.
- Water and cover: Water the soil lightly until it’s moist but not soggy. Cover the pots with a plastic bag, securing it around the rim (a rubber band works well), or place them under a humidity dome. This creates a mini-greenhouse.
Division:
- Dig carefully: In early spring, just as the plant is starting to wake up, carefully dig up the entire Jurinea clump. Try not to disturb the roots too much.
- Separate the sections: Gently tease apart the root ball. You’re looking for sections of the plant that have their own roots and some top growth. You can often do this by hand. If it’s stubborn, a clean, sharp trowel or knife can help, but always be gentle with the roots.
- Replant immediately: Plant each division into its own pot or directly into a prepared spot in your garden. Water them in well.
The “Secret Sauce” (Pro Tips)
- Don’t let those fuzzy leaves touch the soil! For stem cuttings, if leaves are too close to the soil line, they will rot, and that’s a surefire way to lose your cutting. If needed, gently prune them away further.
- Bottom heat is your friend! If you’re serious about rooting success, placing your pots on a propagation mat that provides gentle bottom heat (around 70-75°F or 21-24°C) can significantly speed up root development. It mimics the warmth of spring soil.
- Air circulation is crucial: While we want humidity for cuttings, stagnant air can lead to fungal issues. If using a plastic bag, poke a few small holes in it, or lift the dome for a few minutes each day to allow for some air exchange.
Aftercare & Troubleshooting
Once your cuttings have developed roots – you can test this gently by giving them a very light tug; if there’s resistance, they’ve rooted! – it’s time to transition them.
Gradually acclimate them to normal air. You can do this by opening the plastic bag a bit more each day over a week. Once they look happy, it’s time to transplant them into slightly larger pots with your regular well-draining potting mix. Keep them consistently moist but never waterlogged, especially while they’re establishing. Place them in a bright, indirect light spot.
The most common sign of trouble is rot. If your cuttings turn mushy, black, or just utterly refuse to perk up, it’s usually a sign of too much moisture and not enough air circulation. Yellowing leaves can also indicate overwatering or lack of light. If you see signs of rot, try removing the affected parts immediately and see if you can salvage any healthy sections, replanting them in drier soil.
A Encouraging Closing
Propagating Jurinea arachnoidea is a journey, and like any good gardening adventure, it requires a little faith and a lot of observation. Don’t be discouraged if your first few attempts aren’t perfect. Each plant you nurture from a tiny cutting is a victory, a tangible connection to the natural world, and a beautiful addition to your garden for years to come. So, grab your trowel, embrace the process, and enjoy the magic of creation!
Resource:
https://identify.plantnet.org/k-world-flora/species/Jurinea%20arachnoidea%20Bunge/data