Well hello there, fellow plant lovers! It’s so lovely to have you join me in my little corner of the garden world. Today, we’re diving into something truly special – coaxing new life from one of my absolute favorites: Glossostigma diandrum.
Meet Your New Tiny Treasure: Glossostigma diandrum
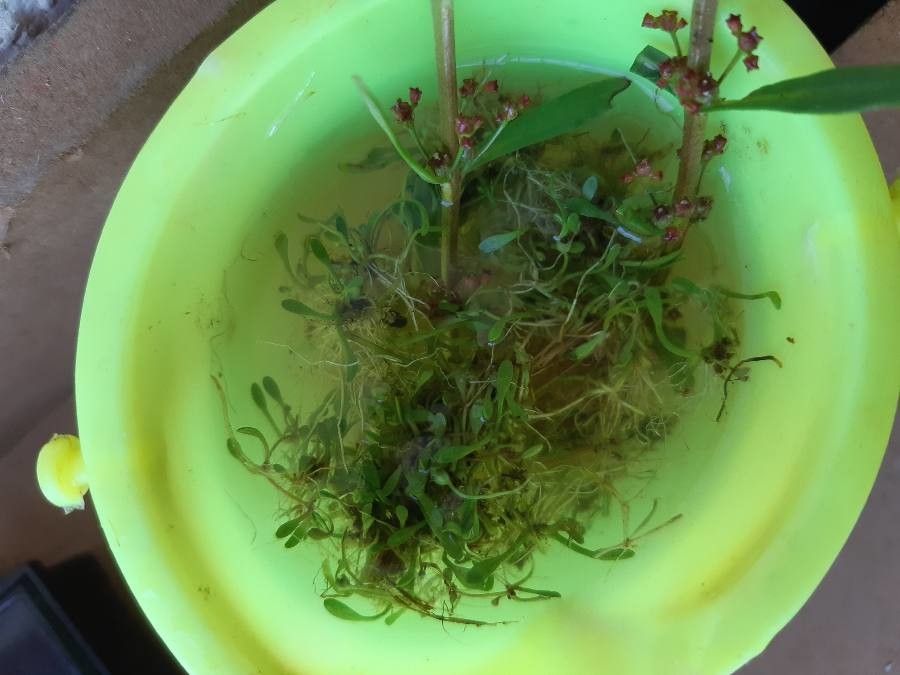
If you’re a fan of lush, carpet-like greenery in your aquarium or terrarium, you’ve probably fallen for Glossostigma diandrum. Often called “Gloss” for short, this little aquatic plant forms a dense, vibrant green mat that just makes a planted tank sing. It’s a visual treat, and propagating it yourself is incredibly satisfying. Now, is it a walk in the park for complete newcomers? Honestly, it can be a little finicky, but with a bit of know-how, you’ll be creating your own Glossy carpets in no time. Think of it as a gentle nudge in the right direction rather than a steep climb.
The Best Time to Start: When Nature is Nurturing
I find that the absolute best time to get your propagation on with Glossostigma diandrum is when the parent plant is in its most vigorous growth phase. This usually happens during the spring and summer months, when days are longer and temperatures are warmer. You’ll see it really taking off, sending out runners and new shoots. That’s the signal – it’s ready to share its abundance! Trying to propagate when it’s sluggish in cooler, darker months will likely lead to disappointment.
Supplies You’ll Need: Your Propagation Toolkit
Gathering your tools beforehand makes the process so much smoother. Here’s what I’ve found works best:
- Healthy Parent Plant: Of course! Look for a plant that’s actively growing and free from pests or diseases.
- Sharp Scissors or Pruning Shears: Clean and sterilized is key to preventing disease transfer. Small, sharp ones are ideal for delicate stems.
- Propagation Substrate: For Glossostigma, this is usually your aquarium substrate (like sand or fine gravel) or a specific terrarium mix if you’re working terrestrially. I prefer a mix that drains well but still holds some moisture.
- Tweezers: Very fine-tipped tweezers are invaluable for placing those tiny cuttings precisely.
- Spray Bottle: For misting and providing consistent humidity.
- Optional: Rooting Hormone Gel: While not always strictly necessary for Glossostigma, a little dip can give it a boost, especially if you’re concerned about success rates.
- Optional: Small Containers or Trays: For starting cuttings if you want to give them a head start before planting directly.
Propagation Methods: Bringing New Life Forth
Glossostigma diandrum is quite generous and can be propagated in a couple of very effective ways.
1. Stem Cuttings: The Most Common Route
This is my go-to method. It’s straightforward and usually yields fantastic results.
- Select Your Cuttings: Locate healthy, actively growing stems on your parent plant. You’ll want pieces that are at least 1-2 inches long and ideally have a few sets of leaves.
- Make Your Cut: Using your sterilized scissors, make a clean cut just below a leaf node. A leaf node is where a leaf emerges from the stem. This is where new roots will sprout.
- Prepare the Cutting: Gently remove any leaves that will be below the substrate line once planted. This prevents them from rotting in the soil. If using rooting hormone, dip the cut end into it now.
- Plant the Cutting: Using your tweezers, carefully make a small hole in your prepared substrate. Gently insert the cut end of the stem into the hole, ensuring at least one leaf node is buried beneath the surface. The leaves themselves should be above the substrate.
- Firm Gently: Lightly press the substrate around the base of the cutting to ensure good contact and that it stands securely.
- Mist and Wait: Mist the surface of the substrate regularly to keep it moist but not waterlogged.
2. Runner Division: When Your Plant Gets Bushy
As Glossostigma grows, it sends out horizontal runners that can root themselves and form new plantlets.
- Identify Runners: Look for those creeping stems that have developed tiny leaves along their length. You’ll often see small, independent plantlets forming at intervals.
- Separate Gently: If a runner has already developed its own roots and looks like a small, well-formed plant, you can carefully snip the runner connecting it to the parent plant.
- Relocate: You can then gently replant this new plantlet directly into your desired location. Ensure its base is covered by the substrate.
The “Secret Sauce”: Insider Tips for Success
After years of coaxing these little beauties, I’ve picked up a few tricks that really make a difference.
- Humidity is Your Best Friend: While Glossostigma loves being submerged, the cuttings themselves benefit from high humidity as they establish roots. If you’re propagating in a closed container or terrarium, fantastic! If not, regular misting is crucial. I often pop a clear plastic bag over a tray of cuttings for a few days to create a mini-greenhouse.
- Don’t Overcrowd: It’s tempting to stuff as many cuttings as possible into a small space, but give them breathing room. This improves air circulation and reduces the risk of fungal issues. You’ll get better root development this way.
- Gentle but Firm Planting: When inserting cuttings, be firm enough that they don’t float away or fall over, but don’t pack the substrate down too hard. You want those tender new roots to be able to spread easily.
Aftercare & Troubleshooting: Nurturing New Growth
Once your cuttings have settled in, the real magic begins!
- Rooting Time: Be patient! It can take anywhere from one to several weeks for visible roots to develop. You might see new tiny leaves appearing before you can see roots. That’s a good sign!
- Maintain Moisture: Continue to keep the substrate consistently moist. Avoid letting it dry out completely, but also steer clear of waterlogged conditions, which can lead to rot.
- Light Levels: Provide bright, indirect light. Too much direct sun can scorch delicate new growth, while too little will slow down growth.
- The Dreaded Rot: The most common sign of failure is rot. If your cuttings turn mushy, black, or slimy, it’s usually a sign of too much moisture and poor air circulation. Unfortunately, at that point, they’re usually beyond saving. Prevention is key – strike that balance between moist and airy. If you see just one leaf starting to yellow, remove it promptly.
Go Forth and Grow!
My dear gardeners, propagating Glossostigma diandrum is a journey, not a race. There will be times when some cuttings don’t make it, and that’s perfectly okay! Every gardener experiences this. What matters is enjoying the process, learning from each attempt, and celebrating the little green shoots that do thrive. So grab your tools, embrace the patience, and get ready to fill your world with this gorgeous carpeting plant. Happy planting!
Resource:
https://identify.plantnet.org/k-world-flora/species/Glossostigma%20diandrum%20(L.)%20Kuntze/data