Oh, hello there! Come on in, pull up a chair. I’ve been meaning to chat with you about one of my absolute favorite spiky treasures: Eryngium pandanifolium, or as I affectionately call it, the ‘Pandan Leaf Sea Holly’.
Introduction: Welcoming the Otherworldly Charm of Sea Holly
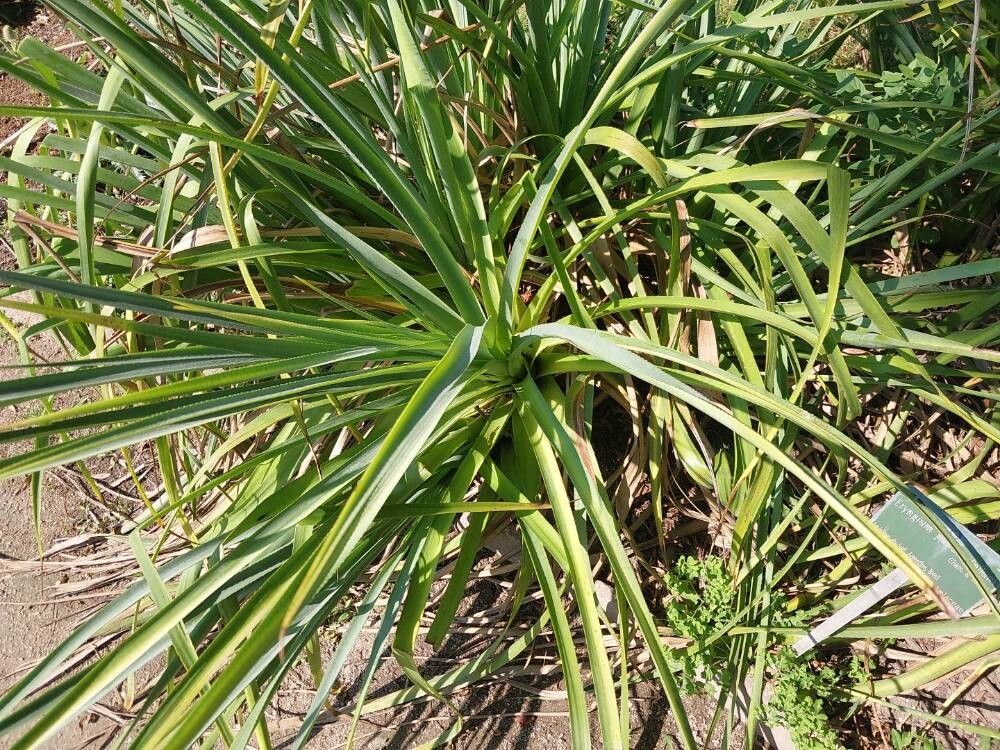
There’s something truly magical about Eryngium, isn’t there? Their intricate, almost alien-looking blooms and steely blue foliage bring a touch of the exotic to any garden. Eryngium pandanifolium, with its particularly striking, strappy leaves and tall, architectural flower spikes, is a real showstopper. Propagating these beauties yourself is incredibly rewarding. You not only get to expand your collection of these unique plants but also feel that deep satisfaction of nurturing life from a small piece. Now, for beginners, I’d say Eryngium can be a little finicky, but with a few pointers, you’ll be well on your way to success. Think of it as a fun challenge!
The Best Time to Start: Catching the Growing Wave
My favorite time to get my hands dirty with propagating Eryngium pandanifolium is in the late spring or early summer. This is when the plant is actively growing and has plenty of energy. You’ll find it’s much more receptive to taking root when it’s headed towards its peak season. Trying too early in the spring, when growth is just starting, or late in the fall, when things are winding down, can make the process more challenging.
Supplies You’ll Need: Gathering Your Potting Arsenal
Before we dive in, let’s make sure you’re armed with the right tools. It makes such a difference!
- Sterile potting mix: I like a mix that’s well-draining. About 50% perlite and 50% peat moss or coir usually does the trick. Good drainage is key for Eryngium!
- Sharp pruning shears or a clean knife: For taking clean cuts.
- Rooting hormone powder: This is optional but can really give your cuttings a boost.
- Small pots or seed trays: Clean ones, please!
- Plastic bags or a propagator: To create a humid environment.
- Watering can with a fine rose: For gentle watering.
- Labels: To keep track of what you’ve planted!
Propagation Methods: Bringing Forth New Life
There are a couple of ways we can go about this, but my go-to for Eryngium pandanifolium is typically through stem cuttings.
Stem Cuttings:
- Select a healthy stem: Look for a non-flowering stem that’s about 4-6 inches long. You want it to be firm and actively growing.
- Make the cut: Using your sharp pruning shears or knife, make a clean cut just below a leaf node. A leaf node is where a leaf emerges from the stem. This is where the magic happens for root development.
- Prepare the cutting: Gently remove the lower leaves, leaving just a few at the top. If the leaves are very large, you can even cut them in half horizontally to reduce water loss.
- Apply rooting hormone (optional but recommended): Dip the cut end of the stem into the rooting hormone, tapping off any excess.
- Plant the cutting: Fill your small pots or trays with your well-draining potting mix. Make a small hole with your finger or a pencil and insert the cutting, ensuring the leaf nodes you removed are buried. Gently firm the soil around the base.
- Water gently: Water thoroughly but gently so you don’t disturb the cutting.
- Create humidity: Place the pot inside a plastic bag or inside a propagator. Seal it up to create a mini greenhouse effect. Make sure the leaves don’t touch the plastic if possible.
The “Secret Sauce” (Pro Tips): A Little Something Extra
Here are a few little tricks I’ve picked up over the years that can really make a difference:
- Bottom Heat is Your Friend: If you have a heated propagator or a mat, using bottom heat can significantly speed up root formation. It mimics the warmth of spring soil and encourages those roots to sprout. Just a gentle warmth, around 70°F (21°C), is perfect.
- Don’t Mist Constantly: While humidity is crucial, over-misting can encourage fungal diseases. The plastic tent is usually enough. If it looks very dry inside the bag after a few days, a light misting is okay, but it’s better to be a bit dry than too wet.
- Patience is Paramount: Eryngium can sometimes be slow to show signs of life. Don’t despair if you don’t see new growth immediately. It can take several weeks, sometimes even a couple of months, for roots to develop sufficiently. Resist the urge to pull them up to check!
Aftercare & Troubleshooting: Nurturing Your New Sprouts
Once you start seeing small roots peeking out of the drainage holes or perhaps tiny new leaves appearing at the top—hooray!—it’s time to gradually introduce your new Eryngium to the outside world.
- Taper off humidity: Over a week or so, gradually open the plastic bag or propagator a little more each day to lessen the humidity. This helps the new plant acclimate to normal conditions.
- Keep them moist but not waterlogged: Continue to water gently when the top of the soil feels dry.
- Transplanting: Once your cuttings have a good root system and have been acclimated, you can transplant them into individual pots with a good quality, well-draining potting mix.
Now, what if things go wrong? The most common issue you’ll encounter is rot. If your cutting turns black and mushy, it’s a sure sign of too much moisture and not enough air circulation. If you see this, unfortunately, that cutting is likely lost. The best prevention is excellent drainage and not overwatering.
A Encouraging Closing: Keep Growing!
See? It’s not so daunting, is it? Propagating Eryngium pandanifolium is a beautiful way to connect with nature and fill your garden with these architectural wonders. Remember to be patient with yourself and the process. Every gardener has failed cuttings; it’s part of the journey. Just keep trying, learn from each experience, and most importantly, enjoy the magic of watching something new grow. Happy gardening!
Resource: