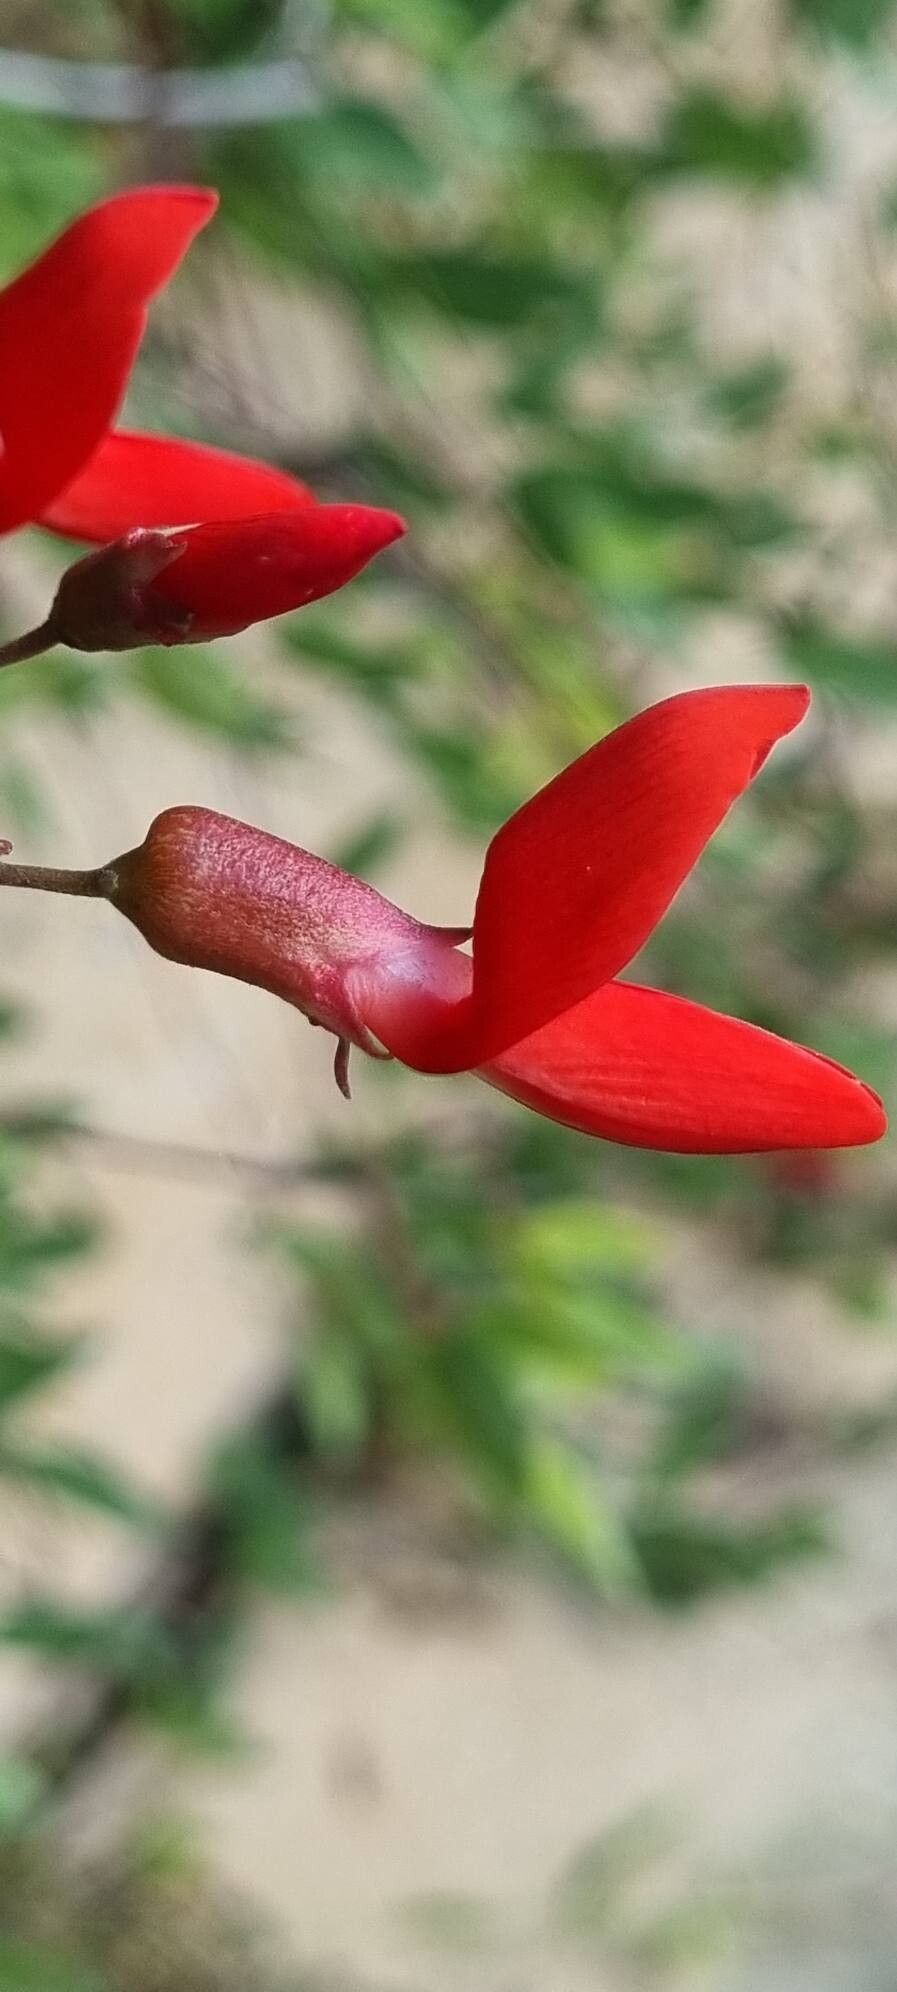
Hello, fellow garden enthusiasts! If you’ve ever had the pleasure of seeing Crotalaria grevei bloom, you know what a showstopper it is. Those vibrant, pea-like flowers, often in shades of sunshine yellow or fiery orange, can absolutely brighten any garden corner. And the best part? You can easily fill your garden with more of these beauties by propagating them yourself! For me, this plant is wonderfully rewarding, and I’m excited to share how to bring more of its cheer into your life. Now, while some plants can be a bit finicky, I find Crotalaria grevei to be quite forgiving, making it a great choice even if you’re just dipping your toes into the world of propagation.
The Best Time to Start
When it comes to Crotalaria grevei, the sweet spot for propagation is generally during its active growing season. For most of us, this means late spring or early summer. The plant is full of vigor then, and cuttings taken at this time have the best chance of rooting successfully. You’re essentially taking advantage of its natural energy boost.
Supplies You’ll Need
Getting your hands on the right tools makes the whole process smoother. Here’s what I’ve found helpful:
- Sharp Pruning Shears or a Clean Knife: For making clean cuts on your parent plant.
- Rooting Hormone Powder or Gel (Optional but Recommended): Helps give those cuttings a little extra nudge to grow roots.
- Sterile Potting Mix: A good blend for cuttings usually includes peat moss, perlite, and vermiculite. A general-purpose potting soil or a mix specifically for seedlings works well too.
- Small Pots or Seed Trays: Clean ones, of course! Small ones are perfect for starting out.
- Plastic Bags or Humidity Domes: To create a mini-greenhouse effect.
- Watering Can or Spray Bottle: For gentle watering.
Propagation Methods
Let’s get down to business! My favorite way to propagate Crotalaria grevei is through stem cuttings. It’s straightforward and usually yields great results.
- Select Your Parent Plant: Choose a healthy, vigorous Crotalaria grevei. Look for stems that are firm and have new growth, but not yet woody.
- Take Your Cuttings: Using your clean shears or knife, take cuttings that are about 4-6 inches long. Make the cut just below a leaf node (where a leaf attaches to the stem). This is where rooting hormones often trigger the best response. Remove the lower leaves, leaving just the top two or three.
- Apply Rooting Hormone (Optional): If you’re using rooting hormone, dip the cut end of the stem into the powder or gel. Tap off any excess.
- Plant Your Cuttings: Fill your small pots or trays with your sterile potting mix. Moisten the soil slightly. Make a hole in the soil with your finger or a pencil, and gently insert the cutting. Firm the soil around it.
- Create a Humid Environment: Water the soil gently. Then, cover the pots with a plastic bag (propped up with stakes so it doesn’t touch the leaves) or use a humidity dome. This is crucial to keep the cuttings from drying out while they focus on rooting.
- Provide Light and Warmth: Place the pots in a bright location with indirect sunlight. Avoid direct, hot sun, which can scorch them. A bit of warmth from the bottom can also be beneficial – more on that in my secret sauce!
The “Secret Sauce”
Here are a few little tricks I’ve picked up over the years that can really boost your success with Crotalaria grevei:
- Don’t Let Leaves Touch the Water: If you’re trying water propagation, which can also work, make absolutely sure that the leaves don’t sit in the water. Only the stem itself should be submerged. Wet leaves are a prime spot for rot to set in.
- Bottom Heat is Your Friend: For stem cuttings, a seedling heat mat placed underneath your pots can dramatically speed up the rooting process. It mimics the warmth of the soil in summer and encourages those roots to develop faster.
- Wipe Down Your Tools: Always, always clean your pruning shears or knife between cuts, especially if you’re taking cuttings from multiple plants. This prevents the spread of any potential diseases.
Aftercare & Troubleshooting
Once you start to see tiny roots emerging from the drainage holes of your pots (this can take anywhere from a few weeks to a couple of months), it’s time to give them a little more attention. Gradually begin to ventilate the humidity dome or plastic bag by opening it for a few hours each day. Once they seem robust, you can remove the cover entirely.
The most common issue you might face is rot. If your cuttings start to turn mushy or develop dark spots, especially at the soil line, it’s a sign of too much moisture and not enough air circulation, or potentially an infection. Unfortunately, rotten cuttings are usually beyond saving. On the flip side, if your cuttings look perfectly fine after a few weeks but show no signs of roots, they might just need more time. Be patient!
A Little More Patience, A Lot More Bloom
Propagating Crotalaria grevei is a journey, and like any good gardening endeavor, it requires a touch of patience. Don’t get discouraged if your first attempt isn’t a runaway success. Learn from it, adjust your approach, and try again! Seeing those first tiny roots emerge is a truly satisfying moment, and growing new plants from your own cuttings is one of the most rewarding aspects of being a gardener. Happy propagating!
Resource:
https://identify.plantnet.org/k-world-flora/species/Crotalaria%20grevei%20Drake/data