Oh, Cestrum reflexum! Isn’t it a beauty? Its trumpet-shaped flowers, often fragrant, can really bring a touch of magic to the garden. I’ve found it’s a plant that’s not terribly difficult to propagate, which is wonderful news because you’ll want more than one once you see how striking it is. It’s a very rewarding plant to have, and multiplying it yourself is a fantastic way to share its charm or simply fill your own space. For beginners, I’d say it’s a good plant to try your hand at propagation with; it’s generally quite forgiving.
The Best Time to Start
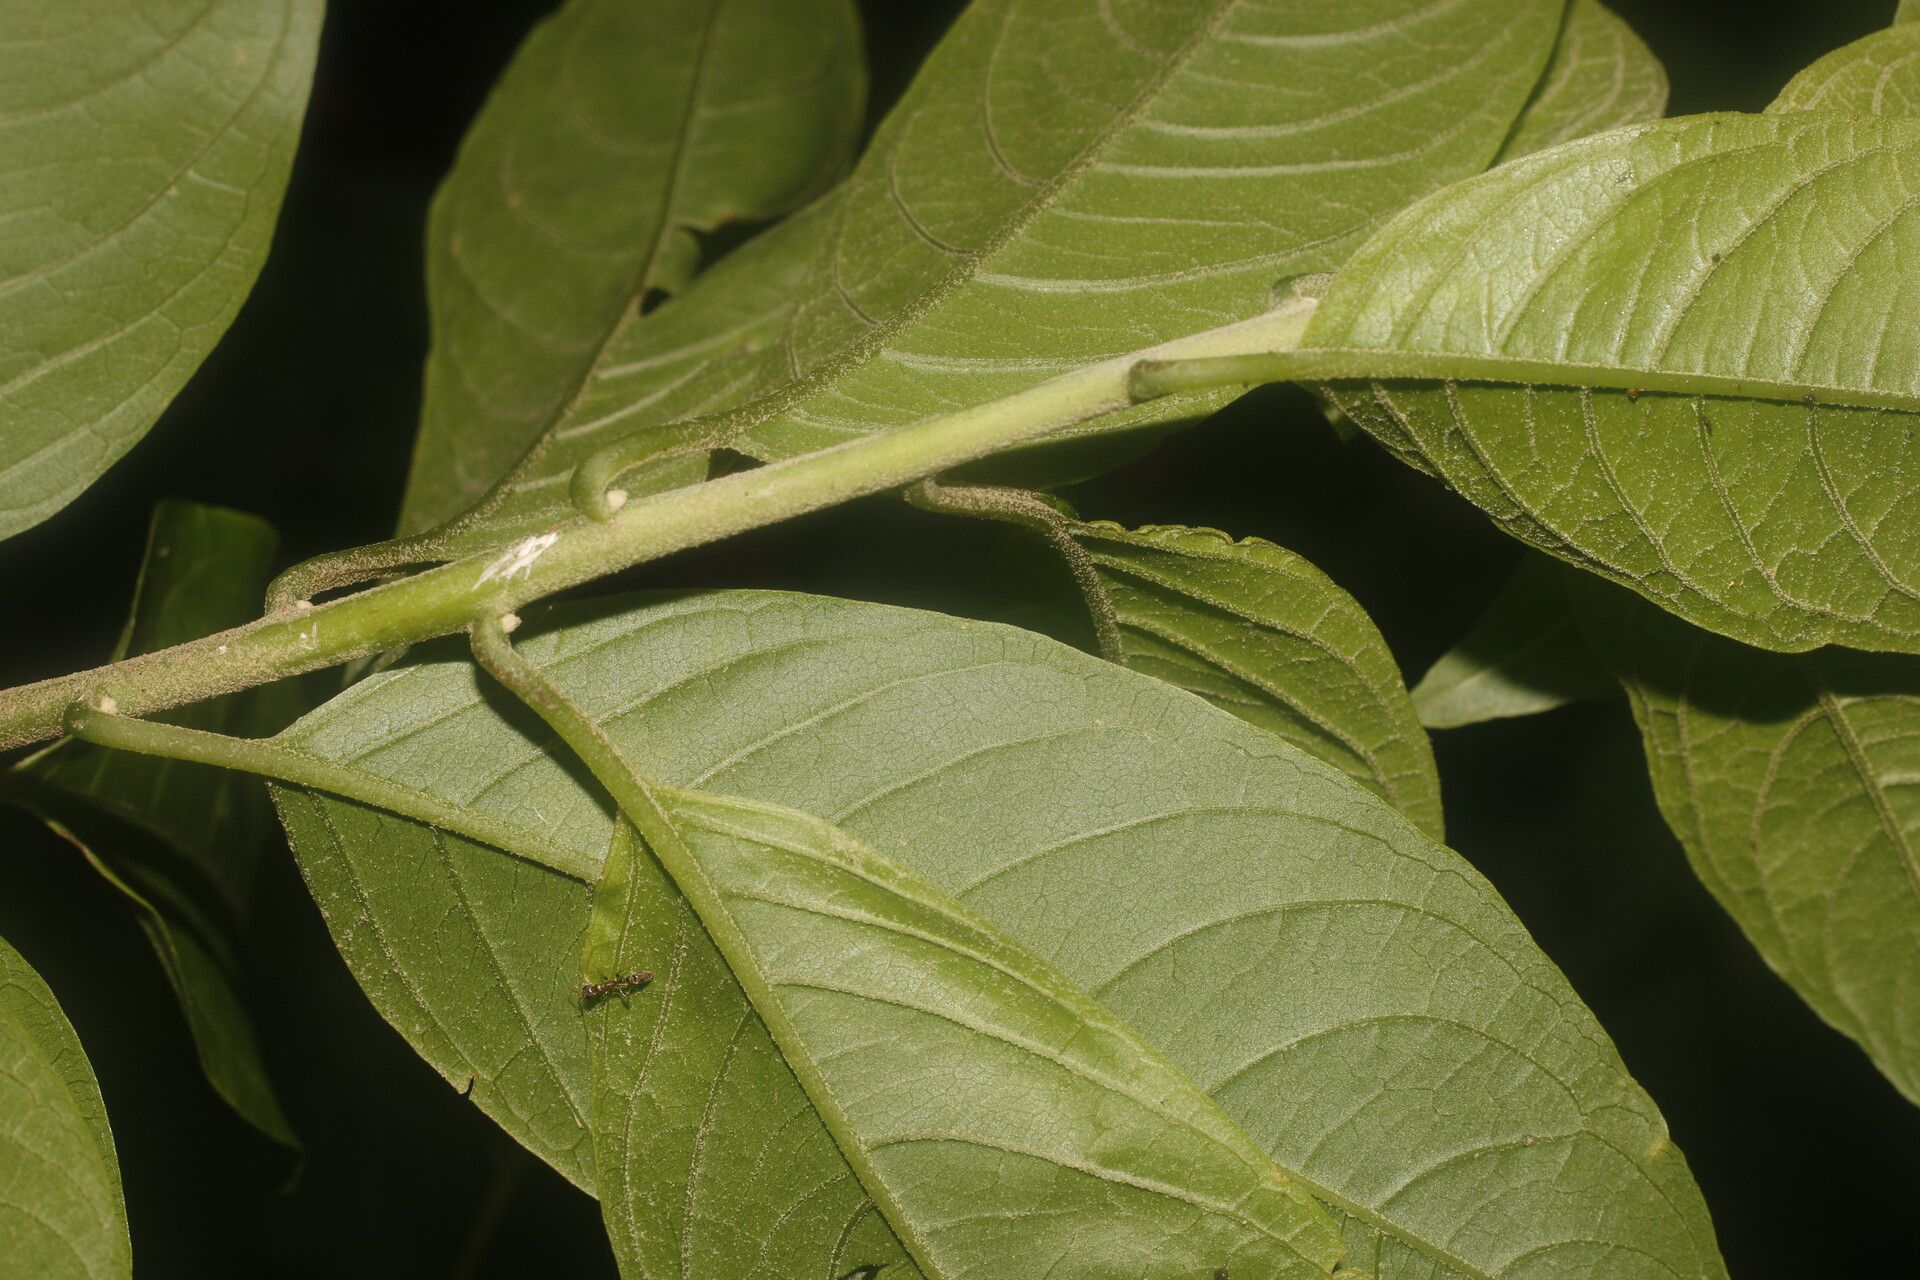
Timing is everything, wouldn’t you agree? For Cestrum reflexum, the sweet spot for propagation is usually late spring to early summer. This is when the plant is actively growing, and the new shoots are often the most succulent and eager to root. You want to take cuttings from healthy, vigorous stems that haven’t yet flowered. Think of it as capturing that youthful energy!
Supplies You’ll Need
Gathering your tools beforehand will make the whole process smoother. Here’s what I like to have on hand:
- Sharp pruning shears or a clean knife: For making clean cuts.
- Rooting hormone (powder or gel): This is helpful, though not always essential for Cestrum reflexum. It gives them a little boost.
- Propagation mix or a well-draining potting soil: A 50/50 blend of peat moss and perlite or coarse sand works wonderfully.
- Small pots or seed trays: Clean ones, mind you!
- Plastic bags or a clear plastic dome: To create a humid environment.
- Watering can with a fine rose: To water gently.
- Labels: So you don’t forget what you’ve planted where!
Propagation Methods
I find stem cuttings to be the most reliable method for Cestrum reflexum. Here’s how I do it:
- Select Your Cuttings: Choose healthy, non-flowering stems that are about 4-6 inches long. Look for stems that are flexible but not too soft – these are often called “softwood” or “semi-hardwood” cuttings, and they’re perfect for this.
- Make the Cut: Using your sharp shears or knife, make a clean cut just below a leaf node. The leaf node is that little bump where a leaf attaches to the stem; it’s where roots tend to form.
- Prepare the Cutting: Gently strip off the lower leaves, leaving just a couple of leaves at the very tip. If the remaining leaves are quite large, I sometimes cut them in half to reduce water loss.
- Apply Rooting Hormone (Optional but Recommended): Dip the cut end of the stem into your rooting hormone, tapping off any excess.
- Potting Up: Fill your small pots with your prepared propagation mix. Make a small hole in the center of the soil with your finger or a pencil.
- Insert the Cutting: Gently push the cut end of the stem into the hole, ensuring the leaf nodes are below the soil surface. Firm the soil gently around the cutting.
- Water and Cover: Water thoroughly but gently. Then, cover the pot with a clear plastic bag or a humidity dome. This creates that humid microclimate that cuttings love. Secure the bag loosely so it doesn’t crush the leaves.
Water Propagation: You can also try rooting cuttings in water. Just place the prepared cuttings in a jar of water, making sure no leaves are submerged (this is crucial to prevent rot!). Keep it in bright, indirect light. Once you see good root development (about an inch or so), you can carefully pot them up into soil. It’s a visually satisfying method, but sometimes the roots aren’t as robust as those from soil.
The “Secret Sauce” (Pro Tips)
Over the years, I’ve picked up a few tricks that seem to make all the difference:
- Cleanliness is Key: Always use sterilized tools and pots. This helps prevent fungal diseases from taking hold, which is the number one killer of young cuttings.
- Bottom Heat is Your Friend: If you have the option, placing your pots on a heated propagator mat can significantly speed up rooting. The warmth encourages root development from below. Even a warm windowsill can help!
- Don’t Disturb Too Soon: Resist the urge to tug on your cuttings to see if they’ve rooted! You can often tell by looking for new leaf growth. Leaves that are firm and starting to unfurl are a good sign that roots are forming.
Aftercare & Troubleshooting
Once you see roots forming, and new growth appearing, it’s time to transition your little Cestrum starts.
- Introduce Gradually: If you’ve been using a plastic bag, gradually acclimate your cuttings to normal room humidity by opening the bag for increasing periods each day. You don’t want to shock them!
- Keep Them Moist: Water whenever the top inch of soil feels dry. Avoid letting them dry out completely, and also avoid waterlogging them.
- Bright, Indirect Light: Continue to grow them in bright, indirect light. Too much direct sun can scorch their tender new leaves.
- Signs of Trouble: The most common issue is rot, which usually shows up as blackening or mushiness at the base of the stem. This is often due to overwatering or poor drainage. If you see this, sadly, that cutting is likely lost. Another sign of failure is wilting that doesn’t recover even after watering; this can indicate that the roots haven’t formed or have rotted away.
A Encouraging Closing
Don’t get discouraged if not every cutting takes. Propagation is a journey, and each attempt teaches you something new. Be patient, enjoy the process of nurturing these tiny beginnings, and soon you’ll be admiring your very own Cestrum reflexum plants! Happy growing!
Resource:
https://identify.plantnet.org/k-world-flora/species/Cestrum%20reflexum%20Sendtn./data