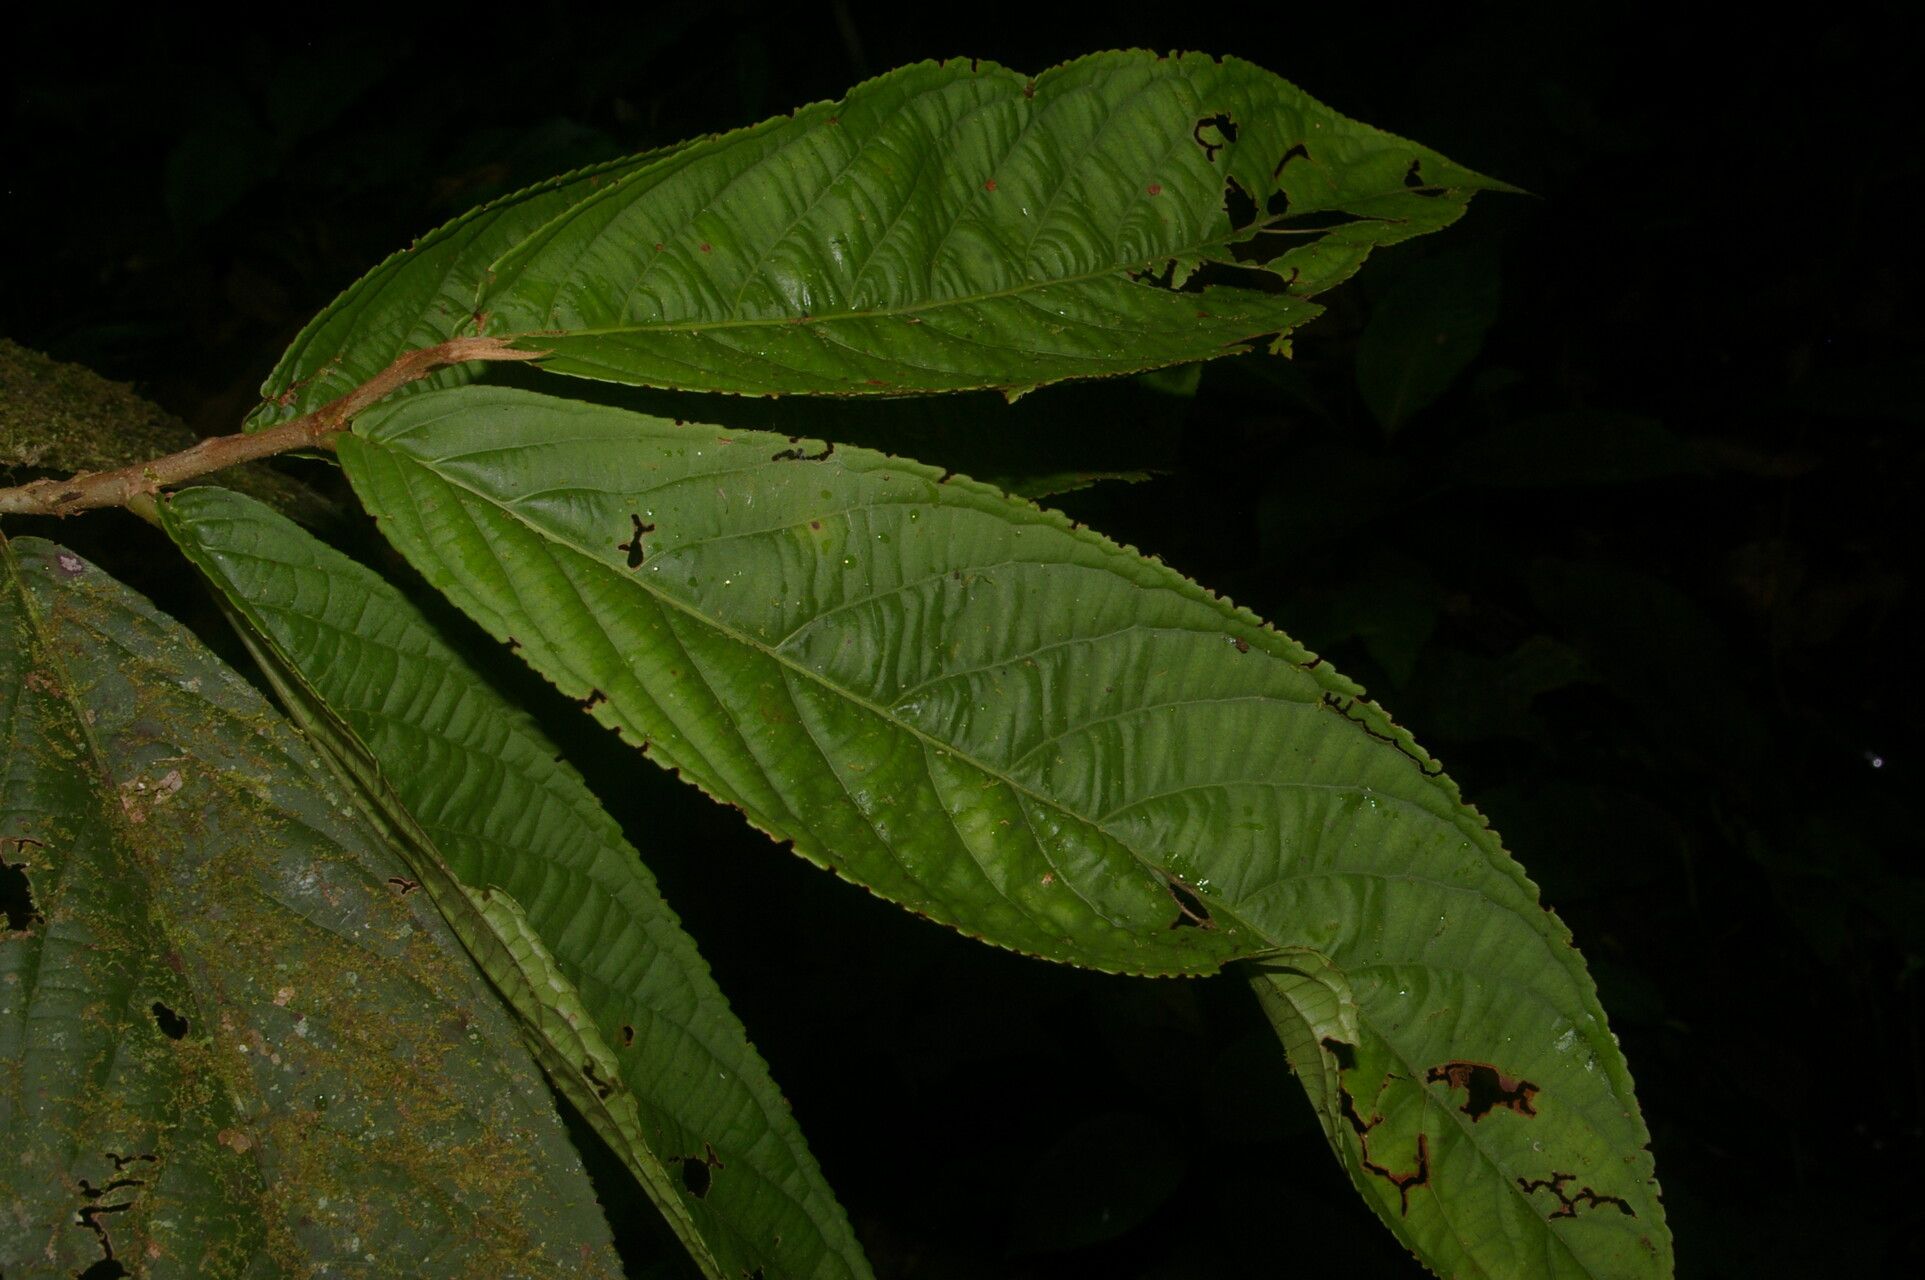
Hey there, fellow plant lovers! Today, I want to chat about a plant that’s been bringing a quiet beauty to my garden for years: Casearia standleyana. It’s a fantastic little shrub, sometimes called “Sand Box Tree” though it’s not the typical one you might know, with lovely dappled leaves and a graceful habit. It’s not a showstopper in the way a rose bush is, but it has a subtle charm that I find incredibly rewarding. And guess what? Propagating it is a wonderful way to get more of this delight for your own space, or to share with friends. For beginners? I’d say it’s moderately easy, but with a few key pointers, you’ll be well on your way to success.
The Best Time to Start
My experience tells me that the sweet spot for propagating Casearia standleyana is during its active growth period. This means late spring to early summer, when the plant is putting on new growth. You’re looking for semi-hardwood cuttings – that means stems that have started to firm up but aren’t yet woody and mature. Think of a stem that snaps with a bit of resistance, rather than just bending limply.
Supplies You’ll Need
You don’t need a ton of fancy equipment to get started. Here’s what I keep on hand:
- Sharp Pruning Shears or a Craft Knife: For clean cuts. A dull tool can crush the stem, making it harder to root.
- Rooting Hormone: This is highly recommended for Casearia standleyana. It significantly boosts your success rate. I prefer a powder form, but gel works too.
- Small Pots or Trays: Clean containers with drainage holes are a must.
- Well-Draining Potting Mix: A standard potting mix with added perlite or coarse sand is perfect. You can also use a dedicated propagation mix. I often make my own by mixing equal parts of peat moss (or coco coir), perlite, and a bit of compost.
- Plastic Bags or a Propagation Dome: To create a humid environment for your cuttings.
- Watering Can or Mister: For keeping things moist.
- Labels: Don’t forget to label your cuttings so you know what’s what!
Propagation Methods
Let’s get our hands dirty! Stem cuttings are definitely the way to go for Casearia standleyana.
Stem Cuttings:
- Select Your Cuttings: Find healthy, vigorous stems. As I mentioned, aim for semi-hardwood. Each cutting should be about 4-6 inches long.
- Make Your Cuts: Using your sharp shears or knife, make a clean cut just below a leaf node (where a leaf meets the stem). This is where the magic happens for root development. Remove any flower buds or tiny developing fruits – they take energy away from root growth.
- Prepare the Cutting: Strip off the lower leaves, leaving just the top 2-4 leaves. If the remaining leaves are very large, I’ll often cut them in half horizontally. This reduces water loss through transpiration.
- Apply Rooting Hormone: Dip the cut end of the stem into your rooting hormone, tapping off any excess. Make sure the hormone is coating the area where you want roots to form.
- Plant Your Cuttings: Fill your pots or trays with your moistened potting mix. Make a small hole with your finger or a pencil and gently insert the cutting, ensuring a few leaf nodes are buried in the soil. Firm the soil gently around the stem.
- Create Humidity: Water the soil gently. Then, tent a plastic bag over the pot, or place it under a propagation dome. Make sure the leaves aren’t touching the plastic if possible.
- Find a Spot: Place the pots in a warm location with bright, indirect light. Avoid direct sunlight, which can scorch the delicate cuttings.
The “Secret Sauce” (Pro Tips)
Here are a few things I’ve learned over the years that really make a difference:
- Bottom Heat is Your Friend: If you have a seedling heat mat, using it for your Casearia standleyana cuttings is a game-changer. It encourages faster root development from below, giving you a real edge. Just place your pots on the mat.
- Don’t Drench, Just Dampen: It’s crucial to keep the potting mix consistently moist but not waterlogged. Overwatering is a surefire way to invite rot. I check the moisture daily by gently touching the soil. If the top inch feels dry, it’s time to water.
- Be Patient with Leaves: While you want to reduce leaf surface area to prevent water loss, I learned early on that you should try to keep any remaining leaves out of the water. If a leaf touches stagnant water, it’s a fast track to fungal issues and bye-bye cutting.
Aftercare & Troubleshooting
Once you see those first signs of new leaf growth, or feel a gentle tug when you lightly tug on a cutting, it’s a good sign roots have formed! Continue to keep the soil moist and the humidity high for another week or two. Then, you can gradually acclimate your new little plant to lower humidity by opening the bag or dome a bit more each day. Once it looks robust, you can pot it up into its own small container.
Now, what if things go wrong? The most common culprit is rot. If your cutting turns mushy, black, or smells funny, it’s likely rotted. This usually happens from too much moisture and poor air circulation. If you catch it early, you might be able to salvage a piece by cutting off the rotted part and trying again, but often it means starting over. Look out for wilting too; it’s your plant’s way of telling you something’s not right, whether it’s not enough water or too much intense sun.
A Little Encouragement
Propagating plants is such a fulfilling process. It’s about patience, observation, and a little bit of horticultural magic. Don’t get discouraged if your first few attempts aren’t perfect. Every gardener has lost cuttings! Just keep observing your plants, learning from each experience, and enjoying the journey of bringing new life into your home and garden. Happy propagating!
Resource:
https://identify.plantnet.org/k-world-flora/species/Casearia%20standleyana%20Sleumer/data