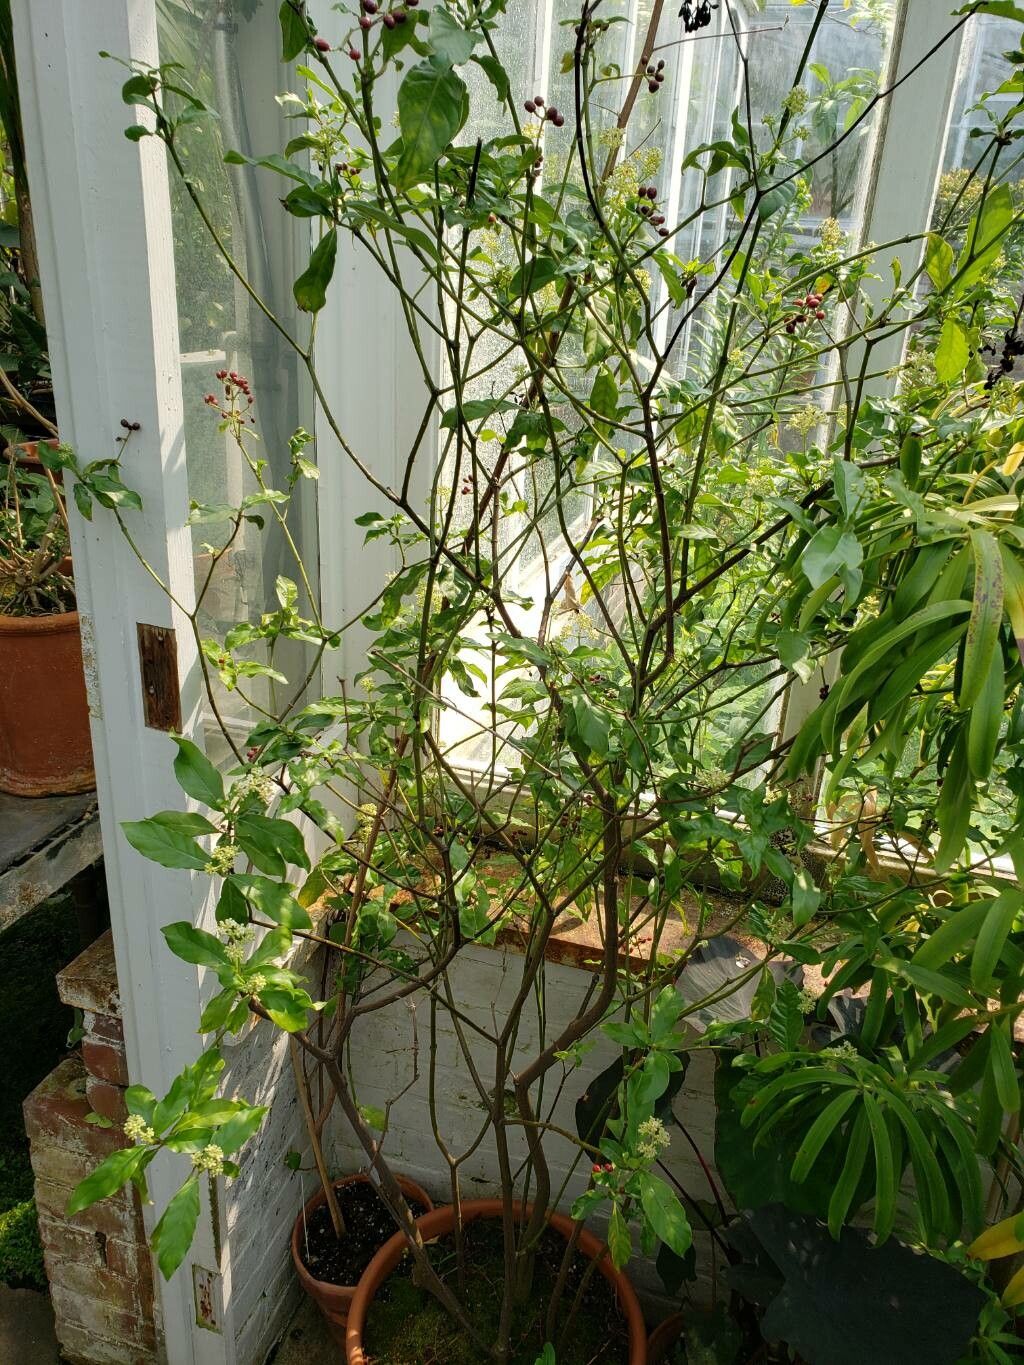
Hey there, fellow plant lovers! Today, we’re diving into the world of a rather special plant: Carapichea ipecacuanha, or as it’s more commonly known, Ipecac. Now, I know what you might be thinking – “Ipecac? Isn’t that used for something else?” And yes, it has medicinal history, but as a houseplant, it’s got this understated beauty with its deep green, glossy leaves that can really add a touch of the exotic to your indoor jungle.
Propagating Ipecac is a really rewarding endeavor. It’s not quite a beginner’s plant in terms of foolproof rooting, but with a little attention to detail, you’ll find it quite manageable. Witnessing those tiny roots emerge and grow into a new plant is just plain magic, isn’t it?
The Best Time to Start
For the highest success rate with your Ipecac propagation, I’ve found that spring and early summer are your golden ticket. This is when the plant is actively growing and has plenty of energy to put into new root development. If you can snag a healthy stem from a plant that’s been thriving through the warmer months, you’re already ahead of the game.
Supplies You’ll Need
Here’s what you’ll want to have on hand to give your Ipecac cuttings the best start:
- Sharp, clean pruning shears or a sharp knife: This is crucial for making clean cuts that heal well.
- A rooting hormone powder or gel: While Ipecac can sometimes root without it, this is a real confidence booster and speeds things up.
- A well-draining potting mix: I like a blend of perlite, peat moss, and a bit of coco coir. Think airy and light.
- Small pots or propagation trays: Cleanliness is key here! Small terracotta pots are my go-to.
- Plastic bags or a propagation dome: To create a humid environment for your cuttings.
- Watering can with a fine rose or spray bottle: For gentle watering.
Propagation Methods
Ipecac is best propagated through stem cuttings. It’s a straightforward process, just requiring a bit of patience.
-
Take Your Cuttings: Look for healthy, non-flowering stems on your mature Ipecac plant. You want sections that are about 4-6 inches long. Using your sharp pruning shears, make a clean cut just below a leaf node (that’s where new growth typically emerges). Try to get at least two or three leaf nodes on each cutting.
-
Prepare the Cuttings: Gently remove the lower leaves from your cuttings, leaving just a couple of leaves at the top. This prevents them from rotting in the soil. You can even take a sharp knife and lightly scrape a small section of the bark off the very bottom of the stem – this can sometimes encourage rooting.
-
Apply Rooting Hormone: Dip the cut end of each stem into your rooting hormone powder or gel. Tap off any excess. Don’t be shy; this stuff really helps!
-
Plant Your Cuttings: Fill your small pots with your well-draining potting mix, moisten it slightly, and then use a pencil or your finger to make a small hole. Insert the base of each cutting into the hole, ensuring the leaf nodes are buried. Gently firm the soil around the stem to provide support.
-
Create a Humid Environment: Water your pots gently. Then, cover the pots with a plastic bag or a propagation dome. This traps humidity, which is essential for cuttings to develop roots before they can absorb water through their roots. Prop the bag up with a skewer or two so it doesn’t touch the leaves.
-
Find the Right Spot: Place your pots in a warm location with bright, indirect light. Avoid direct sunlight, as it can scorch the delicate cuttings.
The “Secret Sauce” (Pro Tips)
Here are a couple of things I’ve learned over the years that can make a big difference for Ipecac:
- Bottom Heat is Your Friend: If you have a seedling heat mat, placing your pots on it can significantly speed up rooting. It mimics the warmth of the soil that a parent plant would experience and really encourages those roots to get going.
- Change the Water (If Water Propagating): While stem cuttings in soil are my preferred method for Ipecac, if you do try water propagation, make sure to change the water every few days. Stagnant water is a breeding ground for bacteria and can cause the stem to rot before it roots. And, as a general rule, make sure those leaves stay above the water line – they can rot easily if submerged.
Aftercare & Troubleshooting
Once you see new leaf growth appearing on your cuttings, that’s usually a good sign that roots have formed. You can gently tug on a cutting – if there’s resistance, roots are there! Slowly acclimate your new plants to regular room humidity by gradually opening the plastic bag over a week or so. Continue to keep the soil consistently moist but not waterlogged.
The most common issue you’ll encounter is rot. If a cutting turns black and mushy, it’s a sign of too much moisture and not enough airflow, or possibly the introduction of bacteria. Unfortunately, a rotted cutting is usually a goner, so be sure to remove it promptly to prevent it from affecting other cuttings. Another sign of trouble is if the leaves start to wilt and yellow without any new growth – this often indicates insufficient light or dryness.
A Encouraging Closing
Propagating Ipecac can be a little bit of a waiting game, so my biggest piece of advice is to be patient. Don’t get discouraged if your first few attempts aren’t wildly successful. Every gardener has had their share of cuttings that didn’t make it. Just keep observing, learning, and enjoying the process. Before you know it, you’ll have a whole new brood of these lovely plants to share or to fill your own home with that touch of the exotic. Happy propagating!
Resource: