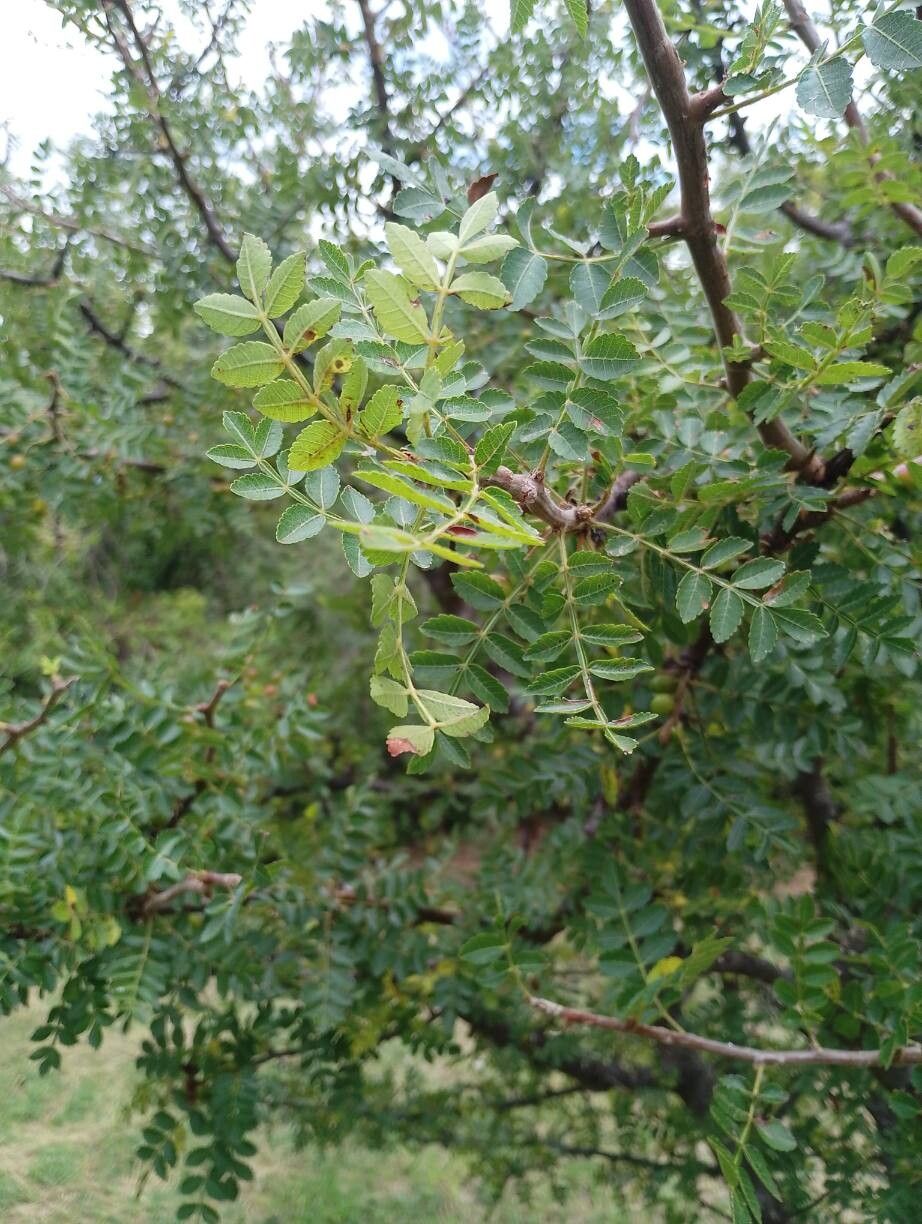
Oh, hello there, fellow plant enthusiast! I’m so delighted you’re curious about propagating Bursera glabrifolia. If you’ve ever seen this beauty, you’ll understand why. Its intricate, aromatic foliage and graceful form are a true delight in any garden or home. And the best part? Nurturing a new life from an existing plant is one of the most rewarding experiences a gardener can have. For Bursera glabrifolia, I’d say it’s moderately easy, definitely achievable with a little care and patience. Don’t let that deter you; the satisfaction is immense!
The Best Time to Start
When it comes to getting new Bursera glabrifolia plants going, spring is your golden ticket. This is when the plant is actively growing and has the most energy to dedicate to rooting, making your chances of success much higher. Look for new, semi-hardwood growth – not the super soft, brand-new green shoots, but also not the woody, mature stems. That sweet spot in between is perfect.
Supplies You’ll Need
Here’s what I always gather before I start propagating:
- Sharp, clean pruning shears or a craft knife: For making those precise cuts.
- Rooting hormone (optional but recommended): A good quality rooting powder or gel really helps get things started.
- Well-draining potting mix: I usually mix equal parts perlite, peat moss, and coarse sand. You want something that won’t hold too much moisture.
- Small pots or propagation trays: Whatever you have that’s clean and has drainage holes.
- Watering can with a fine rose or a spray bottle: For gentle watering.
- Clear plastic bag or propagation dome: To create a humid microclimate.
- A clean, shallow tray or bowl: If you plan on water propagating.
Propagation Methods
I find stem cuttings to be the most reliable method for Bursera glabrifolia.
Stem Cuttings:
- Take Your Cuttings: In spring, select a healthy stem from your mature plant. Using your sharp shears, take cuttings that are about 4-6 inches long. Make the cut just below a leaf node (where a leaf attaches to the stem).
- Prepare the Cuttings: Gently remove the lower leaves from the cutting, leaving just a few at the top. If your cuttings are very long, you can even cut the remaining leaves in half horizontally to reduce water loss.
- Apply Rooting Hormone: Dip the cut end of each cutting into your rooting hormone, tapping off any excess.
- Plant Your Cuttings: Fill your pots with your well-draining soil mix. Make a hole with your finger or a pencil and gently insert the cut end of the stem. Firm the soil around the cutting.
- Water Gently: Water your cuttings lightly until the soil is moist but not waterlogged.
- Create Humidity: Now, cover each pot with a clear plastic bag or place the pots under a propagation dome. This keeps the humidity high, which is crucial for preventing the cuttings from drying out before they root. Stake up the bag if needed so it doesn’t touch the leaves.
Water Propagation (for a slightly different approach):
- Prepare Cuttings: Follow steps 1 and 2 above.
- Place in Water: Put your cuttings in a clean jar or vase filled with fresh water. Make sure no leaves are submerged in the water. Leaves in water tend to rot and can take down your whole cutting.
- Change Water Regularly: Change the water every few days to keep it fresh and oxygenated.
- Watch for Roots: You should start to see tiny white roots emerging from the nodes within a few weeks. Once the roots are about an inch long, you can carefully transplant them into your well-draining soil mix.
The “Secret Sauce” (Pro Tips)
Here are a few things I’ve learned over the years that really make a difference:
- Bottom Heat is Your Friend: Placing your pots on a heated propagation mat can significantly speed up root development. For many plants, that gentle warmth from below encourages roots to form much faster than relying on ambient room temperature alone.
- Don’t Drown Them: While humidity is vital, overwatering is the quickest way to kill a cutting. The soil should be consistently moist, like a wrung-out sponge, not soggy. If you can see standing water in the tray, it’s too much.
- Patience, Dear Gardener, Patience: Honestly, some cuttings take their sweet time. If you’ve done everything right, and you don’t see signs of growth after a month or two, don’t despair too quickly. Give them a gentle tug – if there’s resistance, roots are forming!
Aftercare & Troubleshooting
Once you see new leaf growth, that’s a fantastic sign that roots have formed! Gradually acclimate your new baby Bursera to lower humidity by opening the plastic bag or dome a little more each day over about a week. Keep the soil consistently moist.
Now, the tricky part – troubleshooting. The most common issue you’ll face is rot. If your cutting turns black and mushy, it’s likely succumbed to rot from too much moisture. Sadly, there’s no coming back from that one. Another sign of stress is wilting that doesn’t perk up even with moisture. This could be due to dehydration (if the humidity wasn’t high enough) or poor root formation.
A Encouraging Closing
Propagating Bursera glabrifolia is a journey, and like any good journey, it requires a bit of care and a whole lot of love. Don’t be discouraged if your first few attempts aren’t perfect. Every plant is a learning experience, and the joy of watching those tiny roots form and a new plant emerge is truly unparalleled. Enjoy the process, be patient with your little green babies, and before you know it, you’ll have a whole collection of these aromatic wonders! Happy propagating!
Resource:
https://identify.plantnet.org/k-world-flora/species/Bursera%20glabrifolia%20(Kunth)%20Engl./data