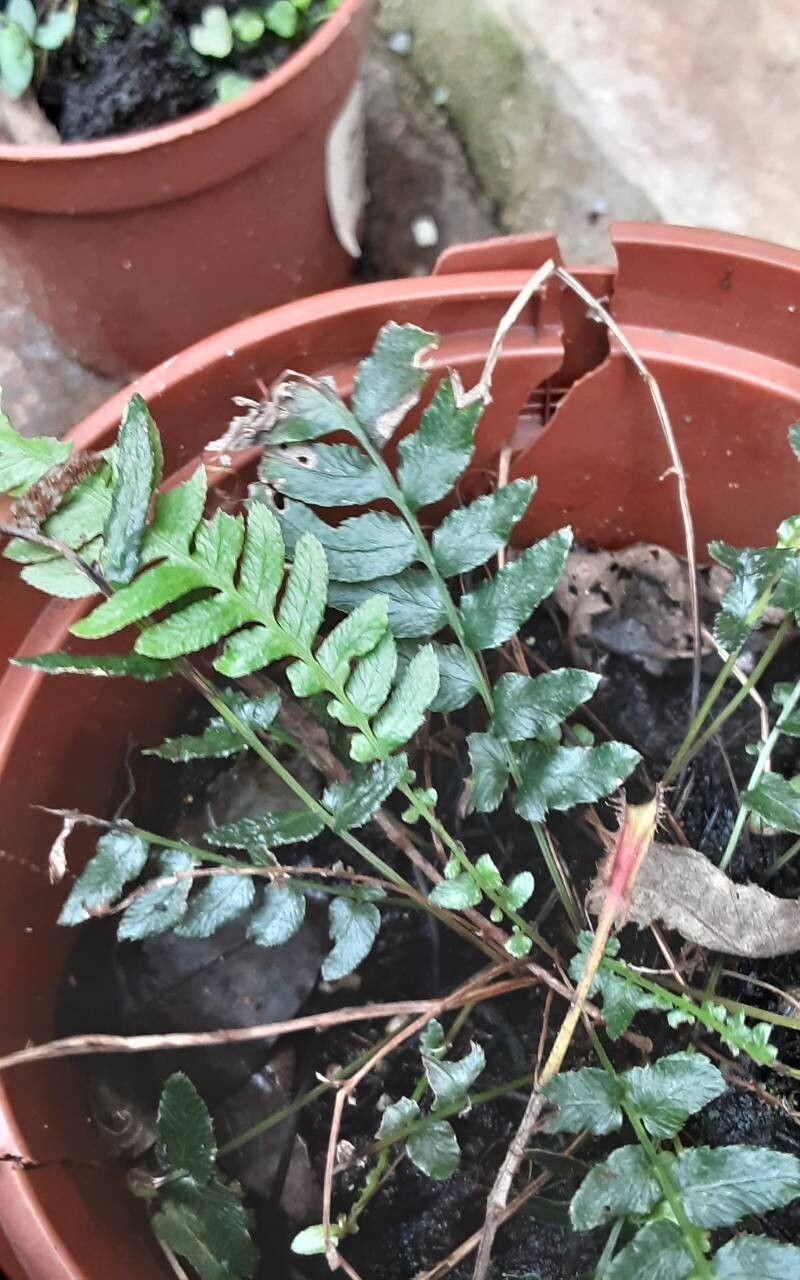
Oh, hello there! Pull up a chair and let’s chat about one of my favorite ferns lately: Asplenium alatum, the winged spleenwort.
Hello, Gorgeous Fern!
I just adore this fern. Its fronds have this delicate, almost lace-like quality, and when they unfurl, it’s a real treat for the eyes. Plus, it has these lovely, subtle “wings” along the stipes – hence the name! Propagating it is a wonderful way to share its beauty or just expand your own green collection without breaking the bank. Now, be patient with me here, but for beginners, Asplenium alatum can be a bit of a sensitive soul. It’s not the most forgiving when it comes to propagation, but with a little care and attention, you’ll absolutely get the hang of it.
The Best Time to Start
When you’re thinking about getting new plants going, spring is your absolute best friend. The plant is waking up, full of vigor, and just ready to put out new growth. You’ll see it starting to unfurl fresh fronds and usually, before the heat of summer really kicks in, is the perfect time to strike. Look for actively growing plants; you want to work with lush, healthy material.
Supplies You’ll Need
Gathering your tools beforehand is always a good idea. It makes the whole process much smoother. Here’s what I usually have on hand:
- Sharp, clean pruning shears or scissors: For making clean cuts.
- Well-draining potting mix: I love a blend for ferns that includes peat moss, perlite, and a bit of orchid bark. Something that holds moisture but doesn’t get waterlogged is key.
- Small pots or seed trays: For your new babies. Make sure they have drainage holes!
- Spray bottle: For misting.
- Plastic bags or a clear lid: To create a humid environment.
- Rooting hormone (optional, but helpful for trickier plants): A powder or gel.
- Small trowel or dibber: For making planting holes.
Propagation Methods: Let’s Get Our Hands Dirty!
There are a couple of ways to go about this, but division is usually the most reliable for Asplenium alatum.
Method 1: Division – The Tried and True
This is like giving your mature fern a little haircut and getting more plants from the “hair”!
- Gently remove the fern from its pot. If it’s stuck, give the pot a gentle squeeze or tap the sides.
- Examine the root ball. You’re looking for distinct clumps or sections of the plant that have their own root system. Sometimes you can even see where a new division is already starting to emerge.
- Carefully tease the root ball apart. You can use your fingers for this, or if it’s a bit stubborn, use a clean, sharp knife or trowel to cut through tough roots. The goal is to separate the plant into smaller sections, each with a good amount of roots and at least one healthy frond.
- Pot up your new divisions. Plant each division in its own small pot filled with your well-draining fern mix. Make sure the crown of the plant (where the fronds emerge from the roots) is at or slightly above the soil surface.
- Water gently. Give them a good, initial watering to settle the soil.
Method 2: Spore Propagation (For the Adventurous!)
This is more advanced and takes a lot longer, but it’s fascinating. I’ll mention it for the truly dedicated spore-hunter!
- Collect spores. Look on the undersides of mature fronds for brown sori (they look like little lines or dots). Carefully scrape these off onto a piece of clean paper.
- Sterilize your medium. Typically, this involves sterilized compost or a fine peat mix.
- Sow the spores. Sprinkle them thinly over the surface and mist gently.
- Cover and keep humid. Place in a propagator or cover with a clear lid. You’ll need warmth and low light. Patience is paramount here; it can take months for the first tiny gametophytes to appear, and then even longer for true plantlets.
The “Secret Sauce” (Pro Tips)
Having tried my hand at this a few times, here are a few little things I’ve learned that make a difference:
- Don’t overcrowd the pots. When dividing, give each new little fern enough space. Cramming them in stresses them out and can encourage rot. They need room to breathe and grow.
- Humidity, humidity, humidity! Ferns absolutely adore a humid environment, especially when they’re trying to establish. After potting up divisions, I always pop them into a clear plastic bag that’s loosely tied, or put them in a propagation tray with a lid. This creates that mini-greenhouse effect.
- Avoid direct sun like the plague. These delicate new ferns, and even mature ones, will scorch easily. Bright, indirect light is their happy place. Think a north-facing window or a spot several feet away from an east- or west-facing one.
Aftercare & Troubleshooting
Once your divided plants are potted, keep them consistently moist but not soggy. Mist them daily or every other day, especially if they’re in a bag. You’ll know things are going well when you start to see new frond growth emerging.
Now, what if things go sideways? The most common issue I see is rot. If your fronds start to turn yellow and mushy, or the base of the plant looks dark and slimy, it’s usually a sign of too much moisture and not enough air circulation. If you see this, pull the affected part off immediately, let the soil dry out a bit more, and ensure there’s some airflow. Sometimes, you might notice wilting. This could be shock, or it could be that the roots haven’t fully established yet. Don’t waterlog it! Just keep things consistently moist and keep that humidity up.
Happy Growing!
Gardening, especially propagating, is a journey of learning. There will be successes, and there will be times when things don’t quite work out. Don’t get discouraged! Each plant taught me something new, and I bet Asplenium alatum will do the same for you. Be patient, observe your plant, and enjoy the wonderful process of bringing more green into the world. Happy propagating!
Resource: