Oh, hello there! Come on in, pull up a chair. I’ve got a fresh pot of coffee brewing. Today, we’re going to talk about something a little special, a plant that might not get as much fanfare as your average rose or tomato, but has a quiet beauty all its own: Arceuthobium oxycedri, or prickly juniper.
A Little Something Extra: Why Propagate Prickly Juniper?
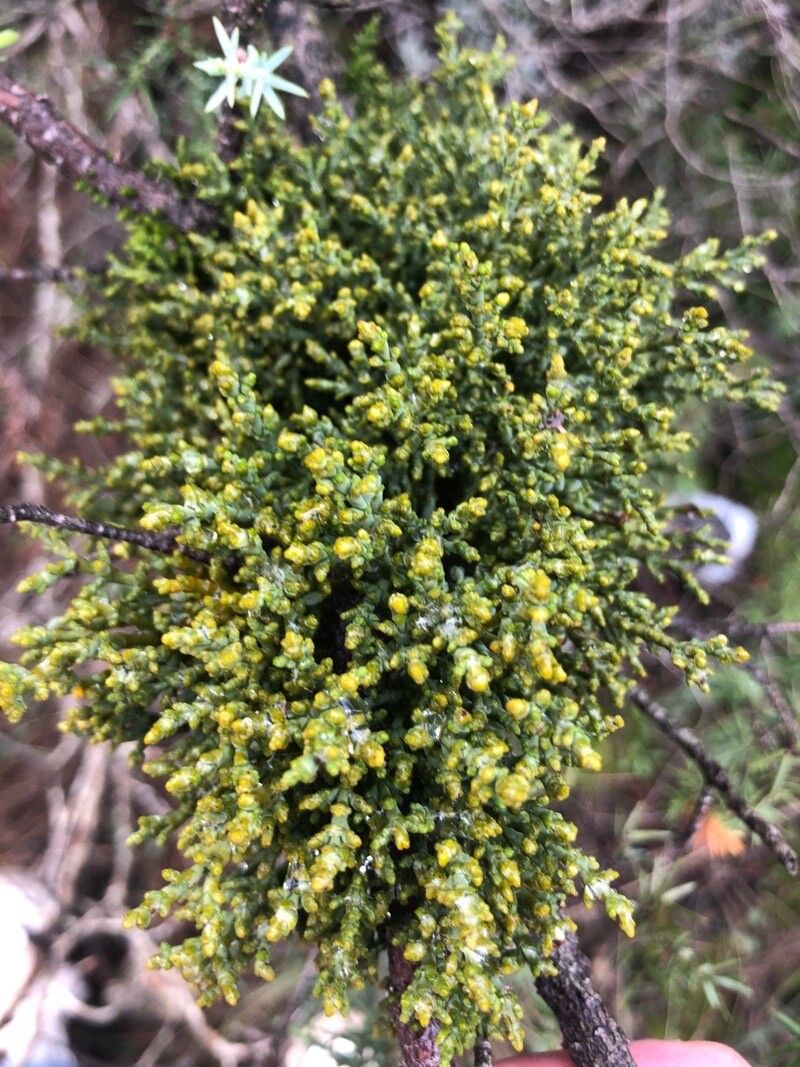
I’ve always been drawn to the understated elegance of Arceuthobium oxycedri. Its dense, shrubby form and the way it catches the light are simply lovely in any garden. Now, propagating it… well, it’s not quite as straightforward as whipping out a bunch of basil cuttings, I’ll admit. For the absolute beginner, it might feel a bit daunting. But trust me, the satisfaction of nurturing a new life from a piece of an established plant? It’s a deeply rewarding experience, and one you absolutely can achieve with a little care and attention.
When the Magic Happens: The Best Time to Start
For prickly juniper, you’ll have the best luck aiming for late spring or early summer. This is when the plant is in an active growth phase, and those new shoots are plump with energy. You want to take cuttings from stems that are firm but not yet woody. Think of them as the plant’s optimistic teenage years – full of vigor and ready to grow!
What You’ll Need for Your Propagation Adventure
Gathering your supplies beforehand makes the whole process much smoother. Here’s what I usually have on hand:
- Sharp Pruning Shears or a Clean Knife: For making nice, clean cuts.
- Rooting Hormone: A powder or gel helps give those cuttings a little encouraging nudge.
- Small Pots or Propagation Trays: Something with drainage holes is a must!
- Well-Draining Potting Mix: I like a blend of perlite and coarse sand mixed with a bit of peat moss. Think gritty, not soggy.
- Plastic Bags or a Dome Cover: To create a humid environment for your cuttings.
- Spray Bottle: For misting.
- Labels and a Marker: So you don’t forget what you’ve planted, or more importantly, which ones you’ve attempted!
Let’s Get Our Hands Dirty: Propagation Methods
The most reliable way I’ve found to propagate Arceuthobium oxycedri is through stem cuttings. Division can be tricky as they prefer their roots undisturbed.
- Taking the Cuttings: Choose healthy, upright stems about 4-6 inches long. With your clean shears, make a clean cut just below a leaf node (that little bump where a leaf emerges). Remove the lower leaves; we don’t want them rotting in the soil.
- Dipping in Rooting Hormone: Lightly moisten the cut end of the stem and then dip it into the rooting hormone. Tap off any excess.
- Planting Your Cuttings: Fill your small pots with your gritty potting mix. Make a small hole with a pencil or your finger. Gently insert the cutting into the hole, ensuring the treated end makes good contact with the soil. Firm the soil gently around the base of the cutting.
- Creating Humidity: Lightly water the soil. Then, place a plastic bag over the pot, securing it with a rubber band, or pop a clear dome cover over your tray. This traps moisture and keeps the cuttings from drying out.
The “Secret Sauce”: My Little Tricks
Over the years, I’ve picked up a few things that seem to make a difference.
- The Angle of the Cut: I often make the bottom cut on my cuttings at a bit of an angle. Some gardeners swear this increases the surface area for root development. It can’t hurt, and it makes each cutting feel a little more personal.
- Bottom Heat is Your Friend: If you have a heating mat designed for seedlings, using it underneath your pots can really speed up root formation. It mimics the warmth of spring soil and gives those little roots a huge boost of encouragement.
- Patience Beyond Measure: Honestly, the biggest “secret” is just patience. Prickly juniper is a slow grower, and it can take weeks, even months, for those cuttings to show signs of life. Don’t be tempted to pull them out to check for roots too often!
What Happens Next: Aftercare and Signs of Trouble
Once your cuttings are planted, find a bright spot with indirect light. Avoid direct sun, which can scorch those tender new shoots. Mist them regularly throughout the day, especially if you aren’t using a dome.
The first sign of success will be new growth appearing at the tip of the cutting. Once you see this, and you’re fairly confident there are roots (you might even see them peeking out of the drainage holes), you can gradually reduce the humidity. You might be able to gently tug on the cutting – if there’s resistance, roots are forming!
Now, the flip side: signs of failure. The most common culprits are rot and drying out. If your cuttings turn mushy and brown, or if they shrivel and turn papery, it usually means they’ve either been too wet and rotted, or too dry and dehydrated. Keeping that humidity consistent without waterlogging the soil is key.
Keep Growing!
Propagating Arceuthobium oxycedri is a lovely project. It teaches us the rhythm of nature and the magic of patience. Don’t be discouraged if your first few attempts aren’t a roaring success. Every gardener has their share of flops! Just keep trying, keep observing, and most importantly, enjoy the process of coaxing new life from your garden. Happy propagating!
Resource:
https://identify.plantnet.org/k-world-flora/species/Arceuthobium%20oxycedri%20(DC.)%20M.Bieb./data