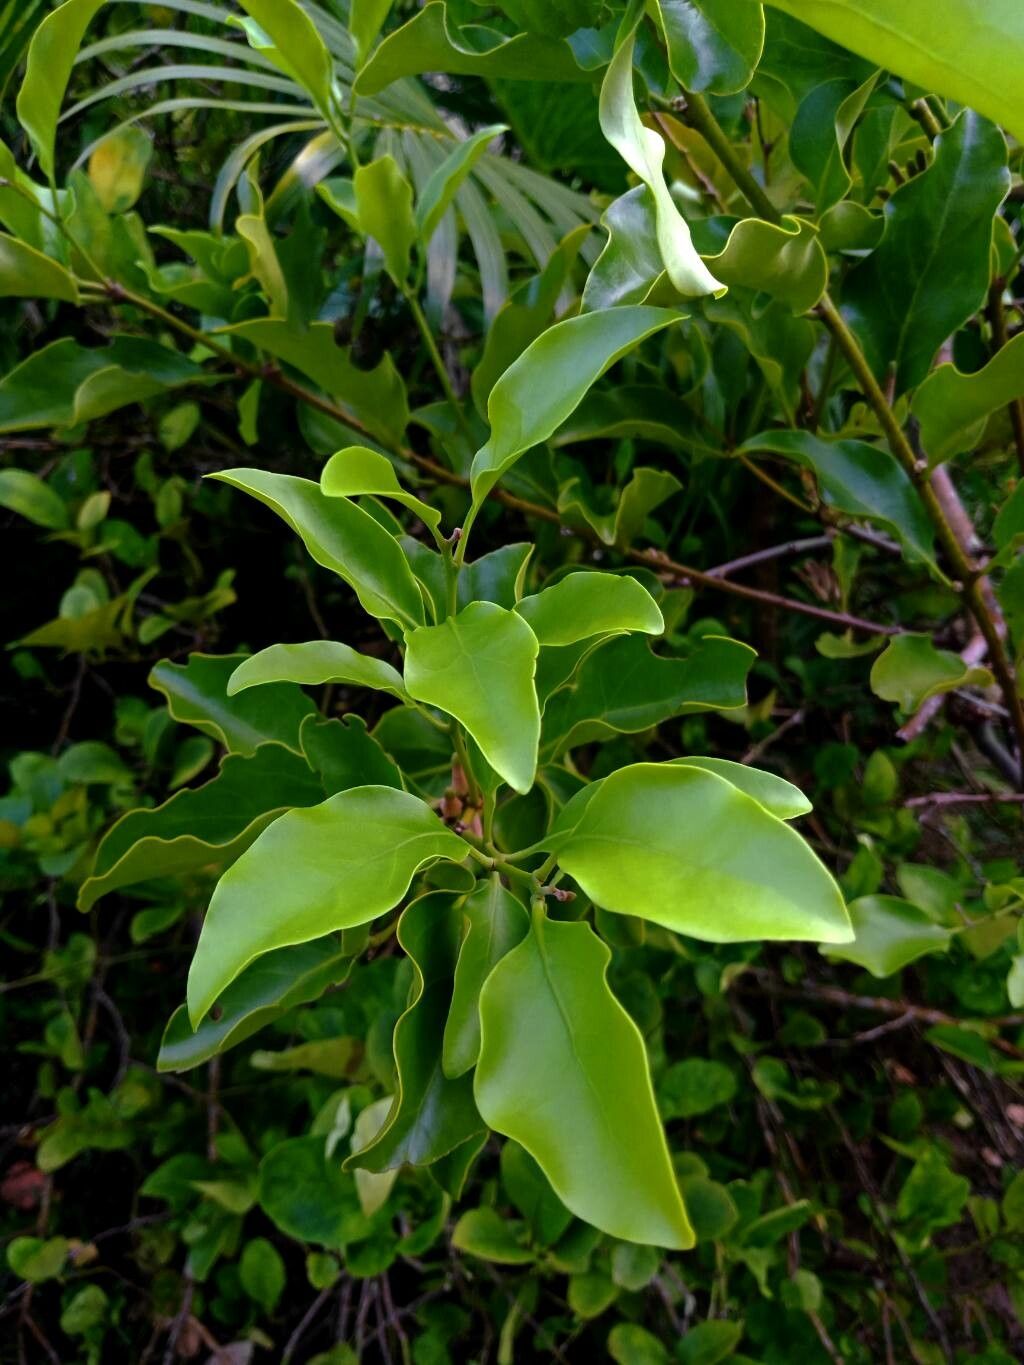
Oh, hello there, fellow plant lover! I’m so glad you’ve come by to chat about one of my absolute favorites: Volkameria inermis, or as many of us affectionately call it, the Clerodendrum or Forget-Me-Not tree. Honestly, the sheer joy of seeing those delicate, fragrant white flowers bloom, followed by those stunning blue berries, is enough to make any gardener’s heart sing. And the best part? You can easily multiply this beauty yourself! Propagating Volkameria inermis is a truly rewarding experience, and I’m happy to report, it’s quite beginner-friendly once you know a few simple tricks.
The Best Time to Start
When it comes to getting your own little Clerodendrums going, spring is your golden ticket. This is when the plant is bursting with new growth after its winter rest. The stems are actively developing, which means they have plenty of energy and hormones to dedicate to sprouting new roots. Aim for a time when the danger of frost has completely passed and you’re getting consistent warmth.
Supplies You’ll Need
Don’t let a long list overwhelm you; these are pretty standard gardening essentials.
- Sharp pruning shears or a clean knife: For making precise cuts.
- Rooting hormone (optional but recommended): Gives your cuttings a helpful boost.
- Well-draining potting mix: A 50/50 blend of peat moss or coir and perlite or coarse sand works wonderfully.
- Small pots or seedling trays: About 4-6 inches deep are perfect.
- Plastic bags or a propagator: To create a humid environment.
- Watering can with a fine rose: For gentle watering.
- Labels and a marker: To keep track of your projects!
Propagation Methods
Let’s get our hands dirty! My favorite way to propagate Volkameria inermis is through stem cuttings. It’s reliable and gives you a great success rate.
Stem Cuttings:
- Take Your Cuttings: In spring, select healthy, vigorous stems that are about pencil-thick and have no flowers or developing fruits. Using your clean shears, cut lengths of about 4-6 inches. Make your cut just below a leaf node (where a leaf meets the stem).
- Prepare the Cuttings: Gently remove the leaves from the bottom half of each cutting. If the remaining leaves are very large, you can snip them in half to reduce water loss. Dip the cut end into your rooting hormone, tapping off any excess.
- Plant Your Cuttings: Fill your pots or trays with your prepared potting mix. Make a small hole in the center of each pot with your finger or a pencil. Insert the cutting into the hole, ensuring the bottom nodes are buried. Gently firm the soil around the base.
- Create Humidity: Water the soil thoroughly until it drains from the bottom. Then, cover each pot or the entire tray with a clear plastic bag or place it inside a propagator. This creates a mini-greenhouse effect. Secure the bag around the pot base or close the propagator lid.
The “Secret Sauce” (Pro Tips)
Here are a couple of things I’ve learned over the years that can really make a difference.
- Don’t let the leaves touch the water… in the pot! When you water your cuttings, make sure the leaves themselves aren’t sitting in water within the plastic bag or propagator. This can lead to fungal issues and rot. It’s best to water the soil directly.
- Bottom heat is your friend! If you have a seedling heat mat, place your pots on it. This gentle warmth encourages root development from below, speeding up the process significantly. It’s like giving your cuttings a warm bath for their roots.
- Use softer stems, not old, woody ones. While you want something sturdy, very old, woody stems can be slower to root and more prone to issues. Aim for stems that have a bit of flexibility but aren’t floppy.
Aftercare & Troubleshooting
Once you’ve potted up your cuttings, the real waiting game begins. Keep them in a bright spot out of direct sunlight. Water them whenever the top inch of soil feels dry. You’re looking for signs of new growth, like tiny leaves unfurling at the top, which usually indicates roots have formed. This can take anywhere from 4 to 8 weeks, sometimes longer.
If your cuttings start to wilt drastically and don’t perk up after watering, or if you start to see blackening or mushy stems, it’s a sign of rot. This is often due to too much moisture, poor drainage, or insufficient air circulation. Don’t be discouraged if you lose a few; it’s part of the learning process! You can try a new batch with slightly drier soil or better ventilation.
A Encouraging Closing
So there you have it, a simple way to start your own Clerodendrums. Be patient with your little propagations. Gardening is a journey, not a race, and watching life sprout from a simple cutting is one of the most magical parts of it all. Enjoy the process, and soon you’ll have a small army of these fragrant beauties to share with friends or plant throughout your own garden. Happy propagating!
Resource:
https://identify.plantnet.org/k-world-flora/species/Volkameria%20inermis%20L./data