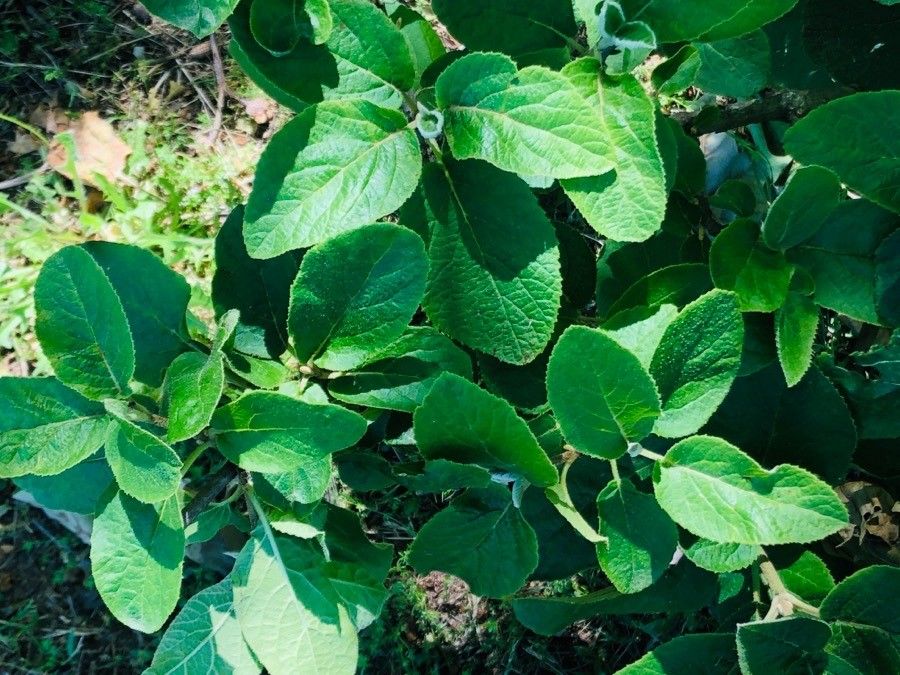
Oh, Viburnum mongolicum! You know, I absolutely adore this shrub. It’s got such a charming, almost wild beauty to it, with those delicate white flowers that give way to lovely berries. Plus, it’s a magnet for all sorts of delightful wildlife. Growing more of them from your existing plants is just incredibly satisfying. It feels like you’re really connecting with nature and passing on a little piece of your garden’s magic. For someone just starting out with propagation, Viburnum mongolicum is a pretty forgiving plant, which is always a good sign.
The Best Time to Start
Honestly, my favorite time to get busy with Viburnum mongolicum starts in late spring to early summer. This is when the plant is actively growing, and you can often find nice, young shoots that haven’t quite gotten woody yet. These are called softwood cuttings, and they’re usually the easiest to root. You can also have some success with semi-hardwood cuttings later in the season, perhaps in late summer or early fall, but you might find those take a little more patience.
Supplies You’ll Need
Gathering your tools before you begin makes the whole process so much smoother. Here’s what I usually have on hand:
- Sharp pruning shears or a clean, sharp knife: For making clean cuts on your cuttings.
- Rooting hormone powder or gel: This isn’t strictly essential for Viburnum mongolicum, but it can really give your cuttings a boost and speed things up.
- Small pots or seed trays: Clean ones are key!
- Well-draining potting mix: I like a blend of peat moss, perlite, and a bit of compost. You want something that won’t stay soggy.
- A plastic bag or propagation dome: To create a humid environment for your cuttings.
- Watering can or spray bottle: For gentle watering.
- Label maker or plant tags: Trust me, you’ll forget what you planted and when!
Propagation Methods
I find that stem cuttings are the most reliable way to go with Viburnum mongolicum. Here’s how I do it:
- Take Your Cuttings: When you’ve identified a healthy, actively growing shoot (ideally with a bit of new, green growth at the tip), use your sharp shears to take a cutting about 4-6 inches long. Make the cut just below a leaf node. A leaf node is where a leaf attaches to the stem – that’s where the rooting magic happens! Remove the lower leaves, leaving just a couple at the very top.
- Prepare the Cuttings: If you’re using rooting hormone, dip the cut end of the stem into it. Gently tap off any excess.
- Plant Your Cuttings: Fill your pots or trays with your well-draining potting mix. Make a small hole in the center with your finger or a pencil. Carefully insert the cut end of the Viburnum cutting into the hole, ensuring the leaf nodes you removed are below the soil line. Gently firm the soil around the stem.
- Create Humidity: Water the soil gently. Then, cover the pot with a clear plastic bag or place it under a propagation dome. This traps moisture and keeps the leaves from drying out. Make sure the leaves aren’t touching the plastic if possible – you can use small stakes to prop it up.
- Find a Spot: Place your pots in a bright location out of direct sunlight. A nice warm windowsill works well.
The “Secret Sauce” (Pro Tips)
Here are a few little tricks I’ve picked up over the years that can really make a difference:
- Sterilize Everything: Before you even grab your pruners, make sure your tools and pots are clean. A quick rinse with soapy water or even a dilute bleach solution can prevent nasty fungal infections from creeping in.
- Bottom Heat is Your Friend: If you can manage it, using a heating mat designed for seedlings can significantly speed up the rooting process. It mimics the warmth of spring soil and really encourages those roots to start forming.
- Don’t Be Afraid to Pinch: Once your cuttings have started to grow a bit and you see a few new leaves emerging, you can pinch off the very tip of the new growth. This encourages the plant to branch out, making for a bushier, stronger plant later on.
Aftercare & Troubleshooting
Once your Viburnum cuttings have rooted – and you’ll know because you’ll feel a gentle resistance when you tug on them lightly, or you might even see roots peeking out of the drainage holes – it’s time for them to grow!
Start gradually acclimating them to normal conditions. This means opening the plastic bag a little more each day over a week or two before removing it entirely. Water them gently when the top inch of soil feels dry. You can transplant them into slightly larger pots as they grow.
The most common issue you’ll run into is rot. If your cutting turns mushy, black, and smells a bit sour, it’s likely succumbed to rot due to too much moisture and not enough air circulation. Don’t beat yourself up over it – it happens to the best of us! Just discard the rotten cutting and try again, perhaps with a bit less water or better drainage next time. Another sign of trouble is a cutting that just looks sad and withered with no signs of growth after several weeks; it might simply not have had the right conditions to root, or it could have dried out too much.
A Encouraging Closing
Propagating plants is a journey, and Viburnum mongolicum is a lovely companion for it. Be patient with your cuttings; sometimes they take their sweet time. Enjoy the process of nurturing these tiny beginnings, and you’ll be rewarded with more of that beautiful shrub to fill your garden with. Happy planting!
Resource:
https://identify.plantnet.org/k-world-flora/species/Viburnum%20mongolicum%20(Pall.)%20Rehder/data