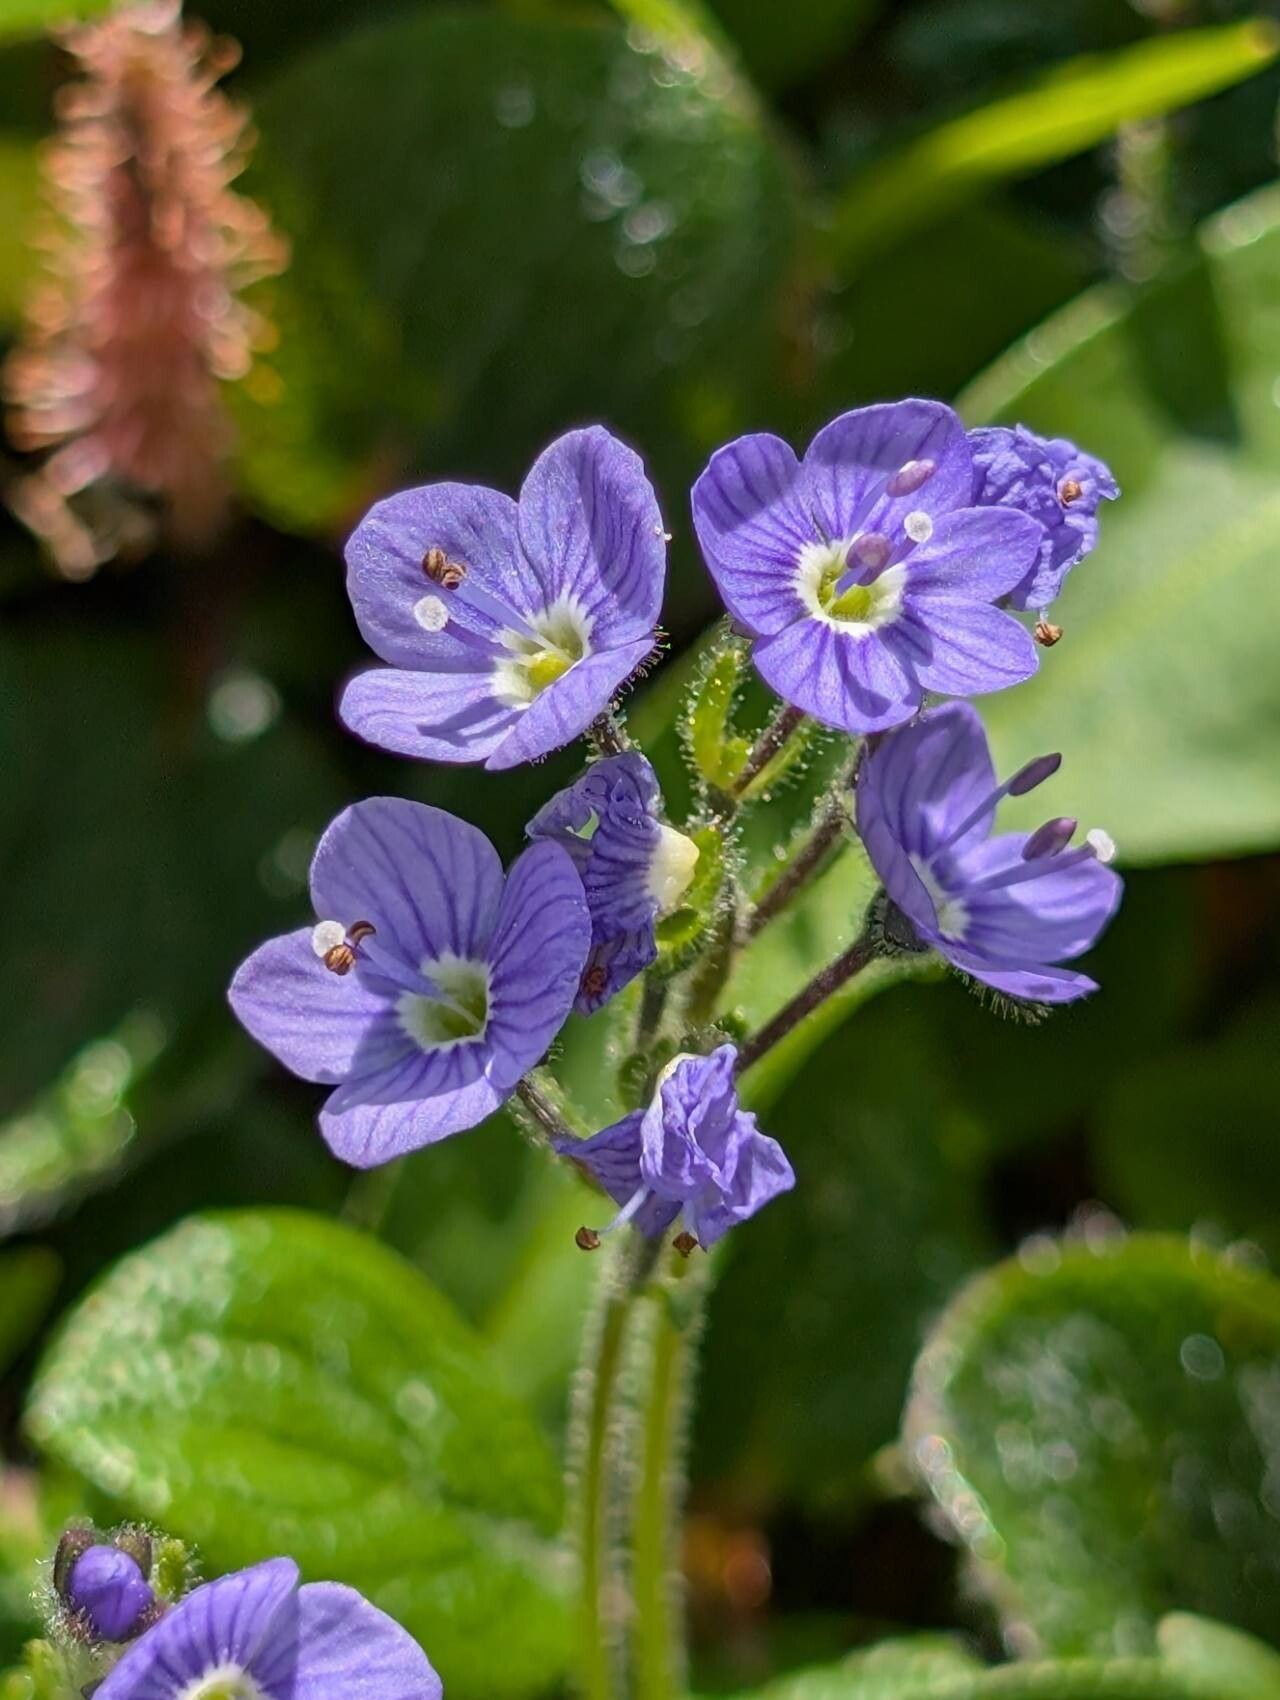
Oh, hello there! Come on in and grab a cup of something warm. I’m so glad you’re interested in Veronica aphylla. It’s one of those delightful little plants that brings a bit of understated charm to any garden. Its delicate, nodding blooms always seem to catch the light just right, creating these lovely airy drifts. And the best part? It’s wonderfully rewarding to propagate! If you’re new to the gardening game, I’d say Veronica aphylla is a pretty beginner-friendly plant to get started with. You’ll likely find yourself with more of these beauties in no time.
The Best Time to Start
For the highest success rate, I always reach for my secateurs in late spring to early summer. This is when the plant is actively growing after its spring flush. You’re looking for healthy, non-flowering shoots. They’ve got plenty of energy stored up to put towards forming roots, which is exactly what we want.
Supplies You’ll Need
Here’s a little kit to have on hand. Don’t worry, it’s nothing too fancy!
- Sharp, clean pruning shears or a sharp knife: A clean cut is crucial to prevent disease.
- A good quality seed-starting mix or a well-draining potting mix: I often use a mix of peat moss, perlite, and a little sand.
- Small pots or propagation trays: Anything that can hold the soil and allow for drainage.
- Rooting hormone (optional but helpful): Especially if you’re new to this. It gives those cuttings a little boost.
- A clear plastic bag or a propagation dome: To create a humid environment.
- Labels: To remember what you planted where!
Propagation Methods
We’ll focus on stem cuttings, as this is your most reliable method for Veronica aphylla.
Stem Cuttings
- Select Your Cuttings: Head out to your Veronica aphylla and gently bend a few of the new, non-woody shoots. Look for ones that are about 3-4 inches long and have plenty of healthy leaves. Avoid any that are already flowering.
- Make the Cut: Using your sterilized pruning shears or knife, make a clean cut just below a leaf node. This is the point where a leaf grows from the stem – it’s where the magic happens for root development.
- Prepare the Cuttings: Gently remove the lower leaves from the cutting, leaving just two or three sets of leaves at the top.
- Dip in Rooting Hormone (If Using): If you’ve got rooting hormone, dip the cut end into it. Just a light coating is all you need.
- Plant Them Up: Fill your small pots or trays with your chosen potting mix. Moisten the soil thoroughly. Make a small hole in the center of the soil with your finger or a pencil. Carefully insert the cut end of the Veronica stem into the hole, ensuring the leaf nodes that were removed are now below the soil surface. Gently firm the soil around the stem.
- Create Humidity: Now, water your planted cuttings gently. Then, cover the pots with a clear plastic bag or place them under a propagation dome. This creates a mini greenhouse effect, which is vital for keeping the cuttings from drying out before they can form roots. Place them in a bright spot out of direct sunlight.
The “Secret Sauce” (Pro Tips)
Here are a couple of things I’ve learned over the years that really make a difference:
- Don’t let the leaves touch the water (if you were tempted to try water propagation): While some plants root easily in water, Veronica aphylla is more prone to rot if its leaves sit in stagnant water. Keeping them in moist soil, with humidity around them, is much safer and more effective.
- Consider bottom heat: If you have a seedling heat mat, placing your propagation tray on top of it can significantly speed up root formation. The gentle warmth encourages root growth without drying out the foliage.
- Patience is key with rooting hormone: Even with rooting hormone, it can take a few weeks for roots to develop. Don’t be discouraged by initial stiffness!
Aftercare & Troubleshooting
Once you start to see signs of new growth or feel a gentle tug when you lightly try to lift a cutting, you know roots have formed!
- Acclimatize: This is crucial. Gradually remove the plastic covering over a few days. Open the dome a little more each day. This helps your new little ones adjust to the drier air.
- Watering: Keep the soil consistently moist but not soggy. Overwatering is the quickest way to invite trouble.
- Transplanting: Once the plantlets have a good root system and are sturdy enough to handle, you can transplant them into their own, slightly larger pots.
- Troubleshooting: The most common issue you’ll see is rot. If a cutting turns black and mushy, it’s usually a sign of too much moisture and not enough air circulation. If you see this, try to remove the affected cutting immediately to prevent it from spreading and ensure the remaining ones have better airflow. You might also see cuttings just shrivel up – this is a sign they’ve dried out too quickly.
A Little Encouragement
Watching a tiny cutting transform into a new, vibrant plant is one of the most satisfying feelings in gardening. Be patient with your Veronica aphylla, give them a good start, and enjoy the process of multiplying your garden’s beauty. Happy propagating!
Resource:
https://identify.plantnet.org/k-world-flora/species/Veronica%20aphylla%20L./data