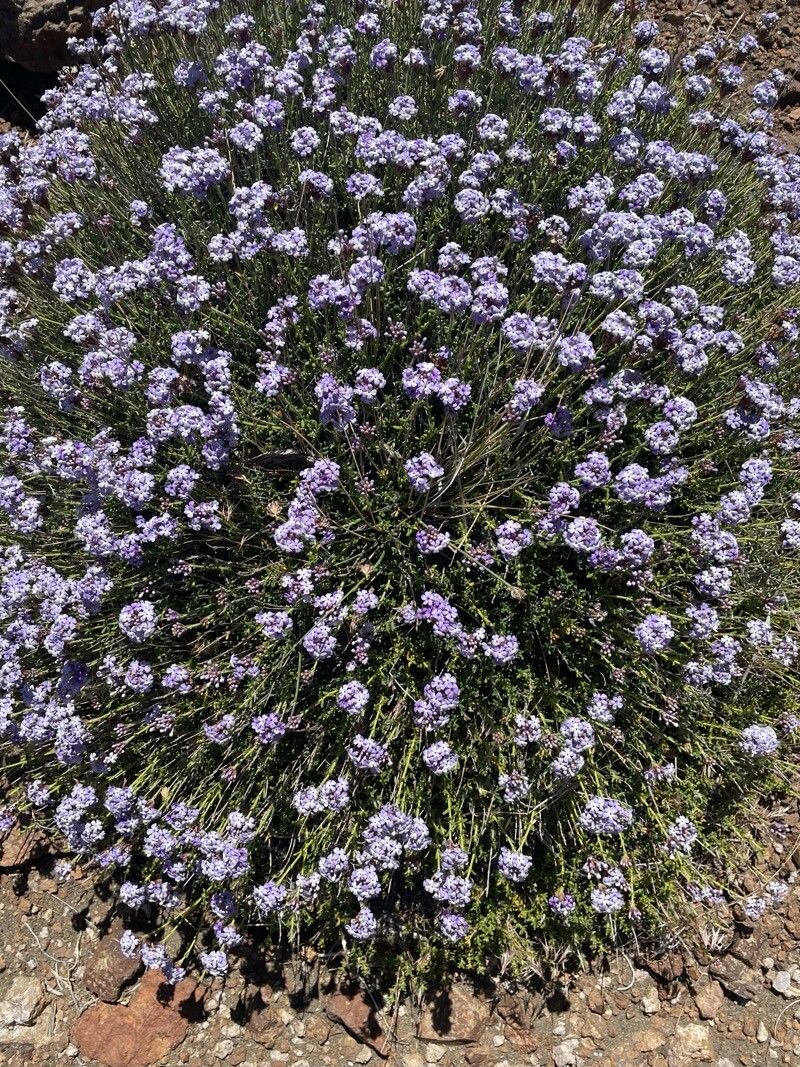
Oh, Verbena hassleriana! If you’re looking for a plant that just keeps on giving, this is it. I’ve had this one in my garden for years, and honestly, it’s one of my absolute favorites. Its trailing habit and vibrant clusters of flowers, often in shades of purple, pink, and white, bring such cheerful energy to hanging baskets, borders, and containers. And the best part? It’s surprisingly rewarding to multiply. Even if you’re new to the gardening game, this is a wonderful one to try your hand at propagating.
The Best Time to Start
For verbena, I find late spring to early summer is your sweet spot. Think after the last frost, when the days are getting longer and warmer, and the plant is really in its growth spurt. You’ll be looking for healthy, non-flowering stems. Starting then gives your new babies plenty of time to establish before the cooler weather sets in.
Supplies You’ll Need
Before we dive in, let’s gather our tools. Having everything ready makes the process so much smoother.
- Sharp pruning shears or a clean knife: For taking your cuttings.
- Rooting hormone (optional, but helpful): A powder or gel to encourage root development.
- Potting mix specifically for cuttings: A light, well-draining mix is crucial. I often use a blend of peat moss and perlite, or a good quality seed-starting mix.
- Small pots or trays: With drainage holes, of course!
- Plastic bags or a clear dome: To create a humid environment.
- Watering can or spray bottle: For gentle watering.
Propagation Methods: Let’s Get Our Hands Dirty!
I usually find stem cuttings to be the most successful and straightforward method for verbena.
Stem Cuttings:
- Select your parent plant: Find a healthy, vigorous verbena plant.
- Take the cuttings: Using your clean shears or knife, snip off 4-6 inch lengths from the ends of non-flowering stems. Make sure each cutting has at least two sets of leaves. Try to cut just below a leaf node (where a leaf attaches to the stem).
- Prepare the cuttings: Gently remove the leaves from the bottom half of each cutting. You want a nice, clean stem to dip into the rooting hormone (if you’re using it).
- Dip in rooting hormone: If you’re using rooting hormone, dip the cut end into the powder or gel. Tap off any excess.
- Plant the cuttings: Fill your small pots or trays with your potting mix. Make a small hole with your finger or a pencil, and insert the prepared cuttings. Gently firm the soil around them. You can fit several cuttings into one pot, but give them a little space.
- Water gently: Water them in thoroughly, but gently. You don’t want to dislodge them.
- Create humidity: Cover the pots loosely with a plastic bag or a clear dome. You can support the bag with sticks so it doesn’t touch the leaves. This is key to preventing them from drying out!
Water Propagation (A Fun Alternative):
If you’re feeling adventurous, you can try rooting cuttings directly in water.
- Take cuttings as described above.
- Remove lower leaves.
- Place cuttings in a glass jar or vase filled with fresh water. Make sure no leaves are submerged in the water – this is important to prevent rot!
- Place in bright, indirect light.
- Change the water every few days to keep it fresh. You should start to see tiny white roots appearing in a couple of weeks. Once the roots are about an inch long, you can transplant them into potting mix.
The “Secret Sauce”: Insider Tips from My Garden
Over the years, I’ve learned a few tricks that seem to make all the difference with verbena:
- Bottom Heat is Your Friend: If you can, place your pots on a heat mat. Verbena roots love a little warmth to get them going, and this can significantly speed up the rooting process and increase your success rate.
- Don’t Overwater: This is a big one! Soggy soil is the fastest way to lose your cuttings to rot. Water when the top inch of soil feels dry, and make sure your pots drain well. Less is often more when they’re first getting started.
- Patience with the Hormone: If you’re using rooting hormone, don’t feel like you have to glob it on. A light dusting is usually all that’s needed. Too much can sometimes inhibit rooting.
Aftercare & Troubleshooting
Once you start to see signs of new growth – tiny leaves unfurling or the beginning of a little bud – congratulations! That means roots have formed.
Gently remove the plastic bag or dome for a few hours each day to let them acclimatize to the drier air. Gradually increase the time they are exposed. Once they are growing well, you can start feeding them with a diluted liquid fertilizer every few weeks.
What if things go wrong? The most common issue is rot. If a cutting turns black and mushy, it’s unfortunately a goner. This is usually due to too much moisture and not enough air circulation. If you see this, remove the affected cutting immediately to prevent it from spreading. Sometimes, cuttings just don’t take, and that’s okay too! Gardening is always an experiment.
Keep Growing!
Propagating verbena is such a fulfilling way to expand your garden and share these lovely plants with friends. It takes a little observation and a touch of patience, but seeing those tiny cuttings take root and grow into new, vibrant plants is incredibly satisfying. So grab your shears, get your hands dirty, and happy propagating!
Resource:
https://identify.plantnet.org/k-world-flora/species/Verbena%20hassleriana%20Briq./data