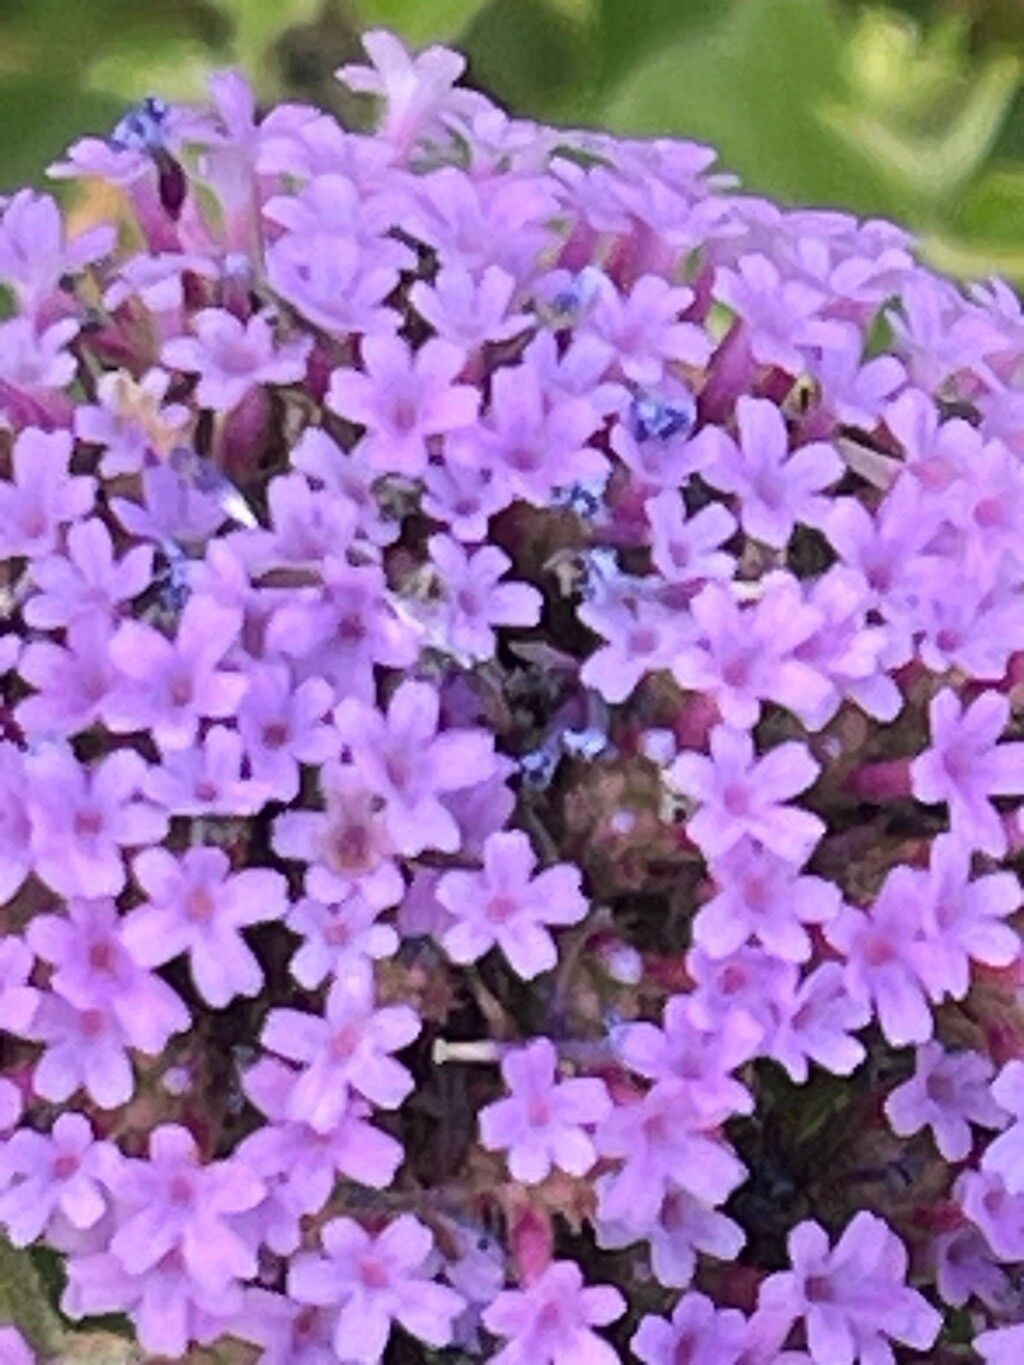
Hello there, fellow plant enthusiasts! Today, we’re diving into the wonderful world of propagating Verbena bonariensis. If you’re like me, you adore those airy, lavender towers of bloom that seem to dance in the breeze. They bring such a wild, unfussy beauty to any garden. And the best part? You can easily multiply these charmers yourself! It’s a truly rewarding experience, and I’m happy to report, Verbena bonariensis is quite forgiving, making it a fantastic plant for beginners to try their hand at propagation.
The Best Time to Start
For the highest success rate, I always aim to take cuttings in late spring to early summer, just as the plant is getting into its full stride. You’re looking for new, non-woody growth – that tender, green stuff that snaps cleanly rather than bends. This vigorous, young material roots most readily. You can also try a bit in late summer, but the growth might be a little less robust.
Supplies You’ll Need
Here’s what you’ll want to have on hand to get started:
- Sharp, clean pruning shears or a sharp knife: Essential for making clean cuts.
- Small pots or seed trays: About 3-4 inches in diameter work great. Make sure they have drainage holes!
- A good quality potting mix: I usually go for a well-draining, peat-free mix, often with some perlite or grit added. A standard seedling or cutting mix is perfect.
- Rooting hormone (optional but recommended): This little helper can significantly speed up root formation. Look for one specifically for stem cuttings.
- A plastic bag or propagator lid: To create a mini-greenhouse effect.
- Water: For moistening the soil and for the cuttings themselves.
Propagation Methods
Verbena bonariensis is wonderfully adaptable, but my go-to method is stem cuttings. Here’s how I do it:
- Select your stem: Find a healthy, upright stem with plenty of leaves. You want growth that’s about 4-6 inches long.
- Make the cut: Use your clean shears or knife to make a cut just below a leaf node (that’s the bump on the stem where a leaf grows from). This is where the roots will emerge.
- Prepare the cutting: Gently strip off the lower leaves, leaving just the top two or three sets. This prevents them from rotting once planted. If your cutting is very long, you can even cut the remaining top leaves in half horizontally. This reduces water loss through transpiration.
- Apply rooting hormone (if using): Dip the cut end of the stem into the rooting hormone powder, tapping off any excess.
- Plant your cuttings: Fill your pots with the moist potting mix. Make a small pilot hole with a pencil or your finger. Insert the cutting into the hole, ensuring the leaf nodes you stripped are below the soil surface. Gently firm the soil around the base of the cutting.
- Water gently: Water the soil thoroughly but gently, so you don’t dislodge the cuttings.
- Create a humid environment: Cover the pot with a plastic bag, sealing it loosely around the rim, or place it in a propagator. This traps moisture, which is crucial for cuttings to form roots before they dry out. Place the pots in a bright spot, but out of direct, harsh sunlight.
Another simple method, especially if you’re just curious, is water propagation. Simply place your prepared cuttings (same steps as above for stripping leaves) in a jar of water, making sure the leaf nodes are submerged. Keep it in bright, indirect light. You’ll be able to see the roots emerge, and once they are about an inch long, you can pot them up into soil.
The “Secret Sauce” (Pro Tips)
Here’s what I’ve learned over the years that can really give you an edge:
- Don’t let the leaves touch the water (in water propagation): If you’re using the water method, ensure those lower leaves are safely above the water line. Leaves sitting in water are a fast track to rot and bacterial slime.
- Bottom heat is your friend: If you have a heated propagator or can place your pots on a gentle seedling heat mat, this can make a huge difference. Warm soil encourages root development much faster, especially if the ambient temperature is a bit cooler.
- Wipe the condensation: If you’re using a plastic bag, check on your cuttings daily. If there’s a lot of condensation dripping inside, gently wipe it away. Too much moisture without good airflow can lead to fungal issues.
Aftercare & Troubleshooting
Once your cuttings have developed a decent root system – you’ll usually see them peeking out of the drainage holes or feel a gentle resistance when you tug lightly – it’s time for a little more attention.
Begin by gradually acclimatizing them to drier air for a few days before removing the plastic bag completely. Water them regularly, but allow the top inch of soil to dry out between waterings. Continue to keep them in bright, indirect light. They’re ready to be potted into their own slightly larger containers or planted out in the garden once the weather is warm enough and they feel robust.
The most common issue you might face is rot. If a cutting looks black and mushy at the base, or the leaves are yellowing and wilting rapidly, it’s likely a goner. This can be due to overwatering, poor drainage, or a lack of airflow. If you see this, remove the affected cutting immediately to prevent it from spreading.
A Bit More Patience, A World of Blooms
Propagating Verbena bonariensis is a journey, and like all good things in the garden, it requires a touch of patience. Don’t be discouraged if not every single cutting takes. Observe your plants, learn from each attempt, and celebrate the successes! You’ll soon be enjoying even more of those beautiful, soaring blooms, all thanks to your own green thumb. Happy propagating!
Resource:
https://identify.plantnet.org/k-world-flora/species/Verbena%20bonariensis%20L./data