Hello, fellow plant lovers!
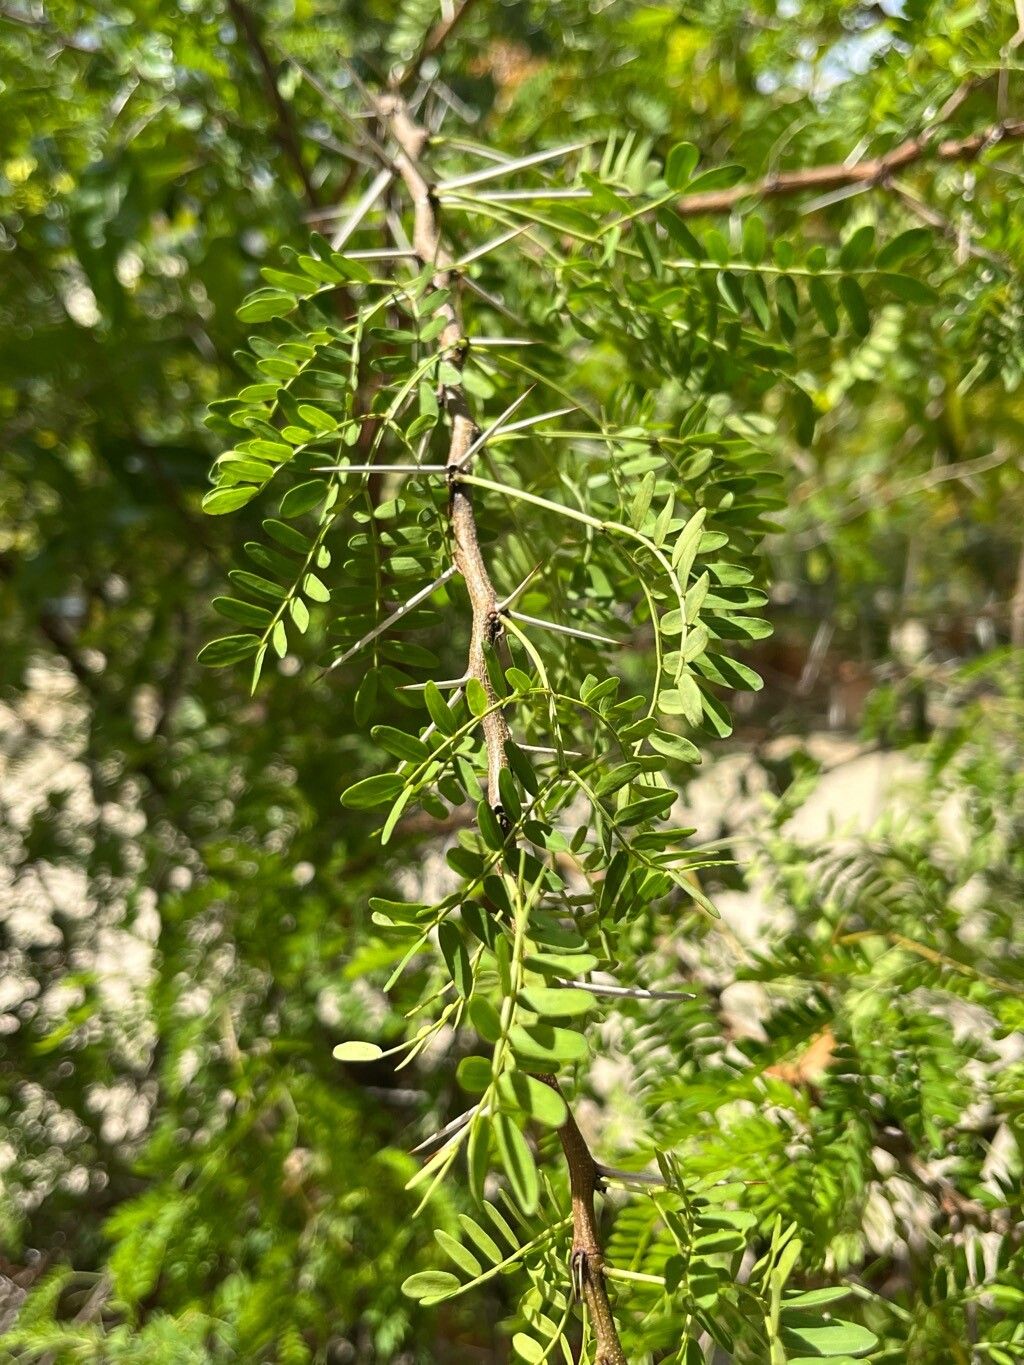
I’m so glad you’re here today to chat about a truly special plant: Vachellia horrida, often known by its common name, sweet thorn or common camelthorn. This acacia relative is a stunner, with its graceful, thorny branches and fragrant, fluffy blooms. It brings a touch of the wild, arid landscapes right into our gardens, and trust me, nurturing a new one from scratch is incredibly rewarding. Now, I won’t lie, Vachellia horrida can be a bit of a diva when it comes to propagation. It’s not quite the “stick it in soil and watch it go” type of plant, but with a little care and understanding, it’s definitely achievable. Don’t let that deter you; the satisfaction is immense!
The Best Time to Start
For the highest success rates with our thorny friend, late spring to early summer is your sweet spot. This is when the plant is in its active growth phase, full of vigour and ready to put that energy into making new roots. You’ll want to look for stems that are semi-hardened – not brand new, flimsy growth, but not old, woody branches either. Think of it like a pencil; firm but with a little give.
Supplies You’ll Need
Gathering your supplies beforehand makes the whole process smoother. Here’s what you’ll want to have on hand:
- Sharp, clean pruning shears or a grafting knife: We need clean cuts to prevent disease.
- Rooting hormone: This is your secret weapon for encouraging root development. Look for one with a good concentration of IBA.
- Well-draining potting mix: A 50/50 blend of perlite and peat moss, or a specialized cactus and succulent mix, works wonders.
- Small pots or propagation trays: Clean and with drainage holes, of course.
- Plastic bags or a propagator: To create a humid environment for your cuttings.
- Watering can with a fine spray nozzle: Gentle watering is key.
- Optional: Bottom heat mat: This can significantly speed up root formation.
Propagation Methods
While seeds are an option, I find stem cuttings to be the most reliable and accessible method for propagating Vachellia horrida.
Stem Cuttings:
- Select Your Cuttings: Choose healthy stems that are at the semi-hardened stage, as mentioned earlier. Look for sections that are about 4-6 inches long. Make your cuts just below a leaf node. A leaf node is where a leaf attaches to the stem, and it’s usually where roots will emerge.
- Prepare the Cuttings: Gently remove the lower leaves from the bottom 1-2 inches of the stem. This prevents them from rotting when buried in the soil. If your cuttings have thorns, you might want to carefully trim them off the section that will be in the soil.
- Apply Rooting Hormone: Dip the cut end of each prepared stem into your rooting hormone powder or gel. Tap off any excess.
- Plant Your Cuttings: Fill your small pots or propagation trays with your well-draining potting mix. Make a hole in the soil with a pencil or your finger, deep enough to insert the cutting. Gently place the cutting into the hole and firm the soil around it.
- Create Humidity: Water the soil lightly, just enough to moisten it through. Then, cover the pots with a clear plastic bag or place them in a propagator. This traps humidity, which is crucial for cuttings to root without drying out. Make sure the leaves don’t touch the plastic if possible – if they do, you can prop up the bag with a few twigs.
- Provide Light and Warmth: Place your cuttings in a bright location out of direct sunlight. A sunny windowsill that doesn’t get harsh afternoon rays is ideal. If you have a bottom heat mat, place the pots on it. This gentle warmth from below can work wonders.
The “Secret Sauce” (Pro Tips)
Here are a few little tricks I’ve picked up over the years that can really boost your success:
- Scarify those seeds (if you go that route): If you decide to try from seed, don’t just toss them in soil. Vachellia seeds often have a hard coat that needs breaking. Gently nick the seed coat with a file or sandpaper, or try soaking them in hot (not boiling) water for 24 hours before planting. This helps water penetrate and kickstarts germination.
- Bottom heat is your best friend: I can’t stress this enough. For cuttings, that consistent, gentle warmth from below is like a spa treatment for your plant’s roots. It significantly reduces the time it takes for roots to form and keeps your cuttings from getting too cold at night.
- Don’t overwater – ever! This is a common pitfall with cuttings. Soggy soil is a recipe for rot, especially for a plant that hails from drier climates. Water only when the top inch of soil feels dry to the touch. Better to be slightly too dry than too wet.
Aftercare & Troubleshooting
Once you start to see new growth or feel a gentle tug when you lightly pull on a cutting, you know roots have formed! Hooray!
- Gradual Acclimation: Once roots are established, slowly introduce your new plant to regular conditions by gradually opening the plastic bag over a week or so. This helps it adjust to lower humidity.
- Repotting: When the new plant has developed a good root system (you’ll see roots emerging from the drainage holes), it’s time to transplant it into a slightly larger pot with fresh, well-draining soil.
- Troubleshooting: The most common issue you’ll face is rot. If your cutting turns black and mushy, it’s usually a sign of too much moisture. Unfortunately, a rotted cutting is usually a goner. Another sign of failure is if the cutting shrivels up and dies – this often means it’s drying out too quickly due to insufficient humidity or poor rooting. Just keep an eye on them and adjust your watering and humidity as needed.
A Gentle Closing
Propagating plants is a journey, and sometimes it takes a few tries to get it just right. Be patient with your little Vachellia horrida cuttings. Celebrate the successes, learn from the setbacks, and most importantly, enjoy the process of nurturing a new life. Happy gardening!
Resource: