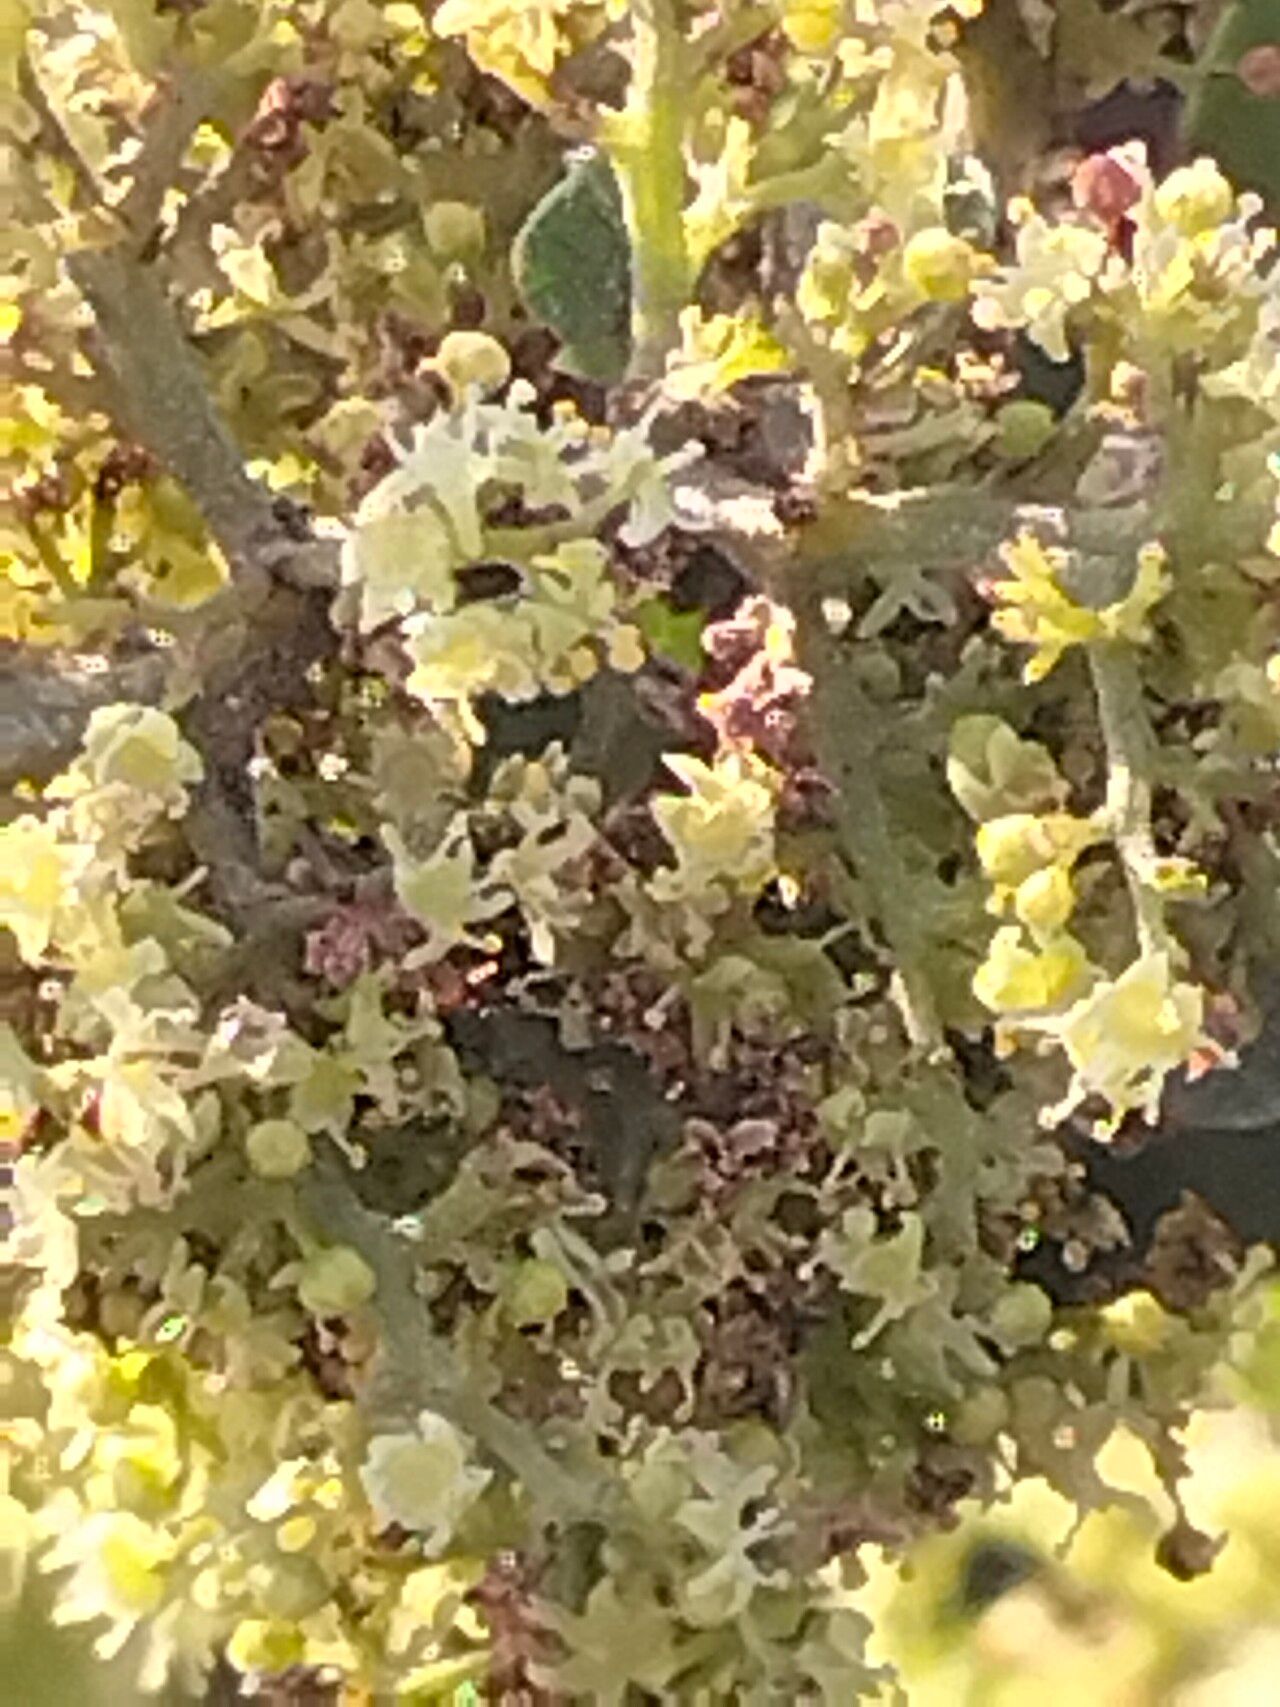
Oh, hello there! I’m so glad you’ve stopped by the garden blog today. We’re going to chat about a truly delightful plant: Searsia laevigata, also known affectionately as Dune Crowberry or Coastal Crowberry. Its glossy, leathery leaves and graceful, often sprawling habit make it a fantastic addition to many gardens, especially for those coastal or sandy spots. And the best part? You can easily multiply this beauty yourself! It’s incredibly rewarding, and I’d say it’s a pretty forgiving plant for beginners looking to dip their toes into propagation.
The Best Time to Start
When it comes to getting new Searsia laevigata plants going, I’ve found that the late spring and early summer are your golden window. This is when the plant is actively growing, which means it has a bit more energy to put into rooting. Think of it like this: you’re borrowing a bit of that vigorous summer growth to get your new plant off to a strong start.
Supplies You’ll Need
Before we dive in, let’s gather our tools. Having everything ready makes the process so much smoother, don’t you think?
- Sharp pruning shears or a clean, sharp knife: For making clean cuts.
- Rooting hormone (optional, but recommended): Especially helpful for quicker rooting. I like the powder form best.
- A well-draining potting mix: A mix of perlite and peat or coco coir is perfect. You want it light and airy.
- Small pots or seed trays: Whatever you have handy that’s clean.
- A clear plastic bag or humidity dome: To keep things nicely moist for your cuttings.
- Water spray bottle: For keeping the cuttings hydrated.
- Gravel or perlite (optional): For drainage at the bottom of pots.
Propagation Methods
We’ll focus on a couple of my go-to methods for Searsia laevigata. Stem cuttings are my absolute favorite for this one because they’re so effective.
Stem Cuttings: My Personal Favorite
This is where the magic happens!
- Take your cuttings: On a mild day, choose a healthy, current-year stem that’s a bit firm, not too soft and green. Aim for cuttings about 4-6 inches long. Make a clean cut just below a leaf node (where a leaf attaches to the stem). This is crucial because that’s where the magic rooting hormones are concentrated.
- Prepare the cuttings: Gently strip off the lower leaves from the bottom 2-3 inches of the cutting. You want to avoid any leaves dipping into the soil or water later on, as they’ll just rot.
- Dip in rooting hormone: If you’re using rooting hormone, moisten the cut end of your stem lightly with water, then dip it into the powder. Tap off any excess.
- Planting time: Fill your small pots with your prepared potting mix. Make a hole in the center with your finger or a pencil. Gently insert the cutting into the hole, ensuring the base is snug. Firm the soil gently around the base to hold it in place.
- Water them in: Give your newly potted cuttings a gentle watering with your spray bottle, just enough to moisten the soil. We don’t want them sitting in soggy conditions.
- Create a mini-greenhouse: Cover the pot with a clear plastic bag or place it under a humidity dome. This keeps the humidity high, which is vital for cuttings until they root. Secure the bag with a rubber band or make sure the dome fits snugly.
Water Propagation (A Simpler Approach)
If you’re feeling a bit more hands-off, water propagation can also work, though I find it slightly less reliable for woody cuttings like these.
- Prepare the cuttings: Follow steps 1 and 2 above.
- Place in water: Pop your prepared cuttings into a clean jar or glass of water. Make sure no leaves are submerged. If necessary, you can even use a rubber band to hold the leaves above the water line.
- Find a bright spot: Place your jar in bright, indirect light.
- Change the water regularly: Refresh the water every few days to keep it clean and oxygenated. You’ll start to see tiny roots emerge from the nodes after a few weeks. Once the roots are about an inch long, you can transplant them into moist potting soil.
The “Secret Sauce” (Pro Tips)
Now, for a few little tricks I’ve picked up over the years that can really boost your success rate.
- Don’t let the leaves touch the water: This is a big one, especially for water propagation. Submerged leaves are a fast track to rot and disease. Keep them high and dry!
- Bottom heat is your friend: If you can, place your potted cuttings on a heat mat designed for propagation. This gentle warmth from below encourages root development much faster. It mimics what happens in nature when the soil is warm.
- Be patient with drainage: Even though we’re aiming for humidity, waterlogged soil is the enemy. If you see water pooling after watering, your mix might be too dense. Adding more perlite is usually the answer.
Aftercare & Troubleshooting
Once you start seeing new growth or feel a gentle tug when you lightly pull on a cutting (that’s a sign of roots!), you’re on the right track.
- Gradual acclimatization: Begin by slowly removing the plastic bag or humidity dome for increasing periods each day over a week or two. This allows your new plant to adjust to normal humidity levels.
- Watering: Once your new Searsia is established, water it when the top inch of soil feels dry.
- Signs of trouble: If your cuttings turn black and mushy, that’s usually a sign of rot. This often means the soil is too wet and not draining well, or the cutting was unhealthy to begin with. Don’t despair – just try again with fresh cuttings and adjust your watering. Yellowing leaves can sometimes indicate it needs a bit more light, but be careful not to scorch it.
A Little Encouragement
Propagating plants is such a wonderfully grounding activity. It’s a chance to connect with nature and expand your green family. Be patient with yourself and with your new cuttings. Not every single one will make it, and that’s perfectly okay. Celebrate the successes, learn from any setbacks, and most importantly, enjoy the journey of watching new life sprout from your efforts. Happy propagating!
Resource:
https://identify.plantnet.org/k-world-flora/species/Searsia%20laevigata%20(L.)%20F.A.Barkley/data