Hello there, fellow garden lovers!
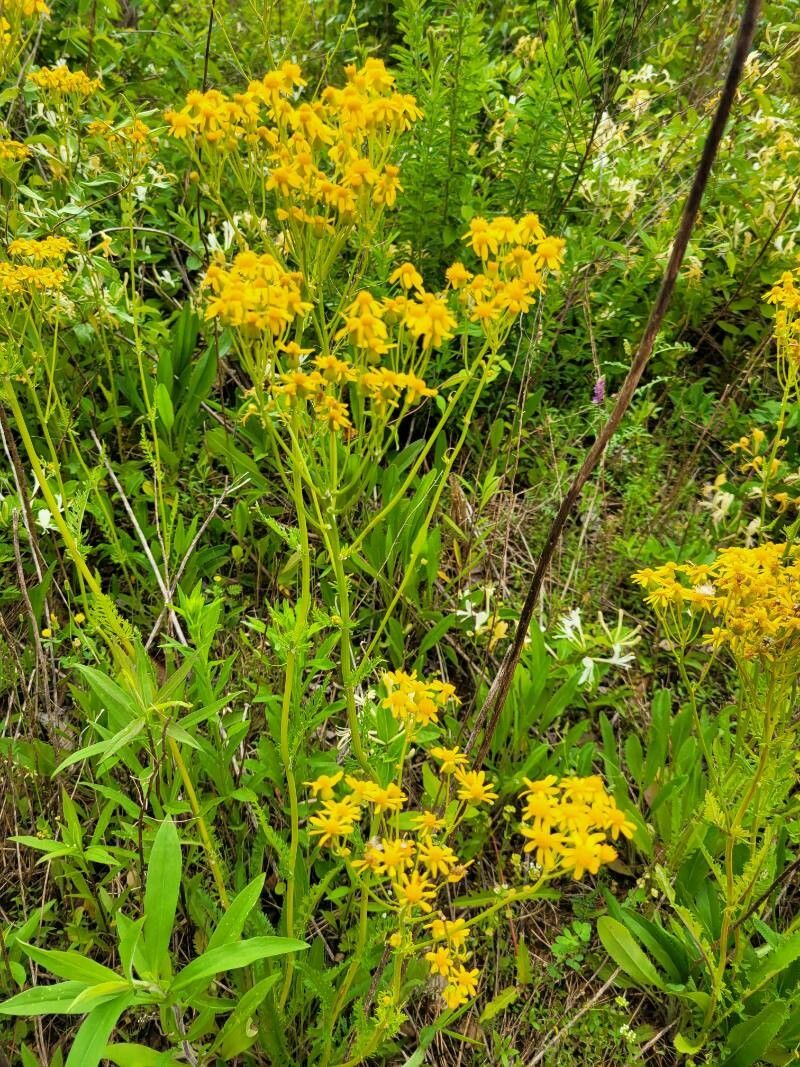
Today, I’m absolutely buzzing to talk about a plant that has stolen a little piece of my heart: Packera millefolium. If you’ve ever seen its delicate, fern-like foliage cascading over a wall or peeking out from a shady corner, you know what I mean. It’s got this ethereal charm that just makes you happy. And the best part? It’s wonderfully rewarding to propagate. For beginners, I’d say it’s moderately easy. It won’t test your patience too much, but a little bit of attention goes a long way.
The Best Time to Start
Honestly, spring is your best bet for striking cuttings of Packera millefolium. As the weather warms up and the plant really gets going, it’s brimming with energy. You want those fresh, new shoots that are developing – they’re just full of life and ready to root. Aim for a time when you see new growth emerging after the last frost.
Supplies You’ll Need
Here’s a little rundown of what you’ll want to have on hand:
- Sharp Pruning Shears or a Clean Knife: For making nice, clean cuts.
- Rooting Hormone (Optional but Recommended): A little boost can speed things up.
- Well-Draining Potting Mix: I like a blend of peat moss, perlite, and a touch of compost. Or, a good quality seed-starting mix works too.
- Small Pots or Trays: With drainage holes, of course!
- Watering Can with a Fine Rose: To avoid disturbing your new cuttings.
- Plastic Bags or Domes: To create a mini-greenhouse effect.
- Labels: To keep track of what you’ve planted and when.
Propagation Methods
Let’s dive into how we get more of these beauties! The most reliable method for Packera millefolium is through stem cuttings.
- Select Your Cuttings: Gently examine your Packera millefolium plant. Look for healthy, non-flowering stems that are about 4-6 inches long. These should be somewhat firm but not woody. Snip them off just below a leaf node. A leaf node is where a leaf attaches to the stem – this is where roots love to form!
- Prepare the Cuttings: Carefully remove the lower leaves. You want to strip away any leaves that would be below the soil line to prevent rot. You can leave 2-3 sets of leaves at the top. If the remaining leaves are very large, you can even snip them in half to reduce water loss.
- Dip in Rooting Hormone (If Using): If you’ve decided to use rooting hormone, dip the cut end of the stem into the powder. Tap off any excess.
- Plant Your Cuttings: Fill your small pots with your well-draining potting mix. Make a little hole with your finger or a pencil, and gently insert the prepared cutting. Firm the soil gently around the stem to ensure good contact.
- Water Gently: Give the soil a light watering with your fine-rose watering can. You want the soil to be moist, but not waterlogged.
- Create a Humid Environment: This is key! You can cover the pot with a clear plastic bag (making sure it doesn’t touch the leaves) or place a clear plastic dome over your cuttings. This traps humidity, which is essential for cuttings that haven’t developed roots yet.
- Place in Bright, Indirect Light: Find a spot that receives plenty of bright, indirect sunlight. Avoid direct sun, as this can scorch the delicate cuttings.
The “Secret Sauce” (Pro Tips)
Alright, here are a couple of things I’ve learned over the years that really make a difference:
- Bottom Heat is Your Friend: If you have a seedling heat mat, now’s the time to use it! Placing your pots on a gentle heat source can significantly speed up root development. It gives those nascent roots a little nudge.
- Don’t Drown Them: While humidity is crucial, waterlogged soil is the quickest way to rot your cuttings. You want the soil to be consistently moist, like a wrung-out sponge, not soggy. Check the moisture by gently pressing the soil with your finger.
- Patience with the Leaves: If you’re water propagating (which is sometimes possible with Packera, but less reliable than soil), a really important thing is to ensure the leaves don’t touch the water. Only the stem should be submerged. Leaves in the water will just decay and can invite disease.
Aftercare & Troubleshooting
Once you start seeing new leaf growth on your cuttings, that’s a very good sign! It means roots have likely formed. You can gently tug on a cutting to feel for resistance. If you’re unsure, wait a bit longer.
Once you’re confident roots have developed, you can start slowly acclimating your new plants to normal humidity. Gradually open the plastic bag or dome for longer periods each day. Continue to water them when the top inch of soil feels dry.
Now, a word about trouble. The most common issue you’ll face is rot. If your cuttings turn mushy, black, or just seem to disintegrate, it’s usually a sign of too much moisture and not enough air circulation. If you see this, it’s best to discard the affected cutting and re-evaluate your watering and humidity levels for the remaining ones.
A Little Encouragement
Propagating plants is a journey, and like any good garden adventure, it requires a bit of patience and a lot of observation. Don’t be discouraged if not every cutting takes. Celebrate the successes, learn from the not-so-successful ones, and most importantly, enjoy the process of nurturing new life. Happy propagating!
Resource: