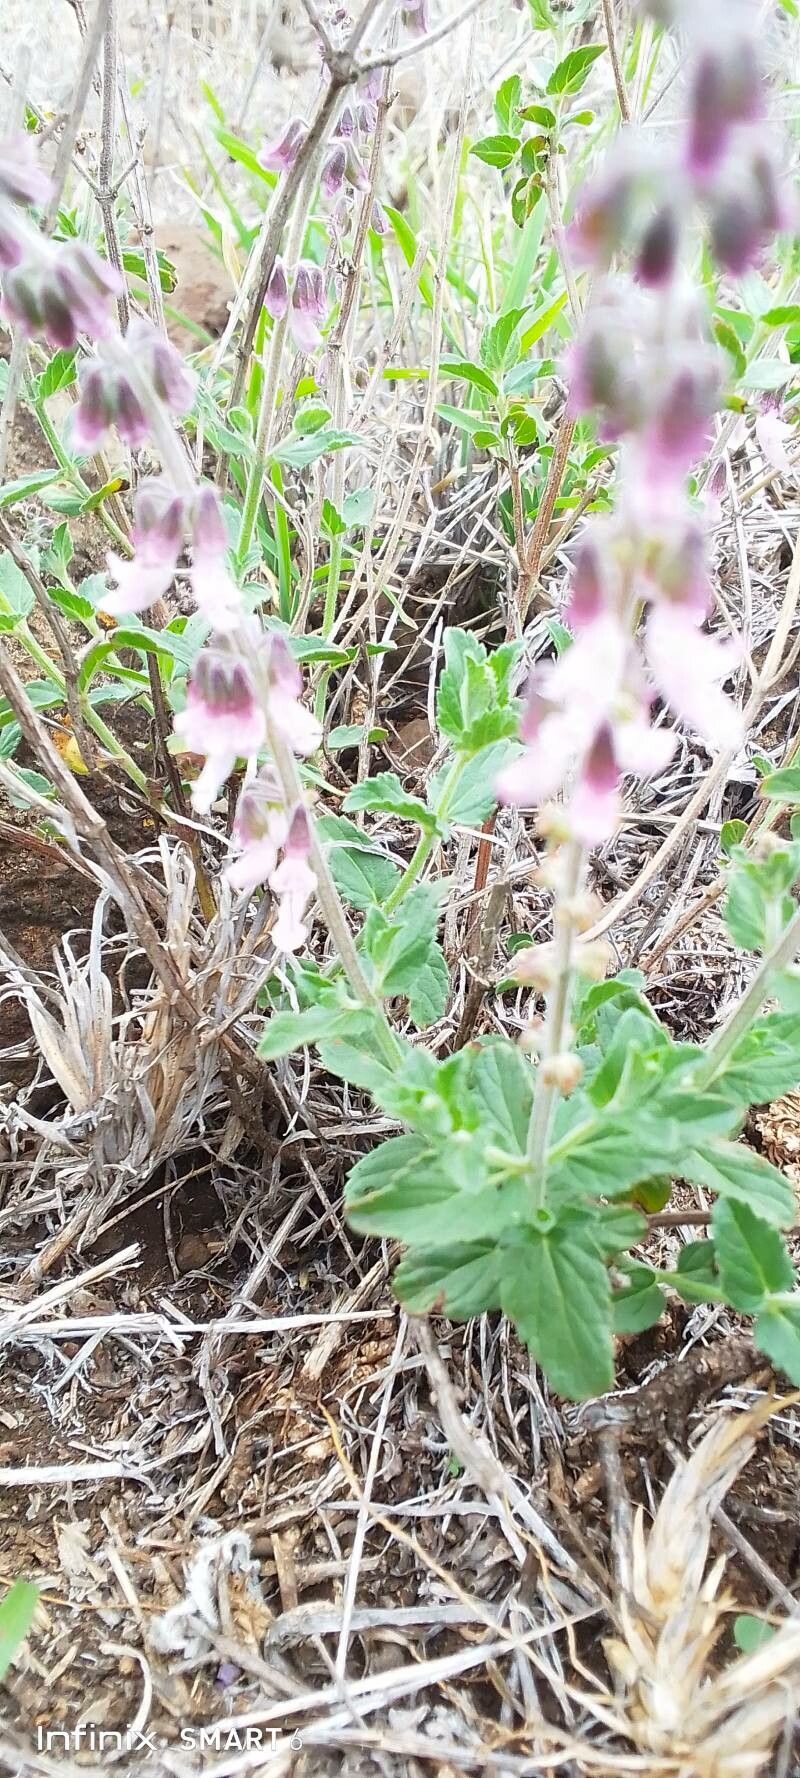
Oh, hello there! It’s so lovely to have you join me. Today, we’re going to dive into the wonderful world of propagating Orthosiphon parvifolius. This charming plant, with its delicate foliage and often vibrant blooms, is a real delight in the garden. If you’ve ever admired its graceful presence and thought, “I wish I had more of that!”, then you’re in the right place.
Propagating plants can feel a bit like a gardening superpower, and with Orthosiphon parvifolius, it’s a truly rewarding endeavor. You’ll go from having one beloved plant to many, sharing its beauty with friends or simply expanding your own greenery. For beginners, this plant is generally quite forgiving, which is wonderful news! You’ll likely find success with a little patience and the right approach.
The Best Time to Start
For the highest success rate with Orthosiphon parvifolius, you’ll want to take cuttings when the plant is actively growing but not under stress. This usually means late spring or early summer. The plant has built up good energy reserves, and the days are longer, providing ample light for new growth. Avoid taking cuttings during extreme heat or when the plant is flowering heavily, as it can divert energy away from root development.
Supplies You’ll Need
Gathering your supplies beforehand makes the whole process so much smoother. Here’s what you’ll want:
- Sharp Pruning Shears or a Clean Knife: For making clean cuts.
- Rooting Hormone (Optional but Recommended): A powder or gel that encourages root formation.
- A Clean Potting Mix: I prefer a well-draining mix. A blend of peat moss and perlite (about 50/50) works wonderfully. You can also use a sterile seed-starting mix.
- Small Pots or Trays with Drainage Holes: Clean them well before use!
- A Plastic Bag or Humidity Dome: To create a mini-greenhouse effect.
- Water: To moisten the soil and for potential water propagation.
- Labels and a Pen: To keep track of your cuttings.
Propagation Methods
Let’s get our hands dirty! Orthosiphon parvifolius is quite amenable to a couple of popular propagation techniques.
Stem Cuttings: The Classic Approach
This is my go-to method for Orthosiphon parvifolius. It’s reliable and produces healthy, well-established plants.
- Select Healthy Stems: Look for young, non-flowering stems that are flexible but not woody. Aim for stems that are about 4-6 inches long.
- Make the Cut: Using your sharp shears or knife, make a clean cut just below a leaf node. A leaf node is where a leaf emerges from the stem. This is where roots are most likely to form.
- Prepare the Cutting: Gently remove the lower leaves, leaving just one or two sets at the top. This prevents leaves from rotting when they’re buried in the soil.
- Apply Rooting Hormone (Optional): If you’re using rooting hormone, dip the cut end of the stem into the powder or gel. Tap off any excess.
- Plant Your Cuttings: Fill your small pots or trays with your prepared potting mix. Make a small hole with your finger or a pencil. Insert the cut end of the stem into the hole, ensuring the lowest leaf nodes are below the soil surface. Gently firm the soil around the stem.
- Water Gently: Water the potting mix thoroughly but gently to settle the soil around the cuttings.
- Create Humidity: Cover the pots or tray with a clear plastic bag or a humidity dome. This is crucial for keeping the cuttings consistently moist, which they need to root. You can secure the bag with a rubber band. Aim to ventilate the bag for a few minutes daily to prevent fungal issues.
Water Propagation (A Different Vibe)
If you enjoy watching roots form, water propagation is a fun alternative, though I find stem cuttings in soil lead to stronger plants eventually.
- Follow Steps 1-3 from the stem cutting method.
- Place Cuttings in Water: Fill a clean jar or glass with fresh water. Place the prepared cuttings into the water, making sure no leaves are submerged.
- Change Water Regularly: Change the water every 2-3 days to keep it fresh and prevent bacterial growth.
- Watch for Roots: You’ll start to see tiny white roots emerge from the nodes. This can take a few weeks.
The “Secret Sauce” (Pro Tips)
Now for a few little tricks I’ve picked up over the years. These make a real difference!
- Bottom Heat is Your Friend: If you have a heat mat designed for propagation, place your pots or trays on it. Slight bottom warmth (around 70-75°F) can significantly speed up root development, especially if your room is a bit cooler.
- Don’t Disturb Too Soon: Resist the urge to tug on your cuttings to see if they have roots! Wait until you see new leaf growth at the top. This is the best indicator that roots have formed and the cutting is establishing itself.
- Cleanliness is Key: I can’t stress this enough. Sterilize your tools and pots before you begin. This drastically reduces the risk of fungal infections, which are the bane of any propagation attempt.
Aftercare & Troubleshooting
Once your cuttings have successfully rooted, it’s time to transition them to a slightly more independent life.
- Transplanting: When you see good root development (either through the drainage holes or when you gently tug and feel resistance), it’s time to transplant your new plants into slightly larger individual pots. Use a good quality potting mix.
- Gradual Acclimation: If you used a humidity dome or plastic bag, gradually remove it over a few days to allow your new plants to adjust to normal humidity levels. Start by opening the bag for a few hours each day.
- Watering: Water them thoroughly when the top inch of soil feels dry. Avoid overwatering, which can lead to root rot.
- Light: Place them in a bright, indirect light location. Gradually introduce them to more direct sunlight as they grow stronger.
Troubleshooting: The most common issue you might encounter is rot. This usually happens if the cuttings are kept too wet and lack sufficient air circulation, or if you used non-sterile equipment. If a cutting turns mushy and black, unfortunately, it’s usually a lost cause. Remove it gently to prevent the rot from spreading. Another sign of failure is if the leaves start to yellow and wilt without any new growth for an extended period, which might indicate poor rooting or insufficient moisture.
To wrap things up, propagating Orthosiphon parvifolius is such a satisfying journey. Don’t be discouraged if your first attempt isn’t perfect. Gardening is all about learning and experimenting. Be patient, use clean tools, and give these little cuttings the TLC they need. You’ll soon be rewarded with beautiful new plants to enjoy! Happy propagating!
Resource:
https://identify.plantnet.org/k-world-flora/species/Orthosiphon%20parvifolius%20Vatke/data