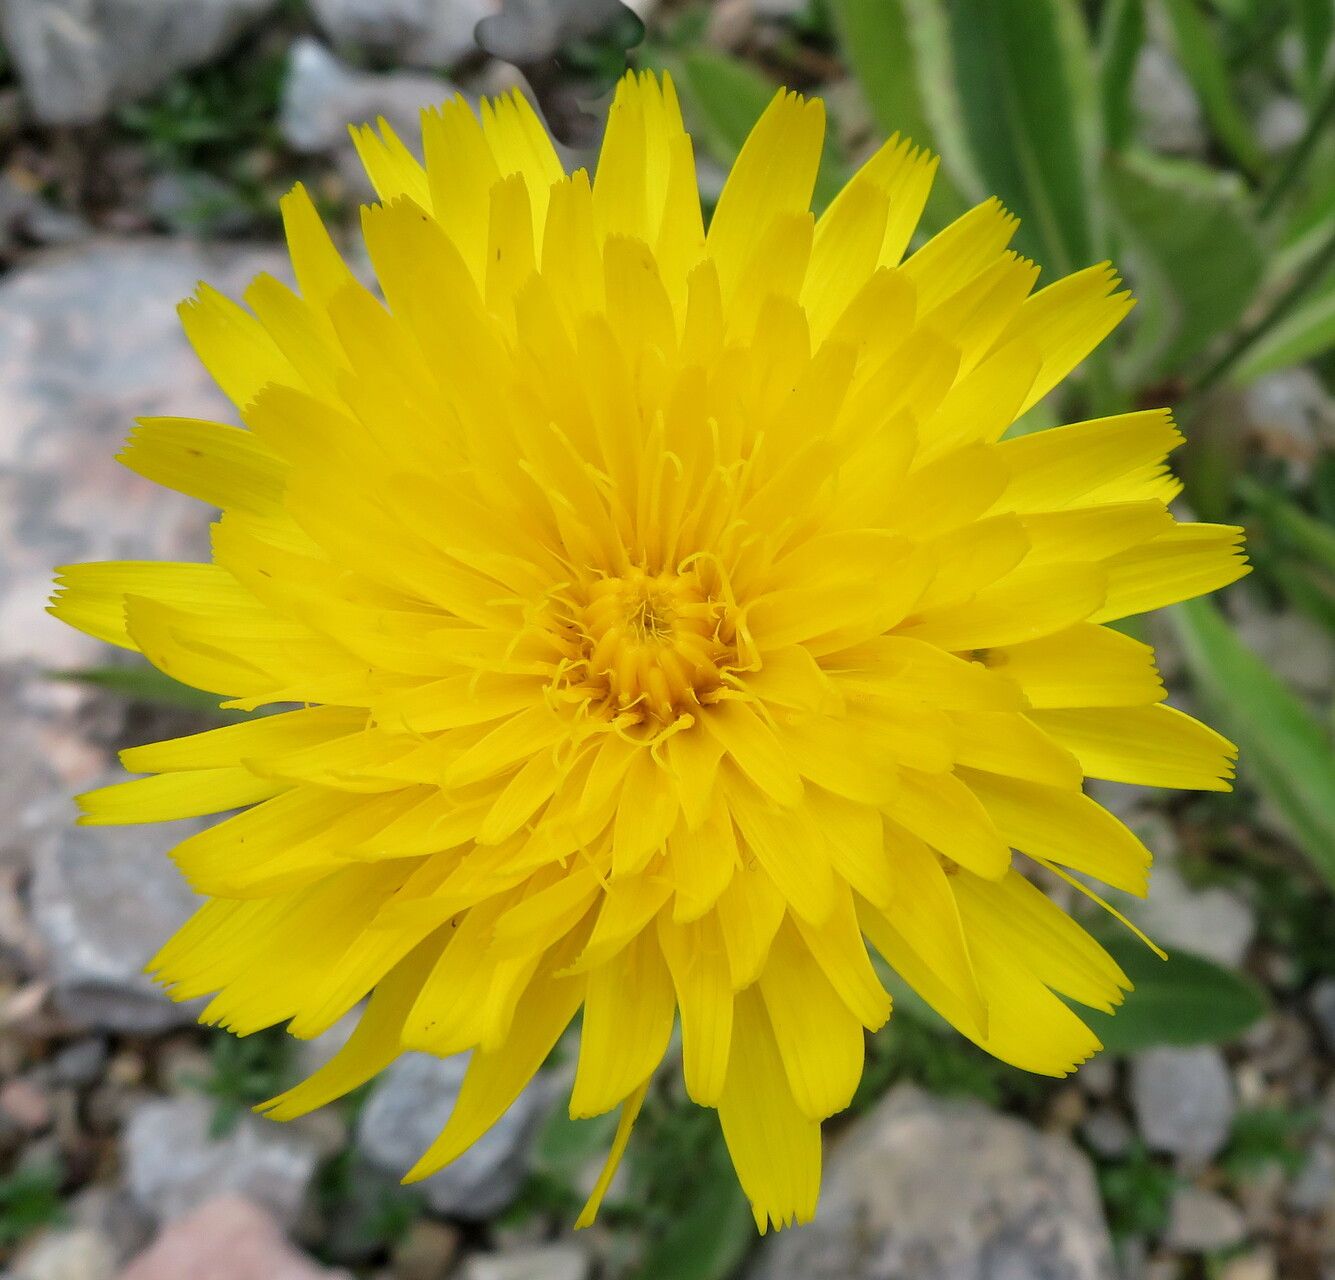
Oh, hello there! Come on in, let’s grab a cup of tea and chat about one of my favorite little treasures: Hypochaeris facchiniana. Isn’t it just delightful? Its sunny disposition and cheerful blooms add such a lovely touch to any garden corner. And the best part? It’s surprisingly rewarding to multiply! If you’re thinking about giving propagation a whirl, I’m happy to share what I’ve learned. Honestly, Hypochaeris facchiniana is quite forgiving, making it a wonderful plant to start your propagation journey with. You’ll get the hang of it in no time.
The Best Time to Start
For the absolute best chance of success, I always find spring is the magic season. As the days get longer and the plant is buzzing with new growth, it’s full of energy. Look for healthy, vigorous stems that aren’t too woody. Late spring, after the initial burst of flowering, is also a prime time to collect cuttings.
Supplies You’ll Need
Before we get our hands dirty, let’s make sure we have everything ready. It makes the whole process so much smoother! You’ll want:
- Sharp, clean pruning shears or a sharp knife. Sterilize them with rubbing alcohol to prevent disease transfer.
- A well-draining potting mix. I often use a blend of equal parts peat moss (or coir), perlite, and compost.
- A small pot or seed tray with drainage holes.
- Rooting hormone (powder or gel) – optional, but it can give your cuttings a helpful boost.
- A plastic bag or propagator lid to create a humid microclimate.
- A spray bottle filled with clean water.
Propagation Methods
Hypochaeris facchiniana is a champion of division, and that’s generally the easiest way to go.
1. Division: The Reliable Root-Builder
This is my go-to when I want several new plants quickly.
- Gently dig up the parent plant. Wiggle your trowel around the base and lift it out of the soil. Try to disturb the roots as little as possible.
- Inspect the root ball. You’ll see distinct clumps or crowns.
- Separate the clumps. You can often do this with your hands. If the roots are tangled, use a clean, sharp knife or trowel to carefully cut through them, ensuring each division has plenty of healthy roots and at least one bud or shoot.
- Replant immediately. Pot up each new division into its own container with your prepared potting mix, or replant them directly into their new garden spot. Water them in well.
2. Stem Cuttings: For the Patient Pro
While division is usually simpler, stem cuttings are a fun way to experiment.
- Take cuttings. Using your sterilized shears, take pencil-thick, non-flowering stem cuttings that are 4-6 inches long. Make the cut just below a leaf node. This is where the magic happens with root formation.
- Prepare the cuttings. Remove the lower leaves, leaving just a couple at the very top. If you’re using rooting hormone, dip the cut end into it now, tapping off any excess.
- Plant the cuttings. Insert the cut end into your small pots filled with the moist potting mix. Make a little hole with a pencil or dowel first to avoid rubbing off the rooting hormone.
- Create humidity. Pop the pot into a plastic bag or cover with a propagator lid. Make sure the leaves don’t touch the plastic sides if possible, or it can encourage rot.
- Provide warmth. Place the pot in a warm spot, out of direct sunlight. Bottom heat from a heat mat can really speed up root development, but it’s not strictly necessary.
The “Secret Sauce” (Pro Tips)
Here are a couple of little secrets I’ve picked up over the years:
- Don’t drown your cuttings in water! If you go the water propagation route (which I sometimes do for this plant, though it’s trickier), make sure the leaf nodes are submerged, but never let the leaves themselves sit in the water. They’ll just get mushy and rot.
- Give them a gentle misting. Every day or two, open up the propagator and give the cuttings a light misting with your spray bottle. This keeps the humidity high without waterlogging the soil.
- Patience is key. Sometimes it feels like they’re not doing anything, but trust me, those roots are working their magic beneath the surface. Don’t give up too soon!
Aftercare & Troubleshooting
Once you see new growth emerging from your cuttings, or your divided plants start looking perkier, it’s a great sign!
- Gradually acclimatize. If you used a plastic bag or propagator, slowly open it up over a few days to let the new plants get used to the drier air.
- Water consistently. Keep the soil evenly moist, but never soggy. Let the very top layer of soil dry out slightly between waterings.
- Watch for rot. The most common problem is rot, which usually happens if the soil is too wet or the humidity is too high for too long. You might see stems turning mushy and blackening at the base. If this happens, unfortunately, that cutting is likely lost. Make sure your potting mix is airy and isn’t holding too much water.
An Encouraging Closing
So there you have it! Propagating Hypochaeris facchiniana is a truly satisfying way to extend the joy of these cheerful plants. Don’t be discouraged if your first attempt isn’t perfect. Gardening is all about learning and enjoying the process. Be patient, keep a watchful eye, and soon you’ll have a whole garden full of these sunny beauties to share. Happy propagating!
Resource:
https://identify.plantnet.org/k-world-flora/species/Hypochaeris%20facchiniana%20Ambrosi/data